

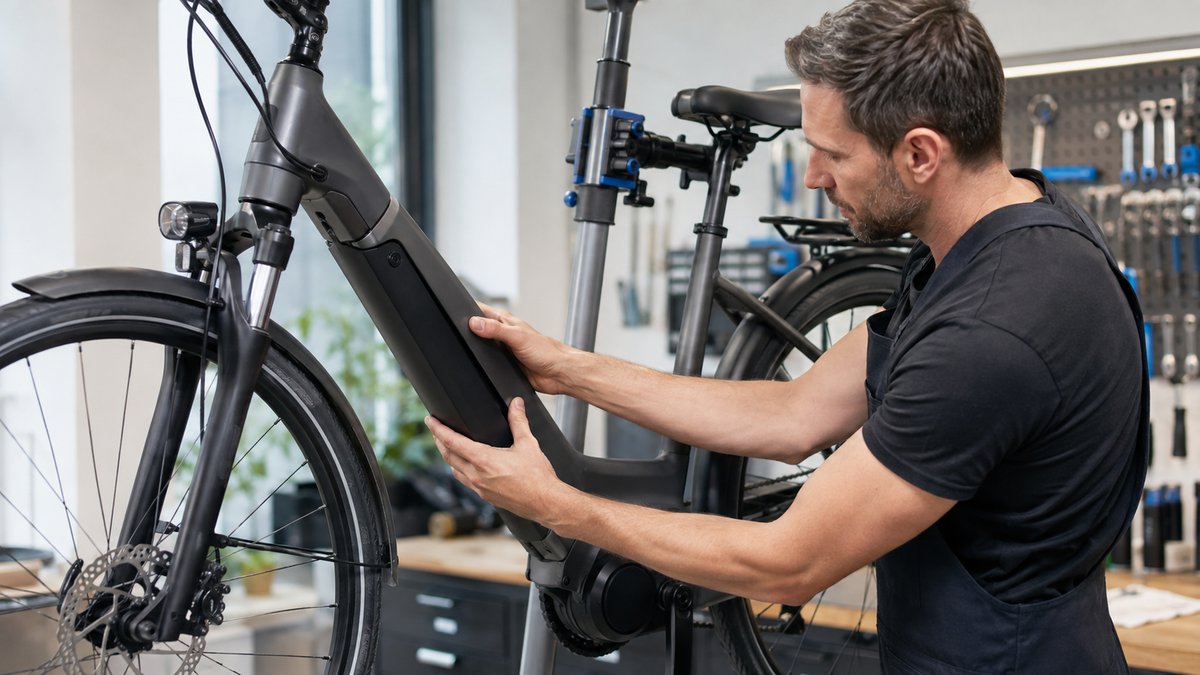
An e-bike battery that rattles on cobblestones or can be felt moving in its mount should not be quieted with foam and adhesive tape. The noise may come from a battery that is not fully locked, wear on the mount or lock, a foreign object, or an adjacent component. What matters is not how loud it sounds, but whether the battery is fully seated according to the original instructions and secured against falling out.
A loose fit means the ride is over
Stop if the battery visibly shifts, the locking mechanism does not engage reliably, a cover pops open, or the system cuts out when shaken. Do not continue riding to check the noise “under load” once more. A heavy battery can come loose, contacts can be damaged, and an interrupted power supply can unexpectedly end assistance.
If there is a crack, deformation, liquid, a pungent odor, unusual heat, smoke, or a clear impact mark on the battery, avoid touching it if possible. Keep your distance and follow the manufacturer's emergency instructions; in the event of an immediate fire or smoke hazard, call 112. A damaged lithium-ion battery must not be disposed of with household waste and must not be shipped without instructions.
Rattling, cracking, or an electrical dropout?
| Observation | Possible location | Next step |
|---|---|---|
| Battery visibly moves in the direction of travel | Mount, stop, or locking mechanism | Do not continue riding; reinstall it according to the instructions, then contact service |
| Noise only when the battery is locked, no visible play | Cover, lock trim, cable, or adjacent accessory | Locate components individually while stationary |
| Assistance or display cuts out with the impact | A contact or locking problem is possible | Switch off the system and contact a specialist workshop |
| Key cannot be removed cleanly | Lock not in the end position or tension in the mount | Do not force it; repeat the insertion process according to the manual |
| Battery is firmly seated, noise persists without the battery | Another source on the frame | Check the stand, lock, luggage, and covers separately |
First remove it safely and identify it
Park the e-bike securely, switch it off, and remove the battery only as described in the manual. With many systems, you need to hold it with one hand while unlocking it. This prevents it from falling out after the lock is released. A PowerTube, frame, or rack battery may have additional safety features; therefore, do not transfer a procedure from a different design.
Place the unremarkable battery on a dry, level, nonflammable surface, protected from falling and direct sunlight. Note the battery and mount models. Check the current original manual: it shows the insertion direction, the audible or tactile end position, the lock position, and possibly an additional securing mechanism. For example, Shimano requires in a battery user manual that the battery be inserted until it clicks into place and then carefully pulled to confirm that it is securely locked. This applies only to the models described there.
Inspect the mount and battery externally only
With the system switched off, shine a light into the empty mount without inserting any metal tools. Look for small stones, dried mud, bent plastic edges, missing rubber elements, loose covers, corrosion, or visible breaks. Check the designated guides, stops, and lock counterpart on the battery. Do not sand contacts or align them with a screwdriver.
Remove loose, dry dirt only using the method permitted in the manual. Do not use a pressure washer, direct stream of water, or spray in the lock or contact block. Whether a care product is permitted is determined by the manufacturer of the specific system. Universal grease can bind dust, damage plastics, or impair electrical contact surfaces.
Insert the battery correctly – without additional force
- Confirm that the battery and mount belong together and are externally undamaged.
- Align the battery with the guide shown in the manual.
- Insert it using the specified movement, without levering, striking, or applying pressure to the contacts.
- Bring the lock and additional securing mechanism fully into the described position.
- Remove the key only in the designated end position.
- Perform only the seating check specified in the manual.
- Only then switch on the system and observe the display while stationary.
Shimano service documents use the absence of rattling between the battery and mount as a check objective. Because these documents are intended for professional mechanics, any adjustment work and dimensions mentioned there are not a DIY task. If the battery is still not firmly seated despite being inserted correctly, stop the user inspection.

Why foam, adhesive tape, and bent tabs are risky
An improvised wedge may make the battery quieter, but it can alter its final position. The load may then rest on the housing or contacts instead of the intended stops. Adhesive tape can block removal, trap water, or conceal damaged locking components. Self-adhesive felt strips can shift when warm and enter the lock or guide.
Do not bend any brackets, lock tabs, or contact carriers. Do not loosen any fastening screw without following the model-specific procedure and using the specified torque value. The frame mount, lock, and cover can affect one another, especially with integrated batteries. The workshop will check which part is worn, misaligned, or damaged and whether an approved replacement part is required.
Narrowing down the source of the noise without a test ride
Many noises thought to come from the battery actually originate from keys, a folding lock, bottle cage, rack spring, kickstand, or plastic cover. Remove loose accessories and gently move the stationary bike without letting it fall. Do not place your hand near moving wheels or the chain at the same time. If the noise is also present with the battery removed, the source is probably elsewhere.
A short video filmed from a safe position can help the workshop: Show which cover is moving and whether the lock is closed. Do not publish legible key numbers or serial numbers. A test ride with the battery cover open or the battery only partially locked is not a diagnosis.
Treat the lock, key, and cover separately
If the key is difficult to turn, do not force it with pliers. Tension caused by a battery that is sitting crooked can affect the locking process; dirt or a damaged key may also be involved. Use only a care product approved by the lock or bicycle manufacturer. A sticking lock cylinder is a different problem from battery play.
An outer cover may cause a slight noise without the battery being loose. Nevertheless, it must close completely and must not touch the tire, crank, or cables. Missing clips or broken hinges are replaced to match the model, not glued if this would impair access or cooling.
When a specialist workshop must take over
- The battery does not engage or can be pulled out while locked.
- The play returns after the battery has been inserted correctly.
- The contacts, lock, guide, holder, or frame mount are visibly damaged.
- The display or motor assistance cuts out when riding over bumps.
- The battery was involved in a fall or shows dents and cracks.
- The cause requires an adjustment described only in a dealer service manual.
When making an appointment, state the bicycle model, battery type, when the issue first occurred, the road surface, and whether the battery had previously been removed, charged, or transported. This helps distinguish between user error, wear, a missing part, and damage.
Frequently asked questions about a rattling e-bike battery
Is a little play normal?
There is no blanket tolerance. The instructions and the inspection for the specific system are the standard. Visible movement, an insecure lock, or electrical cutouts are not an acceptable amount of “little” play.
Can I glue felt into the holder?
Not without the manufacturer's express approval. An additional pad can change the fit, locking, removal, and electrical contact. First have it checked to determine which component is causing the play.
Can I continue riding with a locked but rattling battery?
If you cannot clearly confirm that the battery is seated correctly, no. Even a locked mechanism does not prove that the guides and stops are undamaged.
How do I clean the contacts?
Only follow the system instructions. Switch off the system, keep moisture and metal away, and do not use random sprays or abrasives. Corroded or bent contacts must be inspected by a workshop.
Conclusion: A secure fit is more important than quiet operation
If the e-bike battery rattles, do not look for a noise damper first. Switch off the system, safely remove the battery, visually inspect the guide and holder, and insert it exactly as instructed. If there is still play, the lock does not engage reliably, or the electrical system cuts out when riding over bumps, stop using the bike. The right repair preserves both locking and electrical contact; an improvised wedge can make both worse.
As of September 6, 2026. Insertion procedure, locking check, cleaning, and permissible tolerances are based on the current instructions for the specific battery holder system.


Share:
Bicycle freewheel sticking: how to safely check the symptoms
E-bike assistance cuts out: identify the cause with confidence