

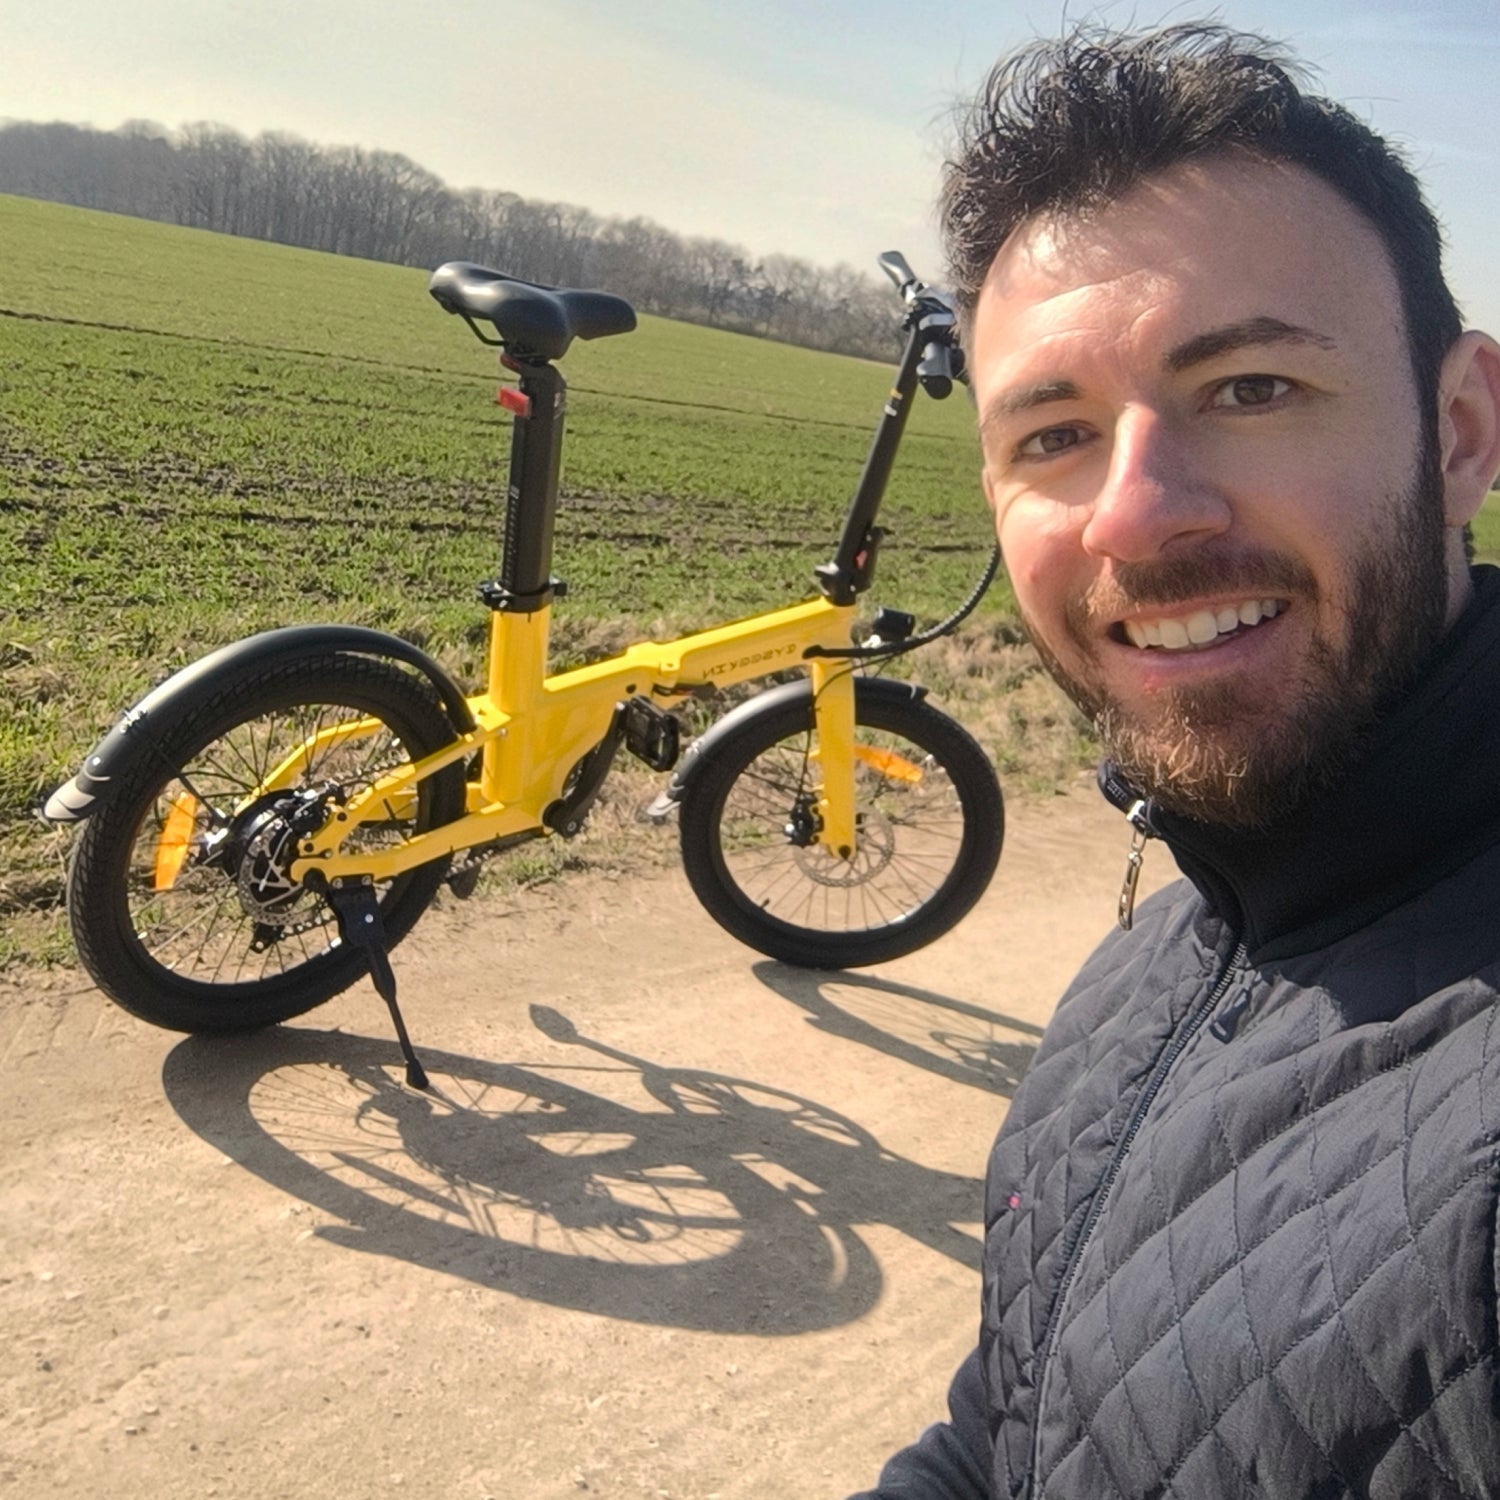
If you get a flat tire on an e-bike, first stop safely, switch off the drive system, and inspect the damage. If the tire is flat, the sidewall is torn, or the wheel is damaged, do not continue riding. Whether the inner tube can be replaced on the road depends on the wheel, brake, motor connection, tools, and experience. If in doubt, breakdown assistance or a repair shop is the better choice.
Quick overview
- Continuing to ride with an empty tire can further impair the tire, rim, and riding stability.
- Before doing any work, switch off the e-bike and park it securely outside traffic.
- A small kit containing a suitable replacement inner tube, tire levers, a pump, and model-appropriate tools saves time on the road.
- With a rear wheel with a hub motor or an unknown axle attachment, do not disconnect anything under tension or loosen anything without knowing what you are doing.
- After the repair, check the tire bead, wheel attachment, and braking function before riding on.
According to the ADFC, flat tires are among the most common bicycle breakdowns. With an e-bike, there is an additional question: Can the affected wheel be safely removed and reinstalled with the tools available? This is especially not automatically the case with a motorized rear wheel. That is why a clear decision-making process is more helpful than an improvised repair.
The first five minutes: how to keep the situation under control
1. Get out of traffic
Brake slowly, do not steer abruptly, and look for a level, clearly visible place. Do not carry out repairs on a road or cycle path.
2. Switch off the system
Switch off the assistance and display. Before working on the bike, also follow the battery instructions in the owner's manual.
3. Find the cause
Inspect the tire, valve, and rim. Do not remove foreign objects immediately before deciding whether to repair the tire or call for help.
4. Check the bike type
The front wheel, rear wheel, quick-release skewer, thru-axle, axle nut, and motor cable require different tools and procedures.
5. Make a decision
Only repair it yourself if you are confident using the system and tools and can carry out a complete functional check. Otherwise, walk the bike or arrange assistance.
Don't forget
Note the location, bicycle model, wheel size, and visible damage. According to the ADFC, breakdown assistance providers can then bring more suitable tools and spare parts.

Keep riding, repair it yourself, or call for help?
| Observation | Recommended decision | Why |
|---|---|---|
| Tire noticeably soft but remains stable after being inflated correctly | Check the pressure with a gauge in a safe place and cautiously monitor it over a short distance | Nevertheless, gradual pressure loss must be investigated promptly. |
| Tire immediately flat again | Do not continue riding; change the tube or call for assistance | The rim, tire, and tube may sustain additional damage if you continue riding. |
| Cut in the sidewall, visible carcass, or deformed rim | End the ride and have it professionally inspected | A new tube will not fix structural damage to the tire or wheel. |
| Front wheel with a known quick-release skewer and the appropriate tools available | Repair is possible for experienced users; afterward, fully check the attachment and brake | Even a simpler removal remains safety-relevant. |
| Rear wheel with hub motor, motor cable, or unknown attachment | Do not improvise; use the manual or seek professional assistance | Cables, axle, torque arm, gears, and brake may be affected. |
With the wheel removed: do not operate the brake lever
Shimano points out that with disc brakes, the pads can be pressed together when the brake disc is removed. Also, do not touch brake discs with greasy fingers. If you cannot reliably check these points, it is better to leave the wheel installed.
What belongs in a small puncture repair kit?
The kit must fit your own bicycle. A universal wrench is of little use if the valve, tube size, or axle attachment is wrong. The following items are useful:
- a suitable spare tube with the correct valve and matching tire size,
- two sturdy tire levers without sharp edges,
- a small pump with the appropriate valve connection and, if possible, a pressure gauge,
- a puncture repair kit as a spare, plus a cloth and disposable gloves,
- only the tools required for the specific wheel attachment,
- Owner’s manual or an offline-saved service page and a breakdown assistance number.
For roadside assistance, ADFC recommends tools for removing the wheel, a spare tube, and a pump. For an e-bike, this basic equipment should not be adopted blindly but checked against the model, motor position, and braking system.
Changing a tube: the key checkpoints
A complete step-by-step assembly cannot be responsibly generalized to every e-bike. However, Schwalbe specifies clear checkpoints for tube-type tires: the rim tape must cover all spoke holes, the tube should be inserted slightly inflated, it must not be pinched between the tire and rim, the valve must be straight, and the tire must be centered before inflating.
Before riding on
- Check that the tire bead is seated evenly all the way around the rim.
- Inflate only within the permitted range stated on the tire sidewall and in the manufacturer's specifications.
- Close and secure the wheel attachment exactly as described in the instructions.
- Let the wheel rotate freely; the disc, tire, and mudguard must not rub noticeably.
- Check both brakes while stationary, then take a very short, slow test ride.
How to reduce the risk of flat tires in everyday use
A flat tire cannot be ruled out completely. The correct tire pressure, regular visual inspections, and timely tire replacement reduce the risk. Schwalbe recommends checking the pressure with a pressure gauge at least once a month; the thumb test is not reliable. The permitted range on the tire sidewall and the manufacturer's specifications always take precedence.
- Check the tires for glass, thorns, and other embedded foreign objects.
- Do not ignore cracks, visible casing threads, or damaged sidewalls.
- Adjust the pressure to the load and the tire's approved pressure range; never exceed or fall below the limits.
- Before longer rides, check the inner-tube size, valve, and tools at home.
What is special about the Cyseekin C10?
The current C10 product page lists 20 × 2.125-inch tires, a quick-release skewer on the front wheel, and a rear-wheel motor. For a flat tire, this means that the replacement inner tube and tools must match the mounted tire configuration; removing the front wheel is not the same as removing the motorized rear wheel. Before working on the rear wheel, the instructions and cable routing are decisive.
When ordering replacement parts, check the markings directly on the mounted tire and the valve. The model designation alone is not a substitute for this check, as equipment and replacement-part specifications can change.
FAQ: E-bike flat tires
Can I still ride an e-bike with a flat tire to the workshop?
No. A significantly deflated tire impairs control and can cause further damage to the tire and rim. The bike should be pushed or taken to a workshop using roadside assistance or transport.
Does the battery need to be removed before changing the tire?
The e-bike will be switched off in any case. Whether the battery should or can also be removed depends on the model and the operating instructions. If the system is unknown, do not improvise.
Can I simply seal a puncture with puncture spray?
Sealants are not a universal solution and may be unsuitable depending on the tire, tube, and valve system. First check the approvals from the manufacturers involved; sealant will not help with sidewall damage or a damaged rim.
What tube size do I need for the Cyseekin C10?
The current product page lists 20 × 2.125 inches as the tire size. When purchasing a tube, also check the size range and valve type directly on the mounted wheel. If you are unsure, Cyseekin Service can assist.
Why shouldn't I pull the foreign object out of the tire immediately?
Before pulling it out, make sure where it can be repaired safely and what materials are available. Otherwise, the remaining pressure may escape immediately. During the subsequent repair, the foreign object must be removed completely so that it does not damage the new tube again.
When should an e-bike be taken to a repair shop after a breakdown?
Do not continue riding if the sidewall is damaged, the casing is visible, the rim is deformed, the motor wiring is unclear, the wheel attachment is insecure, or the brakes behave abnormally. Even after a temporary repair, a professional inspection is advisable.
Match the model, tire, and manual
Before purchasing parts or removing the wheel, first check the information on the mounted tire and the current manual. Prices and availability are provided exclusively on the respective pages.
Sources and test bench
- ADFC: ADFC breakdown assistance – common breakdowns, required information, and assistance options.
- ADFC: The right tire – intended use, puncture protection, and special considerations for e-bikes.
- Schwalbe: Bicycle tire installation – rim tape, tube seating, valve, centering, and pressure check.
- Schwalbe: Tire pressure – pressure gauge, inspection interval, and permissible pressure range.
- Shimano: Rear wheel removal – disc brake, brake lever, and safe placement.
- Cyseekin C10 product page – tire size, quick release, and motor position, checked on August 26, 2026.
Share:
E-bike chain worn out? Here’s how to detect wear in time
E-bike inspection: When is it advisable, and what is checked?