

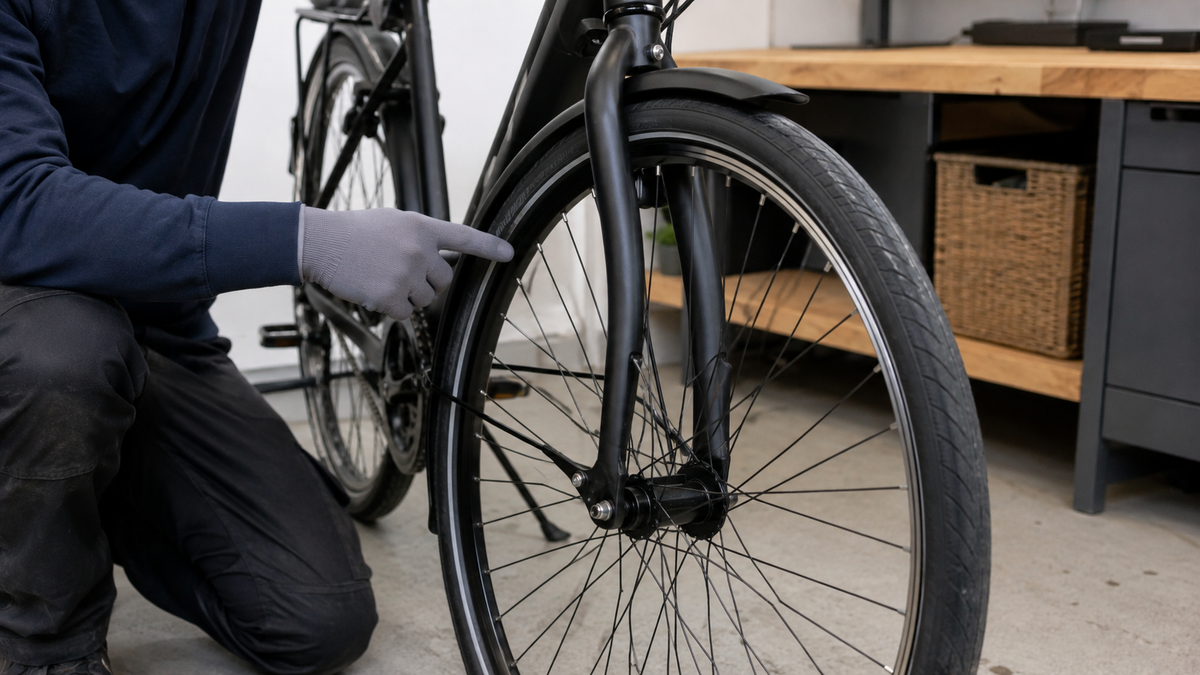
A rubbing bicycle fender often sounds harmless, but it can have various causes. The fender may simply be slightly shifted to one side, a stay may be loose, the tire may have become wider, the wheel may not be positioned correctly, or a foreign object may be stuck in the gap. Before bending anything, you need to locate the contact point. Inspect the stationary bicycle, starting with the wheel, tire, and attachments—not with a quick test ride.
When you should stop immediately
Stop if the wheel seems to be braking, a stay points toward the spokes, the fender is visibly broken, or the tire is being cut. Do not continue riding to “wear in” the noise. A loose metal rod can get caught in the wheel; a trapped object can damage the tire or abruptly lock the wheel.
Park the bicycle securely and switch off an e-bike. Slowly turn the affected wheel by hand, keeping your fingers, clothing, and tools away from the spokes, brake disc, and tire path. If the wheel is difficult to move or the axle or brake attachment is involved, stop the inspection yourself. Push the bicycle or arrange transportation instead.
Systematically identify the noise and contact point
| Observation | Possible area | Safe next step |
|---|---|---|
| Rubbing at the same spot on every wheel rotation | Wheel arch, tire shape, or localized fender contact | Compare the gap around the entire circumference |
| Constant rubbing on one side | Fender shifted sideways or wheel misaligned | Check the axle seating and wheel position first |
| Rattling over uneven surfaces | Loose fastener, stay, or bridge | Carefully check stationary components for play |
| Noise only with luggage or when the suspension compresses | Insufficient dynamic clearance | Remove the load and have the mounting and size checked |
| Foreign object scraping in the gap | Stone, twig, or buildup of dirt | Secure the bicycle and remove only freely accessible objects |
Rule out the wheel and tire first
A fender cannot be properly aligned if the wheel itself is crooked or mounted loosely. Check the axle attachment according to the instructions and compare the tire clearance to the frame or fork on both sides. If you are unfamiliar with the quick-release skewer, thru-axle, or hub motor, do not loosen anything without knowing what you are doing. Hub play, a damaged rim, or an incorrectly seated tire each require separate diagnosis.
Then check whether the tire is seated correctly in the rim all the way around and fits within the available clearance. The article Bicycle tire is not seated correctly explains how to check the bead. A bulge or uneven inspection line cannot be compensated for by bending the fender away.
The tire may be wider in reality
The width marking on the sidewall is a nominal measurement. Schwalbe explains that the actual tire width depends, among other things, on rim width, tire pressure, and load. After changing a tire, the same nominal size may therefore sit differently within the mudguard. A substantially wider replacement tire also requires more lateral and top clearance.
As a guideline for its own mudguards, SKS recommends a mudguard width approximately one centimeter greater than the tire width and specifies around 1.5 centimeters of clearance from the tire. This is a manufacturer recommendation for selection, not a universal standard for every product and bicycle. What matters are the approvals from the bicycle, tire, and mudguard manufacturers, as well as sufficient clearance under real-world loads.

Inspect the stays, bridge, and fasteners
Follow the mudguard from front to rear. Check whether it runs centrally beneath the fork crown or frame bridge, whether both stays are positioned symmetrically, and whether the clips and safety mechanisms appear complete. A missing spacer, twisted angle, or fastener loosened on only one side can pull the mudguard toward the tire. Photograph its position before touching anything.
Gently move the stationary mudguard only slightly. No connection should move toward the spokes, brake, cables, or tire. Do not bend a broken stay, cracked plastic, or severely kinked metal back into shape. Sharp edges and previously damaged material can fail at the next bump.
Minor alignment only according to the product instructions
If the wheel is correctly installed, the tire is suitable, and only an adjustment on a designated stay has shifted, you may follow the instructions for the specific mudguard. Loosen only the specified fastener as much as necessary, keep the mudguard centered, and retighten it with the specified tool and torque. In its product-specific instructions, SKS shows how differently clips, angles, and adjustment points can be designed.
Do not transfer these steps to a different design. Some mudguards have safety releases on the front stays, while others have fixed or concealed connections. These parts must not be blocked, glued, or replaced with arbitrary screws. A screw head that merely looks similar may require a different length, strength, or locking method.
Why forceful bending is rarely a good solution
A thin metal sheet may appear easy to straighten, but it can kink or tear at the mounting point. Plastic may turn white under stress and break later. If only the contact point is pushed outward, new tight areas will form next to it. Bending can also conceal the actual cause if the wheel or tire is not seated correctly.
Do not use heat, pliers on an installed tire, or a lever between the mudguard and the tread. Also, do not place a washer or nut under a bracket without approval. This can alter screw engagement, brake clearance, or the distance from moving parts. A suitable replacement stay or correctly sized mudguard is more reliable than an improvised change in shape.
Special considerations for e-bikes, lights, and suspension
On many everyday e-bikes, light cables run along the mudguard or its stays. Do not pull on them or pinch them after alignment. If a rear light is integrated, the cable, connector, and strain relief must remain undamaged. Do not extend or open electrical cables unless the user manual provides for this.
On suspension forks or rear suspension systems, the clearance changes as the suspension compresses. A spot that is clear when unloaded may be at risk of contact under load. Check the dynamic clearance according to the bicycle manufacturer's specifications; do not compress the suspension with your fingers in the wheel gap. For a retrofitted mudguard, explicit compatibility with the frame, tire size, suspension travel, and mounting must be confirmed.
Perform a complete check after the correction
- Check that all specified fasteners and securing elements are correctly seated.
- Slowly turn the wheel by hand through several revolutions.
- Compare the side and top gaps around the entire circumference.
- Check the brake, axle fastening, light cable, and clear spoke paths.
- Carry out a short, slow test ride without luggage on a flat surface free of traffic.
Then check the position again. If rubbing or rattling returns, a fastening point moves under load, or reliable torque specifications are unavailable, leave the work to a specialist workshop. A noise that occurs only when cornering or braking may also come from the wheel, brake, or frame and should no longer be attributed to the mudguard.
Dirt and winter use
Wet leaves, snow, and heavy mud can collect between the tire and mudguard. Clean only when the bicycle is stationary and switched off, and remove freely accessible material without sharp tools. If there is barely any clearance, continuing to ride is not a good way to clean it automatically. In winter conditions, check the gap more frequently and wash off road salt using gentle cleaning permitted by the manufacturer.
After every cleaning, check the stays and fasteners. A clean gap makes it easier to detect renewed contact. Pressure washers are unnecessary for this and can force dirt into bearings or electrical connections.
Frequently asked questions about a rubbing mudguard
Can I simply bend a mudguard into shape by hand?
Only an adjustment explicitly provided for should be corrected according to the instructions. Uncontrolled bending can damage the material, stays, or safety mechanism and conceal the cause.
Why does it rub after changing a tire?
The new tire may be genuinely wider or taller, sit differently on the rim, or not be compatible with the existing approval. First check the size, bead seating, and actual clearance.
Is occasional rubbing in corners normal?
No, it should be investigated. Lateral loads can reveal a loose mounting, wheel play, or insufficient clearance. Do not continue riding until moving parts remain safely separated.
How wide does a mudguard need to be?
That depends on the actual tire width, the wheel, the product, and how it is used. For its own selection guides, SKS recommends about one centimeter of additional width; the specific manufacturer's approval takes precedence.
Conclusion: Check for contact before adjusting anything
If the bicycle mudguard is rubbing, stop and check the axle seating, wheel, tire, and any foreign objects first. Only then inspect the stays, bridge, and designated adjustment points. Product-specific dimensions and mounting instructions must not be applied universally. If the stays are damaged, dynamic clearance is tight, electrical cables are involved, or contact keeps recurring, professional installation or a suitable replacement is the safe solution.
As of: September 6, 2026. Mudguard width, clearance, mounting, and safety release mechanisms are product- and bicycle-specific; the manufacturer's specifications take precedence.
Share:
Bicycle chain sagging: Find the cause based on the drivetrain system
Bicycle chain sagging: Find the cause based on the drivetrain system