

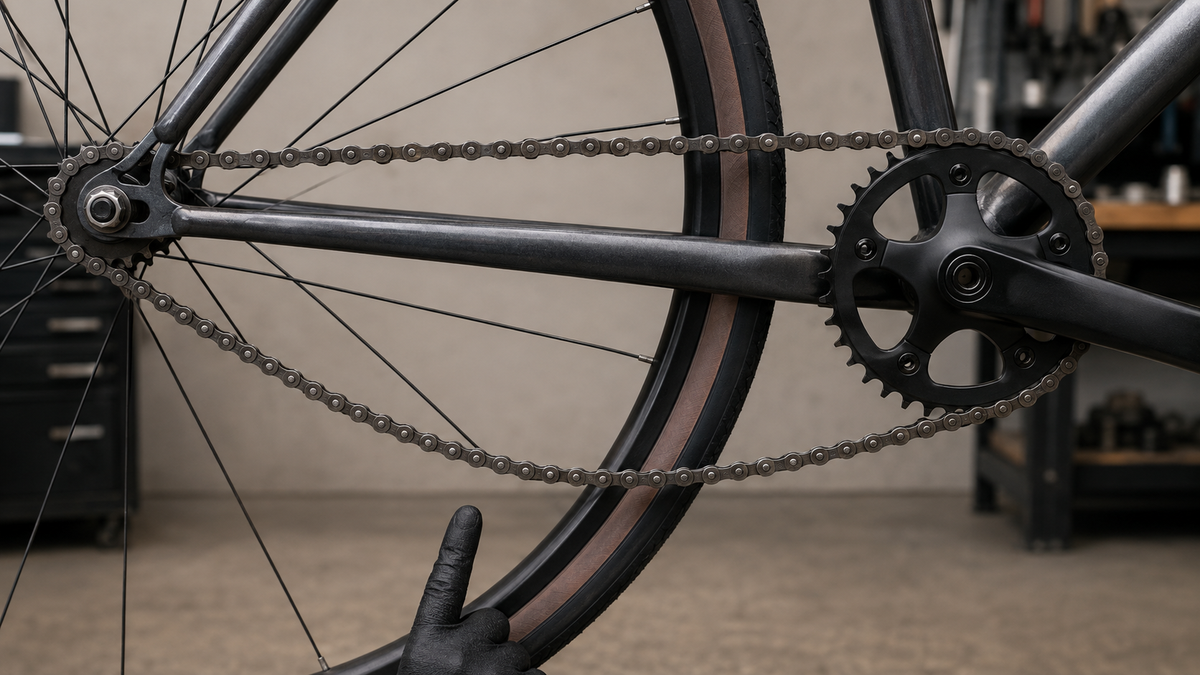
If the bicycle chain is visibly slack, it is not automatically just “too long.” With derailleur gearing, the derailleur keeps the lower chain run under tension. With an internal-gear hub, singlespeed, or coaster brake, tension is usually created by the position of the rear wheel, a sliding dropout, an eccentric, or a separate chain tensioner. The correct next step therefore depends first on the drivetrain system.
Do not continue pedaling if there is severe slack
If the chain hangs down to the frame, tire, or chain guard, comes off, or jams, stop riding. Coast to a stop without applying strong pressure to the pedals and park the bicycle safely. On an e-bike, switch off the assistance completely. Never reach into the drivetrain while the crank or wheel is moving, and do not start the motor for a test in a repair stand.
After an impact, chain derailment, or transport, inspect especially carefully. A bent derailleur, damaged chain, or shifted rear wheel may indicate more than a tension problem. If chain links are broken, severely twisted, or pulled between the sprocket and spokes, arrange transport. The guide Bicycle chain broken describes the safe procedure for this acute damage.
First identify the drivetrain type
| Drivetrain | What tensions the chain | Typical inspection area |
|---|---|---|
| Derailleur gearing | Derailleur spring and cage | Chain routing, cage position, chain length, seized joints |
| Internal-gear hub without a separate tensioner | Rear wheel position or eccentric | Axle seating, wheel alignment on both sides, model-specific slack |
| Singlespeed or coaster brake | Rear wheel position, eccentric, or designated mount | Smooth running, axle fastening, chain condition |
| Internal-gear hub with chain tensioner | Spring-loaded separate tensioner | Tensioner position, free movement, and correct chain routing |
| Unknown or enclosed design | System-dependent | Identify the model and use the manual or a workshop |
An external check with the bicycle stationary
Photograph the entire right-hand drivetrain before moving anything. Then slowly turn the crank by hand and observe the lower chain run from a distance. If the slack changes significantly over one revolution, the chain, chainring, or sprocket may be running unevenly. A single stiff link often appears as a recurring kink. Stop before the link is pulled into the sprocket or tensioner.
Check whether the chain actually runs through all the intended pulleys and guides. After installation, it may have been routed incorrectly past a guide tab on the derailleur. Do not correct this while the chain is under tension or without the system-specific diagram. Also check for foreign objects, bent teeth, side plates that have opened, and unusual rust.
With a derailleur system, the tension is at the derailleur
The cage of a functioning derailleur moves with the selected gears and takes up different chain lengths. Therefore, the shape of the lower chain run is not the same in every gear. However, if the chain touches the frame, hangs noticeably loose, or the cage has almost no spring tension, possible causes include an incorrect chain length, seized cage pivots, incorrect routing, or a damaged derailleur.
Do not simply shorten the chain by several links. A chain that is too short can overload the derailleur, derailleur hanger, or frame in the larger gear ratios. If there is significant slack, do not shift through all the gears to find the limit. If the drivetrain was recently modified, the workshop needs details of the chainring, cassette, derailleur, and installed chain length.

Different rules apply to internal-gear hubs and singlespeed bikes
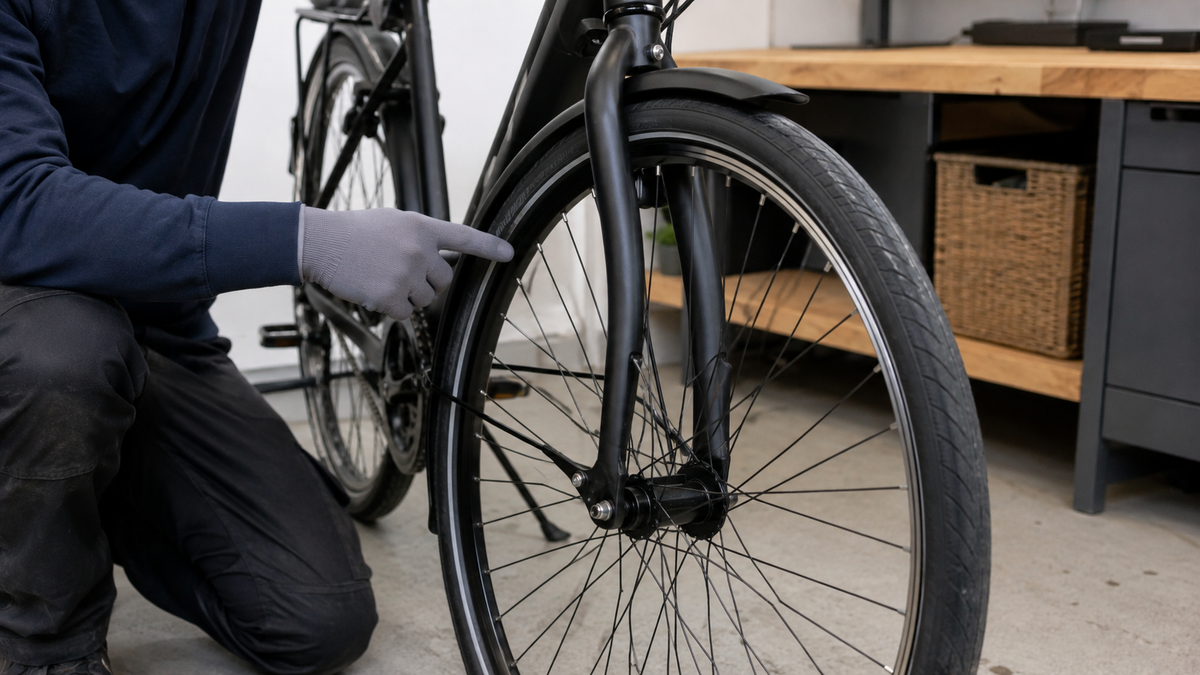
Without a sprung chain tensioner, slack is often adjusted by changing the position of the rear wheel or using an eccentric. The wheel must remain mounted straight and securely, with the brakes functioning correctly. If only one side of the axle is moved, the wheel may sit crooked in the frame; the tire, brake, or mudguard may then rub. Coaster brakes and internal-gear hubs also involve a reaction arm, shifting mechanism, or other securing components.
Shimano specifies a particular slack value in a model-specific service document for certain internal-gear hubs. This value must not be applied to other bicycles. Other systems define the measuring point, chain force, and adjustment range differently. Therefore, look up the instructions for the hub, frame, and tensioning mechanism, or have the adjustment carried out by a specialist workshop.
Wear is only one of several causes
With use, the play in a chain’s joints increases; colloquially, it “gets longer.” On an unsuspended drivetrain, this can increase slack. With a derailleur, the cage compensates for part of this, but wear remains relevant to how the chain interacts with the sprockets and chainring. Wear is measured with a suitable gauge and according to the limits of the specific drivetrain, not based on slack alone.
A chain that suddenly becomes loose after workshop work is more likely to indicate an issue with assembly, wheel position, chain length, or routing. A sudden change in slack while riding may indicate a defect or foreign object. Record when and under what circumstances it occurred. The difference between a gradual and sudden change helps without pretending to make a remote diagnosis.
Do not improvise in these areas
- Do not loosen the rear wheel axle if the torque, security, and wheel alignment are unclear.
- Do not preload the derailleur spring or cage with wire, rubber, or a cable tie.
- Do not shorten the chain by eye or use an unknown connector.
- Do not create chain tension by forcibly pulling on the wheel.
- Do not perform a manual check while the e-bike is switched on or the rear wheel is turning.
A chain that is too tight is also problematic. In dealer documentation for certain chain tensioners, Shimano points out that excessive tension can cause noise, while excessive slack requires readjustment. The goal is not “as tight as possible,” but the condition specified for the particular system.
When adjustment at home is acceptable
Adjustment by the user is only appropriate if the manual describes it, all fasteners are clearly identified, and you can reliably check wheel alignment, brake operation, and axle security. The bicycle must be stable. Do not mark a fictitious target position; instead, work according to the measuring points specified in the instructions. After each small step, center the wheel and tighten the fastener to the manufacturer’s specified torque.
With horizontal dropouts, both sides must match. Eccentric systems or special tensioners have their own adjustment procedures. If the bicycle has a hub motor, do not open or move the cable side without precise instructions from the manufacturer. Cables, torque arms, and washers may be arranged in ways that are relevant to safety.
Final check without the motor
After a proper adjustment, slowly turn the crank by hand through several revolutions. The chain should run evenly, should not move sideways, and must not contact the frame. Check its condition at several crank positions, since the chainring and sprocket never run in a perfectly identical manner. With a derailleur, check only the combinations permitted by the instructions.
Afterward, confirm that the axle is seated correctly, the brakes function properly, and the wheel spins freely. A short test ride should take place on a flat, traffic-free surface with a light load. Clicking, jumping, renewed slack, or a misaligned wheel ends the test. Use motor assistance only once the mechanical drivetrain is operating normally and the installation is clearly safe.
Frequently asked questions about a sagging bicycle chain
How much slack is acceptable for a bicycle chain?
There is no universal value. The drivetrain type, frame, hub, and tensioning mechanism determine the measurement point and range. Use only the specification for the specific system.
Is a sagging chain always worn out?
No. Incorrect chain length, a derailleur or tensioner problem, wheel position, chain routing, and stiff links are other possible causes. Wear is measured separately.
Can I simply pull the rear wheel backward?
There is no general answer. The axle securing mechanism, proper alignment, brake, gears, and, where applicable, motor cable must remain correctly positioned. Without suitable instructions, this is workshop work.
Why does the chain sag only in some gears?
With a derailleur, the cage changes position. However, significant contact or a lack of tension may still indicate an incorrect chain length, routing issue, or defect and should be inspected.
Conclusion: drivetrain system first, then the cause of the slack
If the bicycle chain is sagging, park the bike and first identify whether it has a derailleur, internal-gear hub, singlespeed setup, or separate tensioner. Then inspect the chain guide, damage, foreign objects, and wheel position from the outside. There is neither a universal slack value nor a safe general method for shortening the chain or moving the wheel back. In cases of severe, sudden, or recurring slack, a specialist workshop should check the chain length, wear, tensioner, and mounting.
As of September 6, 2026. Chain slack, the measurement point, and the adjustment procedure are specific to the drivetrain and model; specific manufacturer instructions take priority.
Share:
Fender rubbing against the tire: systematically identify the cause
Fender rubbing against the tire: systematically identify the cause