

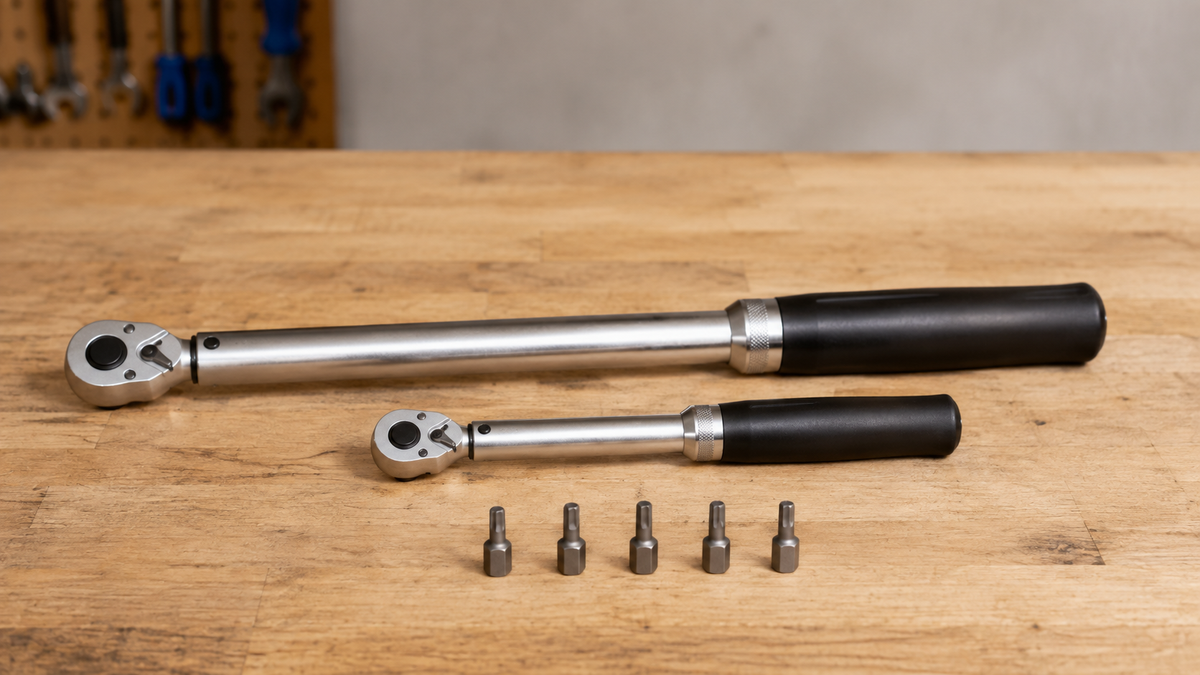
A torque wrench helps tighten a bicycle bolt to a specified torque. However, it does not know the correct value itself. What matters is the current instructions for the specific component, a suitable operating range, and proper use. Simply turning until the first click can still be wrong—for example, because of an unsuitable unit, a bit held at an angle, or a value intended for a different component.
What the torque value indicates
Torque describes the rotational effect of a force applied through a lever. On a bicycle, this is intended to produce the specified preload in a connection. The actual preload achieved also depends on the thread, friction, lubrication, washers, and contact surfaces. Therefore, a figure from a general chart is no substitute for the manufacturer's specification for the specific connection.
Too little preload can allow a connection to shift or come loose. Too much can overload the threads, clamp, or component—especially with lightweight designs and carbon contact surfaces. The Park Tool overview of torque specifications therefore emphasizes that component and bicycle manufacturers provide the authoritative specification.
Finding the correct target value in the right order
- Determine exactly which bolt connects which parts. A stem clamp is not the same as headset preload; a seatpost clamp is not the saddle clamp head.
- Read the instructions for the specific bicycle and installed component in the current version. If the specifications differ, do not guess—ask the manufacturer or a specialist workshop.
- Check any existing marking directly on the connection. Pay attention to whether it indicates a single value or an allowable range and whether it belongs to exactly that bolt.
- Check the unit. Newton-metres and other units must not be treated as equivalent without a correct conversion.
- Note the source and value before setting the tool. This makes it easier to spot an accidentally adopted value.
A search-result summary, dealer text, or generic “bicycle torque chart” may be outdated and may not account for the specific combination of frame, clamp, bolt, and surface treatment. If there is no clear manufacturer specification, the workshop is the safest shortcut.
Choose a tool that matches the task
The desired value must be within the wrench’s approved operating range. A very large workshop wrench is usually unwieldy for small bicycle fasteners; a small wrench must not be loaded beyond its range for high values. The manufacturer’s documentation and calibration status determine which part of the range can be used reliably.
The square drive, adapter, and bit must fit together completely. A worn hex socket or Torx bit damages the bolt head before the measurement becomes meaningful. Do not use an improvised extension on the handle. Open-ended attachments, joints, or long adapters can change the effective lever length and require handling as described by the tool manufacturer.
Before tightening: check the connection
- Park the bicycle securely, switch off the e-bike, and clear the work area.
- Check the bolt head, bit, thread, and contact surfaces for dirt, cracks, corrosion, or already damaged edges.
- Start the bolt by hand first. It must engage the correct thread without cross-threading.
- Use lubricant, threadlocker, or assembly paste only if the specific instructions require it.
- For clamps, check that the components are within their insertion, alignment, and clamping ranges.
A torque value applies under specific assembly conditions. If a thread specified for dry installation is oiled, the friction changes. Therefore, do not “overcome” a tight or rough-running thread with more tool force. Stop, clean or replace it only as instructed, or have the thread inspected.
How to use a torque wrench step by step
- Check the zero position, measuring direction, scale, and unit against the tool instructions. Set the documented target value and lock the setting, if applicable.
- Insert the correct, undamaged bit fully and straight into the bolt head. Keep the wrench and bolt axis aligned without lateral tilting.
- Hold the wrench in the designated grip area. Do not lean on the tool or use a pipe as an extension.
- Apply force slowly, evenly, and without jerking. With a click wrench, stop at the first clear release signal; repeated clicking increases the load.
- Unload the wrench, visually inspect the connection, and document the value. For multiple bolts, follow the sequence specified in the component instructions.
The Park Tool guide to use and care explains that click, beam, and digital tools are read and stored differently. The instructions for your wrench take precedence over any general routine.
Common errors and better alternatives
| Error | Why problematic | Better |
|---|---|---|
| Adopt the value of a similar bolt | The material, thread, and clamping may differ | Use documentation for the specific component |
| Insert the bit only partially | The bolt head may become rounded | Insert the correct bit fully and straight |
| Continue pressing after the click | The target value may be exceeded | Relieve the load at the first clear signal |
| Loosen with the measuring wrench | The tool may be overloaded or misadjusted | Use a separate loosening tool unless the manufacturer approves otherwise |
| Force a seized thread with a long lever | The thread, bolt, or component may fail | Stop and clarify the cause with a qualified professional |
| Apply an unknown paste | Friction and preload change | Establish only expressly approved installation conditions |
Multiple bolts require a sequence
On stem faceplates, clamps, or brake caliper adapters, the load is distributed across several bolts. They are not automatically tightened individually straight to the final value. First align the component with minimal stress, then follow the specified sequence, often in small alternating steps. Whether the gaps must be even depends on the design and the instructions.

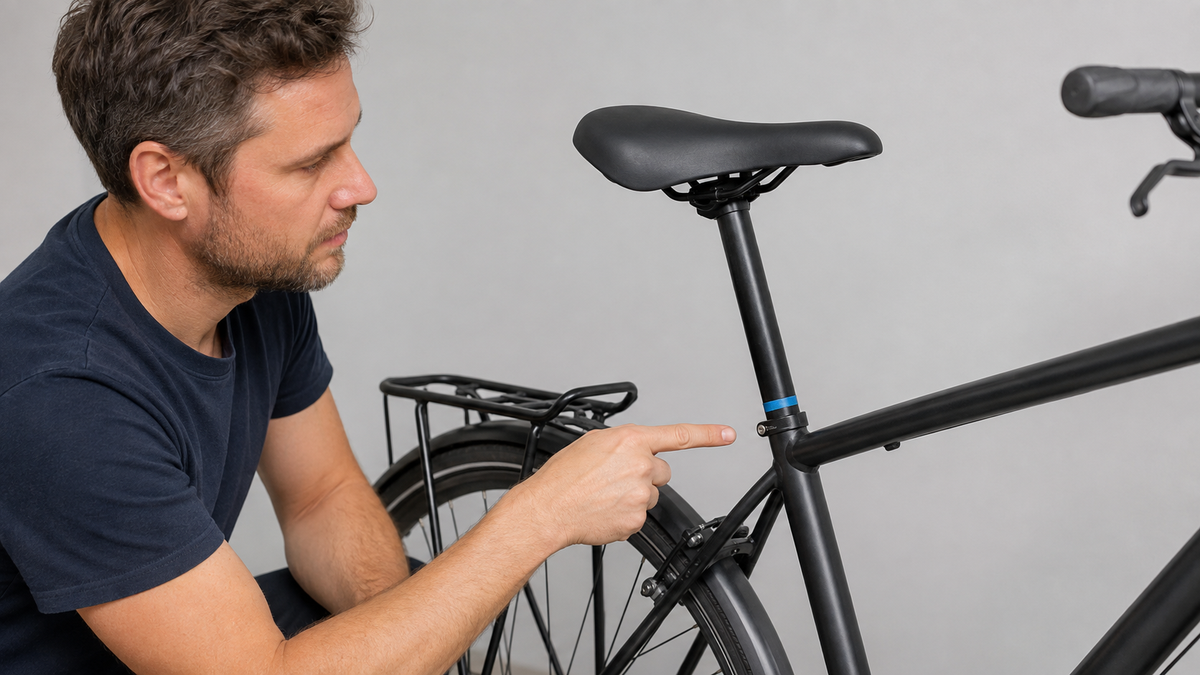
This also applies to components with a specified range. A range is not an invitation to choose the highest value as a precaution. If a support or handlebar slips when the approved procedure is followed, check the dimensions, contact surface, and condition. Our article on the slipping seat post addresses this troubleshooting in detail.
After use: relieve the load, store, and inspect
An adjustable mechanical click torque wrench is reset to the specified storage setting according to the manufacturer’s instructions—not turned below the permissible scale. A beam torque wrench is stored unloaded; digital tools are switched off and stored in a dry place according to their instructions. Protect all types from drops, moisture, and prolonged tension.
After a tool has been dropped, overloaded, or has shown noticeably inconsistent release, inspection or calibration is advisable. The interval depends on the manufacturer, usage, and quality requirements. Comparing it by feel with a second wrench is not calibration. Document servicing and unusual measurements.
Limitations for e-bikes and safety-relevant components
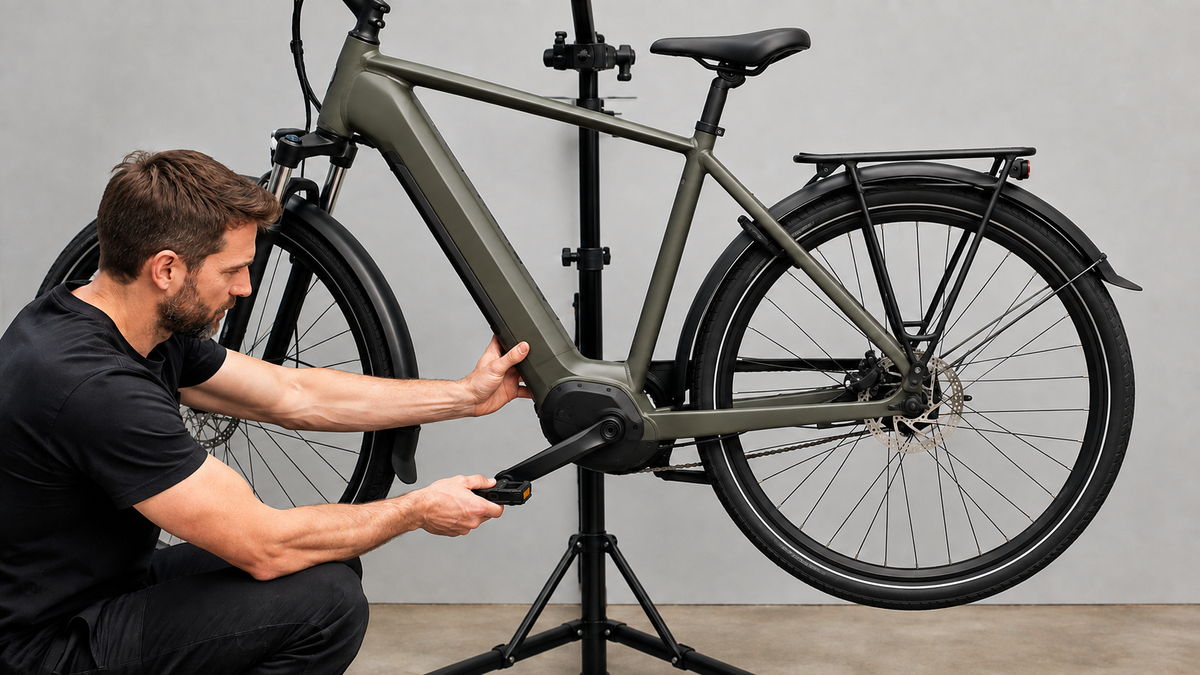
Motor mounts, battery rails, brakes, cranks, and suspension may require special tools, new screws, or a defined assembly sequence. Do not open electrical or load-bearing assemblies merely because you have a torque wrench. The Canyon MTB manual illustrates the priority of component labeling, instructions, and proper assembly.
Stop if there is a crack, deformed clamp, damaged thread, missing screw, unclear specification, or if the wrench releases before the component is securely fastened. A higher value must not conceal the underlying cause. A professional inspection is particularly advisable for brakes, steering, cranks, or wheel attachment.
Frequently asked questions
Which torque wrench do I need for a bicycle?
That depends on the target values for your specific tasks. The wrench must provide the required unit, measurement direction, drive, and a suitable approved working range. A single tool does not automatically cover every connection.
Can I use a general torque table?
For reference only, never as a substitute for the current manufacturer’s specification. The same screw size may have different requirements in different materials and connections.
Why shouldn’t I click again after the first click?
The release signal indicates that the set value has been reached. Further pressure may tighten the connection beyond the specified value.
Can a torque wrench save damaged threads?
No. Roughness, chips, visible deformation, or insufficient thread engagement are stop signs. The thread must be inspected before attempting assembly again.
Conclusion
When used correctly, a torque wrench makes assembly traceable. First, identify the connection, manufacturer’s specification, unit, and assembly conditions. Then use the appropriate working range, a fully inserted bit, and apply steady pressure until the first signal. Where the value, thread, or component condition is unclear, the tool does not replace a professional inspection.
As of September 6, 2026. The current documentation for the specific bicycle, component, and torque wrench is binding. The procedures listed deliberately contain no universal torque values.
Share:
Seat post slipping: check the causes instead of tightening the clamp more firmly
Crack in the bicycle frame? How to safely inspect and document a suspected crack