

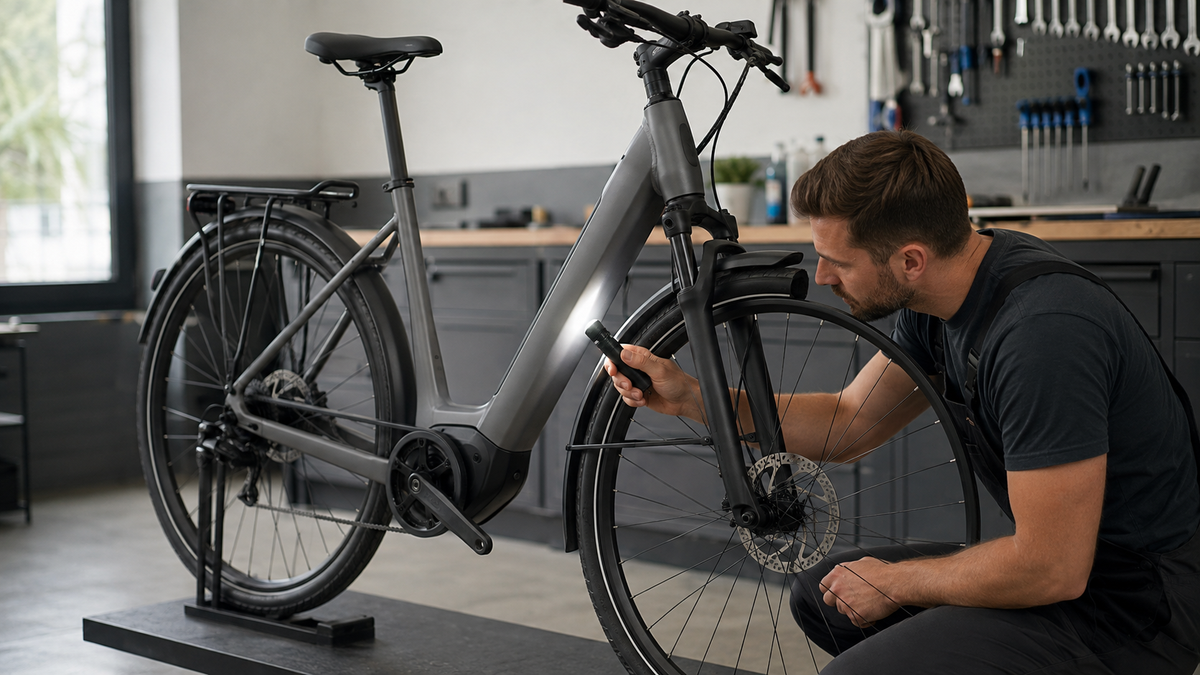
A fine line next to a weld seam, a new creaking sound, or a dent after falling over: When a possible crack in a bicycle frame is involved, what matters is not a quick remote diagnosis but a safe procedure. Park the bicycle, relieve the area of load, and document it. Whether only the paint or the load-bearing structure is affected cannot always be determined reliably with the naked eye.
If a crack is suspected, the first rule is: do not put it under further load
A frame connects the steering, drivetrain, saddle, and wheels. If it fails while riding, control can be lost without warning. Therefore, a visible crack, open seam, new deformation, or changing line should not be tested with a short test ride. Only push the bike if it remains stable, or arrange transport.
This also applies when the area looks small. The current Canyon inspection checklist lists cracks, dents, paint chipping, and deformations at weld seams, dropouts, and around the bottom bracket as inspection points. If frame damage is suspected, a specialist workshop should take over.
Paint line or frame crack: What you can identify yourself
A scratch often affects only the surface, while a paint crack can form along an edge or under a clamp. A structural crack can begin in a similar way. Color, width, or direction alone therefore do not provide reliable clearance. Especially with multilayer paint, weld seams, and composite materials, the visible mark may be smaller than the actual damage.
You can describe what is visible: Is the line open or merely discolored? Is it in a weld seam, at a tube junction, or under a clamp? Is there a dent, misalignment, or chipped material? Has the area changed since the last photo? These observations help the workshop. They do not replace a material inspection.
How to prepare for a gentle visual inspection
- Switch off an e-bike and place it on firm, level ground. Remove bags, locks, and loose accessories that obscure the frame.
- First photograph the entire bike and the still-unchanged area where the damage was found. This documents paint chips, dirt marks, and the location.
- Only then clean the suspected area with a soft cloth and the mild method approved by the manufacturer. No pressure washing, sandpaper, or aggressive solvents.
- Allow the area to dry completely. Examine it in diffuse daylight and additionally with a lamp held at a shallow angle.
- Also inspect the opposite side of the tube and adjacent connections without pressing, twisting, or bending the frame.
- Do not mark it with a knife or center punch. A photo and a removable external reference mark are sufficient for documentation.
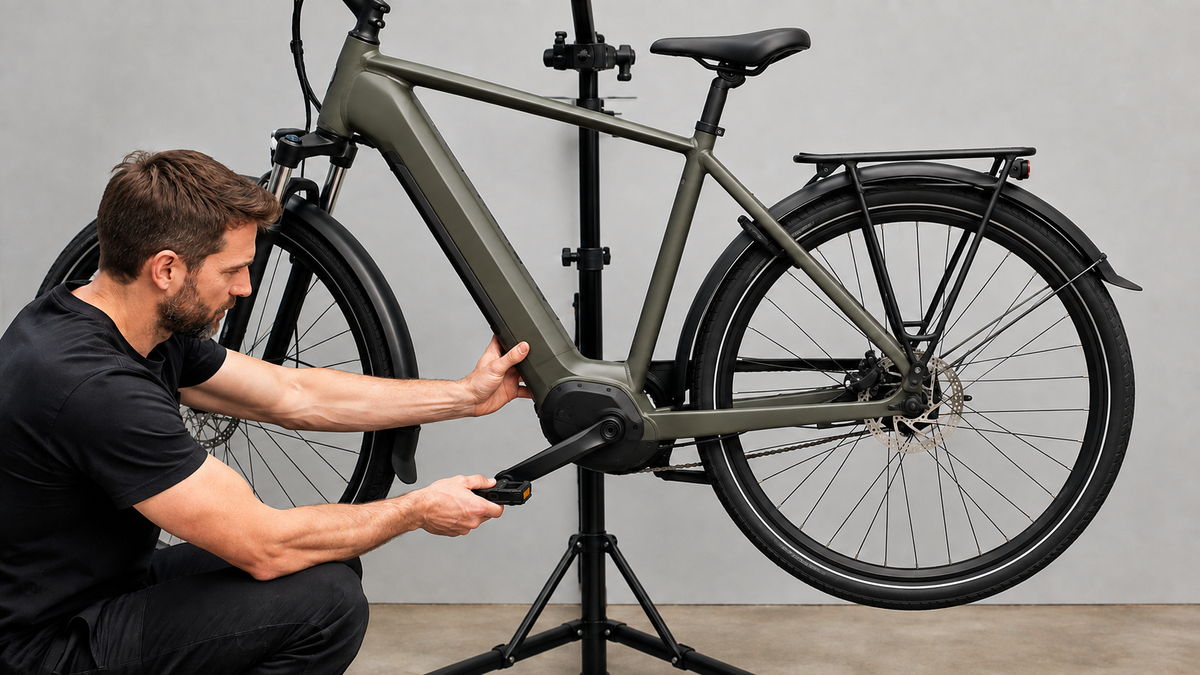
Do not clamp a thin-walled tube tightly in a vise or work stand. The Canyon mountain bike manual also warns against clamping frame tubes. Use a stable stand only at a designated clamping point.
These frame areas deserve particular attention
| Area | What to look for | Why the area may be under load |
|---|---|---|
| Head tube and fork connection | Lines, dents, misalignment, new paint chipping | Steering and braking forces act on the front end |
| Top tube, down tube, and welds | Interrupted seam, open line, deformation | Tube junctions transfer alternating loads |
| Bottom bracket and motor area | Crack line, loose mount, unusual gap | Propulsion forces act near several connections |
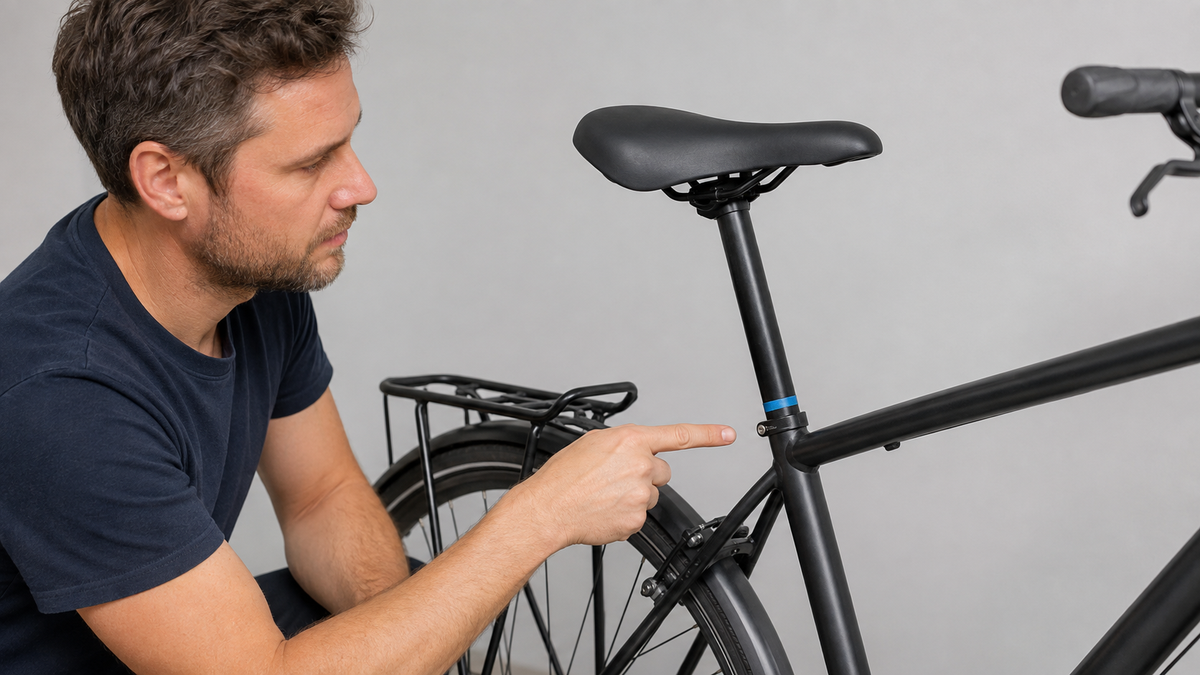
| Seat tube and seat clamp | Notch, widened slot, pressure mark | Clamping and rider load act together |
| Dropouts and axle mounts | Deformation, crack, damaged area around the thread | Wheel and braking forces are transferred here |
| Rack and battery mounts | Loose bushing, crack around a mounting point, chafed area | Point loads and vibrations can have an effect |
The table is not a list of typical Cyseekin damage and does not refer to any specific model. It only categorizes areas that are inspected on many bicycle designs. The frame material, design, usage category, and the instructions for the specific bicycle remain decisive.
Aluminium, steel, and carbon must not be assessed in the same way
On a metal frame, a crack, dent, bent contour, or corrosion may be visible. Even apparently minor damage must not be bent back or rewelded yourself. Heat and deformation alter the material and geometry; a qualified workshop, together with the manufacturer, determines whether a repair is permissible and can be carried out professionally.

With carbon, an impact can damage the internal structure even when little is visible on the outside. Tapping tests from videos are not a reliable home diagnosis because wall thickness, shape, cavities, and attached components affect the sound. After a crash, Canyon recommends having both aluminum and carbon frames inspected and refers users to service if they are uncertain. The Trek owner's manual likewise requires a thorough dealer inspection after a fall or collision before the next ride.
Creaking is an indication, but not proof
Noises can come from the pedals, saddle, luggage rack, cables, headset, or drivetrain and can be transmitted through the frame. A creaking sound therefore does not pinpoint a crack. Check loose accessories only while stationary and according to the instructions. If the noise remains new, load-dependent, or persists together with a visible change, do not continue riding.
After an impact to the front wheel or handlebar, the wheel, fork, stem, and steering also need to be inspected. Our guide to headset play explains two stationary checks, but it also does not authorize riding after possible structural damage.
Document the damage so that an inspection is possible
- First photograph the entire bicycle, then the affected side of the frame.
- Take an overview photo and several sharp close-ups with the light coming from different directions.
- Place a neutral scale next to the area without touching or covering it.
- Record the date, mileage, circumstances in which it was discovered, and any fall, impact, transport incident, or unusual noise.
- Keep the model designation, frame number, and proof of purchase separately; do not publish the full frame number publicly.
Repeat a photo only without applying additional stress. If a line becomes longer, opens up, or more paint flakes off, that is important information. However, there is no need to wait for a change: reasonable suspicion alone is sufficient to stop riding.
What the manufacturer or workshop needs to know
Specify the bicycle model, frame material, frame size, intended use, and load. Describe the exact location rather than just saying “on the frame”: for example, the left side of the seat tube directly below the upper weld. Mention any previous repairs, accessory clamps, child seats, trailers, luggage racks, or transport holders if they were positioned near the area.
Depending on the material and damage, the specialist inspection may include a detailed visual inspection, measurement, disassembly of adjacent parts, or a suitable non-destructive testing method. Not every workshop offers every type of material diagnosis. Ask who will document the decision and whether manufacturer approval, repair, or replacement is intended.
No DIY repair with glue, a drill, or a welding machine
Drilling a hole at the end of the crack, gluing, bandaging, or welding a metal seam yourself is not a reliable solution for a complete bicycle. The repair must take the material, wall thickness, heat treatment, alignment, and intended load into account. Even a smooth-looking exterior does not prove safe residual strength.
Only remove paint if the manufacturer or inspecting specialist workshop explicitly requires it. Unauthorized sanding can destroy evidence, damage fibers, and make the warranty inspection more difficult. Keep replaced parts only if the retailer permits it and they can be stored safely.
Frequently asked questions
Can I still ride to the workshop with a small crack?
No, a safe remaining distance cannot be determined without an inspection. Only push the bicycle if it remains stable, or have it transported.
Does a photo prove that only the paint is cracked?
No. A good photo documents the location and change, but it cannot reliably show the depth and internal structure. Approval must come from the manufacturer or a specialist workshop.
Is a cracked frame automatically covered by the warranty?
That depends on the cause, age, use, purchase contract, and the specific warranty terms. Documentation and proof of purchase are helpful; the legal assessment is made on a case-by-case basis.
Can an aluminum frame be bent back?
Not as a general DIY solution. Bent or cracked load-bearing parts can fail after further deformation. Have the repairability and geometry professionally assessed.
Conclusion
If a bicycle frame may be cracked, the safest decision is to err on the side of caution. Take the load off the bike, gently clean the area, document its location and history, and have the material and structure inspected. Paint, noise, or an internet photo do not constitute approval to ride. This protects you and provides the manufacturer or workshop with the information needed to make a reliable decision.
As of September 6, 2026. The operating instructions and approvals of the specific bicycle or frame manufacturer, as well as the assessment by a qualified specialist workshop, are authoritative.
Share:
Seat post slipping: check the causes instead of tightening the clamp more firmly
Bicycle rim damaged: Assess the crack, dent, and brake track