

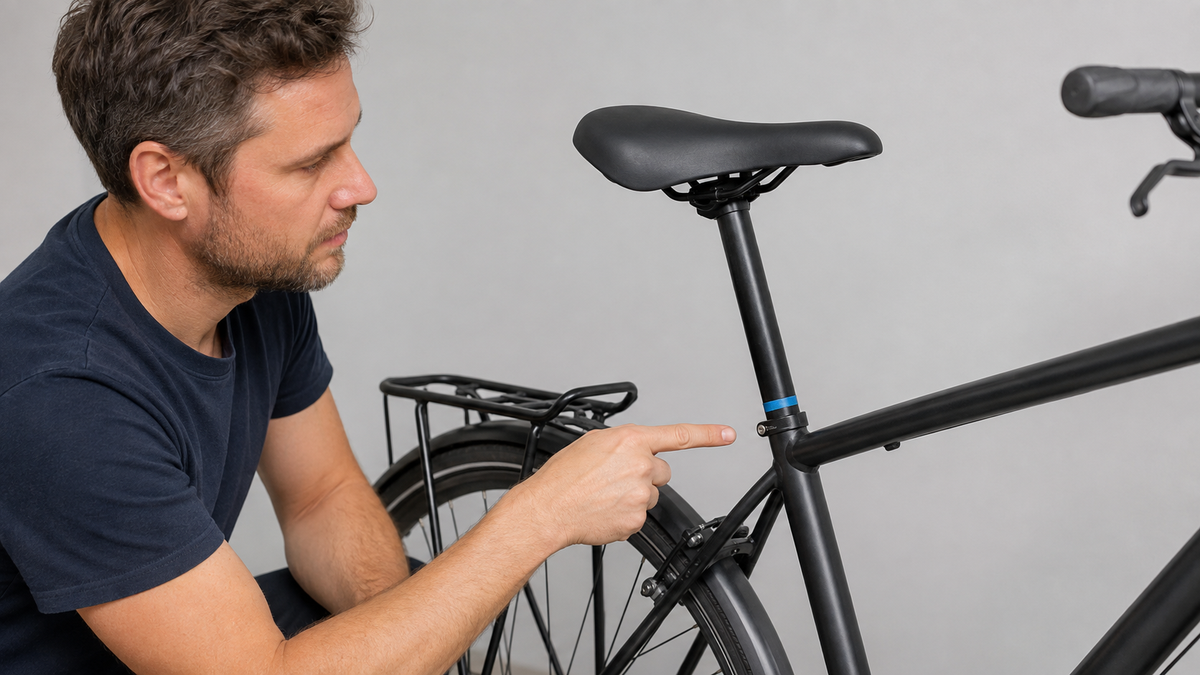
If the seatpost drops while riding or the saddle rotates sideways, the solution is not automatically to apply more force to the clamping bolt. The size, insertion depth, contact surfaces, and clamp design often need to be checked together. Exceeding the specified torque risks damaging the seatpost, clamp, or frame without addressing the underlying cause.
First clarify: Is the seatpost slipping, or only the saddle?
A slipping seatpost moves as a whole tube inside the seat tube: the height decreases or the seatpost twists. If only the saddle nose tilts up or down, the problem is more likely with the clamp head and saddle rails. Therefore, mark the seatpost’s position at the upper edge of the seat tube with a narrow, removable piece of tape. Do not cover or damage markings or the minimum insertion line.
Measure the visible height when unloaded and photograph the alignment from behind. For this diagnosis, do not sit again on a saddle that has already suddenly dropped. Visible deformation, a crack, a widened seat tube opening, or a damaged clamp head means stop riding.
These observations distinguish the causes
| Observation | Area to be checked | Do not do this prematurely |
|---|---|---|
| The seatpost drops straight down | Measurement, contact surface, clamp, insertion depth | Tighten the clamping bolt beyond the specified torque |
| The seatpost twists | Clamp fit, diameter, slot, and alignment | Roughen the tube or secure it with adhesive |
| Only the saddle nose tilts | Saddle clamp head and rail position | Tighten the frame clamp further |
| Height changes without visible tube movement | Dropper post, cartridge, or remote | Open a hydraulic or electronic unit without inspection |
| Creaking without height loss | Saddle rails, clamp head, contact surfaces, accessories | Automatically attribute the noise to the frame clamp |
This article covers unwanted movement, not the ergonomically correct riding position. For the initial setting, see our separate guide to bicycle saddle height. Pain or recurring discomfort should be assessed through a bike fitting or medical examination, regardless of the clamping issue.
Stop immediately if you find any of these damages
- Crack, deep notch, bulge, or kink on the seatpost, seat tube, or clamp
- The seatpost is positioned above the minimum insertion mark
- The clamping bolt spins freely, threaded parts are missing, or the bolt head is damaged
- The saddle or seatpost drops noticeably during a single brief load
- The frame slot is visibly widened or the clamp is sitting crooked
Push the bicycle or transport it to a workshop. A clamp can suddenly give way under body weight; another test ride is not a meaningful load test in that situation.
Document everything before removal
Switch off an e-bike, remove the battery only according to the manufacturer's instructions, and secure the bike. Photograph the previous height, alignment, clamp, and all visible markings. Note whether the problem began after rain, transport, cleaning, a component replacement, or a height adjustment.
Check whether a hose or cable runs through the post. With dropper, suspension, or electric posts, uncontrolled removal can damage the hose, connector, or actuator. If the routing is unclear, leave the post installed and take it to a workshop.
Remove the post and check the contact surfaces
- Loosen the clamp only with the designated tool and only as far as necessary. Hold the post securely so it does not fall into the frame.
- Pull a standard post straight out. Tilting it, striking it hard, or twisting it with a long lever is not a solution for a stuck post.
- Wipe the post, clamp, and accessible upper area of the seat tube with a clean, lint-free cloth. Do not use sandpaper, a file, or a wire brush.
- Look for cracks, burrs, crushing, corrosion, unusual wear, and uneven pressure marks.
- Check the post size printed on it or specified in the manual, as well as the designated clamp type.
The Park Tool guide to removing and installing seatposts identifies the correct size, sufficient insertion depth, and material-appropriate installation as key requirements. An outside diameter measured with calipers alone does not replace the manufacturer's approval, because the frame, reducing sleeves, and tolerances must be considered together.
Check the clamp, seat tube slot, and sleeve
A separate clamp must sit completely and straight on the designated seat. Depending on the design, its opening may need to be aligned with the seat tube slot or deliberately positioned differently; blanket rules are risky here. Check the drawing in the frame manual. An integrated wedge clamp has a different installation sequence.

If a reducing sleeve is specified, it must have the correct length, orientation, and material approval. Makeshift sleeves cut from beverage cans, foil, or several loose layers do not provide defined clamping and may create sharp edges. If a sleeve is missing or only makes point contact, do not improvise.
Also check the bolt, nut, washer, and thread. A clamp that is already touching at its ends while the post is still slipping indicates a dimensional or component problem. Applying more torque may then compress the frame without creating sufficient circular clamping.
Use grease or assembly paste only as appropriate for the material
For a metal seatpost in a metal frame, the manufacturer’s instructions may specify a suitable assembly or corrosion-protection product. Carbon, painted contact surfaces, composite materials, or special coatings are subject to different requirements. Therefore, do not use multipurpose grease or carbon assembly paste automatically.
Park Tool lists compatible assembly paste as a possible measure if a correctly sized seatpost still slips at the recommended torque. This does not replace checking the dimensions and inspecting for damage. Assembly paste must not be applied to threads, braking surfaces, or electrical contacts unless the relevant instructions expressly require it.
Home remedies such as hairspray, cola, tape inside the seat tube, or deliberately roughening the surface cannot be controlled. They can damage paint and material, trap water, or make later removal more difficult.
Reinstallation without overclamping
- Establish only the installation condition approved for the material and components. Remove any excess on the outside with a clean cloth.
- Insert the seatpost straight and at least to the minimum insertion mark. If the frame specifies a greater minimum depth, use the stricter value.
- Align the saddle and clamp without applying lateral force. Observe the permitted clamping zone of the saddle rails.
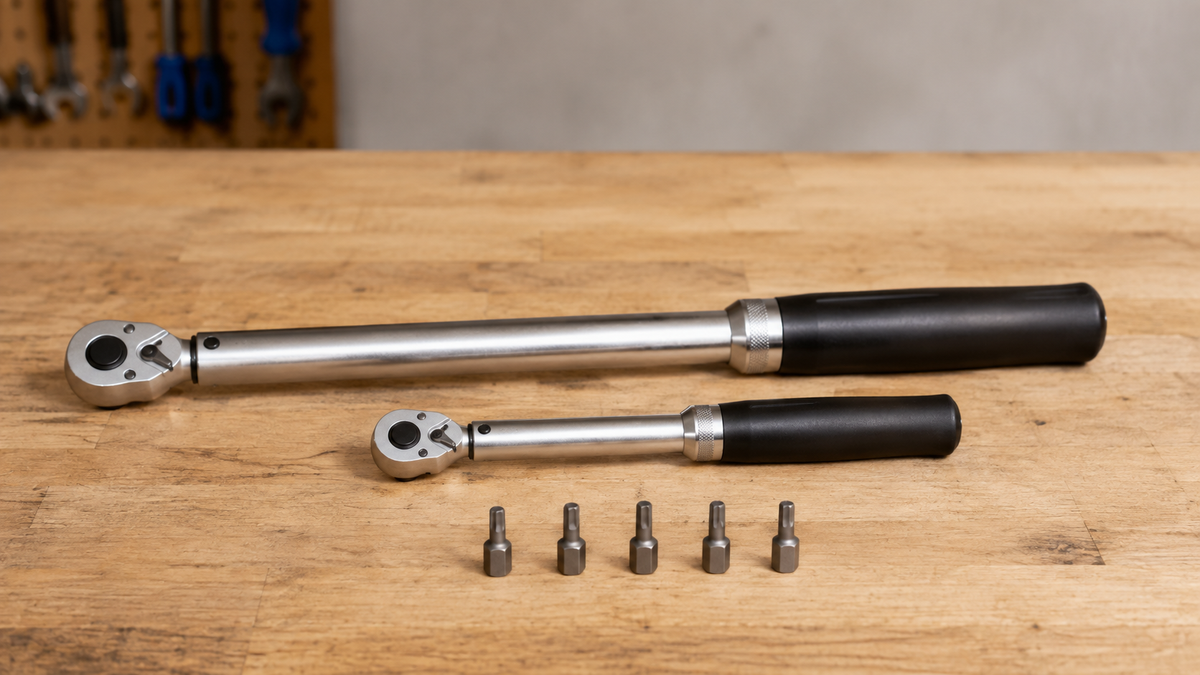
- Tighten the clamp bolt with the specified tool, in the stated sequence, and to the specific target value.
- While the bike is stationary, check with moderate hand pressure that the height and direction remain unchanged. Stop immediately if there is any movement.
The Park Tool chapter on saddle and seatpost adjustment distinguishes between saddle tilt, position, and seatpost height. These adjustments are made one after another so that any movement can be clearly attributed.
Why “a little tighter” is not a diagnosis
Depending on the marking, a specified torque value may be a target value, a range, or a maximum value under defined conditions—not a universal test. If the seatpost does not stay in place when correctly installed, possible causes include an incorrect diameter, a damaged clamp, a deformed seat tube, an unsuitable surface combination, or a defective seatpost mechanism. The next step is to investigate the cause, not use a longer lever.
With carbon components, crush damage can begin externally without being noticeable. The Canyon MTB manual refers to minimum insertion depth, specific torque markings, and handling appropriate for the material. Its values must not be transferred to another bicycle.
Controlled test after installation
Apply a new removable reference mark and measure the height. While standing, carefully press on the front and rear edges of the saddle without sitting on it. If nothing changes and there are no signs of damage, perform only the functional check specified in the manufacturer's instructions. If in doubt, do not ride.
After professional approval, a short, flat ride without luggage can show whether the mark remains stable. Check it again immediately afterward. Any renewed lowering, rotation or new creaking ends the test. Document the distance and change for the workshop.
What the workshop should know
- Frame and seat post model, material and specified diameter
- Clamp type, any reducing sleeve and the assembly paste found
- Measured lowering or rotation and the time period
- The manufacturer's specified value and tool type used, without concealing any attempts to retighten it yourself
- Photos of contact marks, the minimum insertion mark, the clamp and the seat tube opening
With a dropper post, information about the remote, cable or line, and behavior without rider load also applies. Do not open the cartridge or electrical unit without service authorization.
Frequently asked questions
Can I simply tighten the clamp bolt more?
No. Overtightening can damage the frame, threads or seat post. If the correctly installed post slips at the specified torque, the dimensions, clamp, surfaces and condition must be checked.
Does carbon assembly paste always help?
No. It must be approved for the specific material combination and the manufacturer's instructions. An incorrect diameter or a damaged clamp will not be repaired by this.
Why does the seat post rotate even though it does not sink?
Rotation also indicates insufficient clamping or an unsuitable contact surface. Check the dimensions, sleeves, alignment and component condition just as systematically.
Can I continue riding with a seat post that is slipping only slightly?
A safe remaining distance cannot be determined in general terms. Sudden lowering affects control; if movement is confirmed, walking or transport is the more reliable choice.
Conclusion
If the seat post slips, first determine which connection is actually moving. Document the height and direction, check the minimum insertion mark, dimensions, clamp and contact surfaces, and use only approved installation conditions. If the post does not remain stable at the specified torque, additional leverage will not help: the connection then requires professional inspection.
As of September 6, 2026. The current operating and installation documentation for the frame, seat post, clamp and, where applicable, reducing sleeve, as well as an assessment by a qualified specialist workshop, are authoritative.
Share:
Bicycle Torque Wrench: Finding the Right Values and Using It Correctly
Crack in the bicycle frame? How to safely inspect and document a suspected crack