

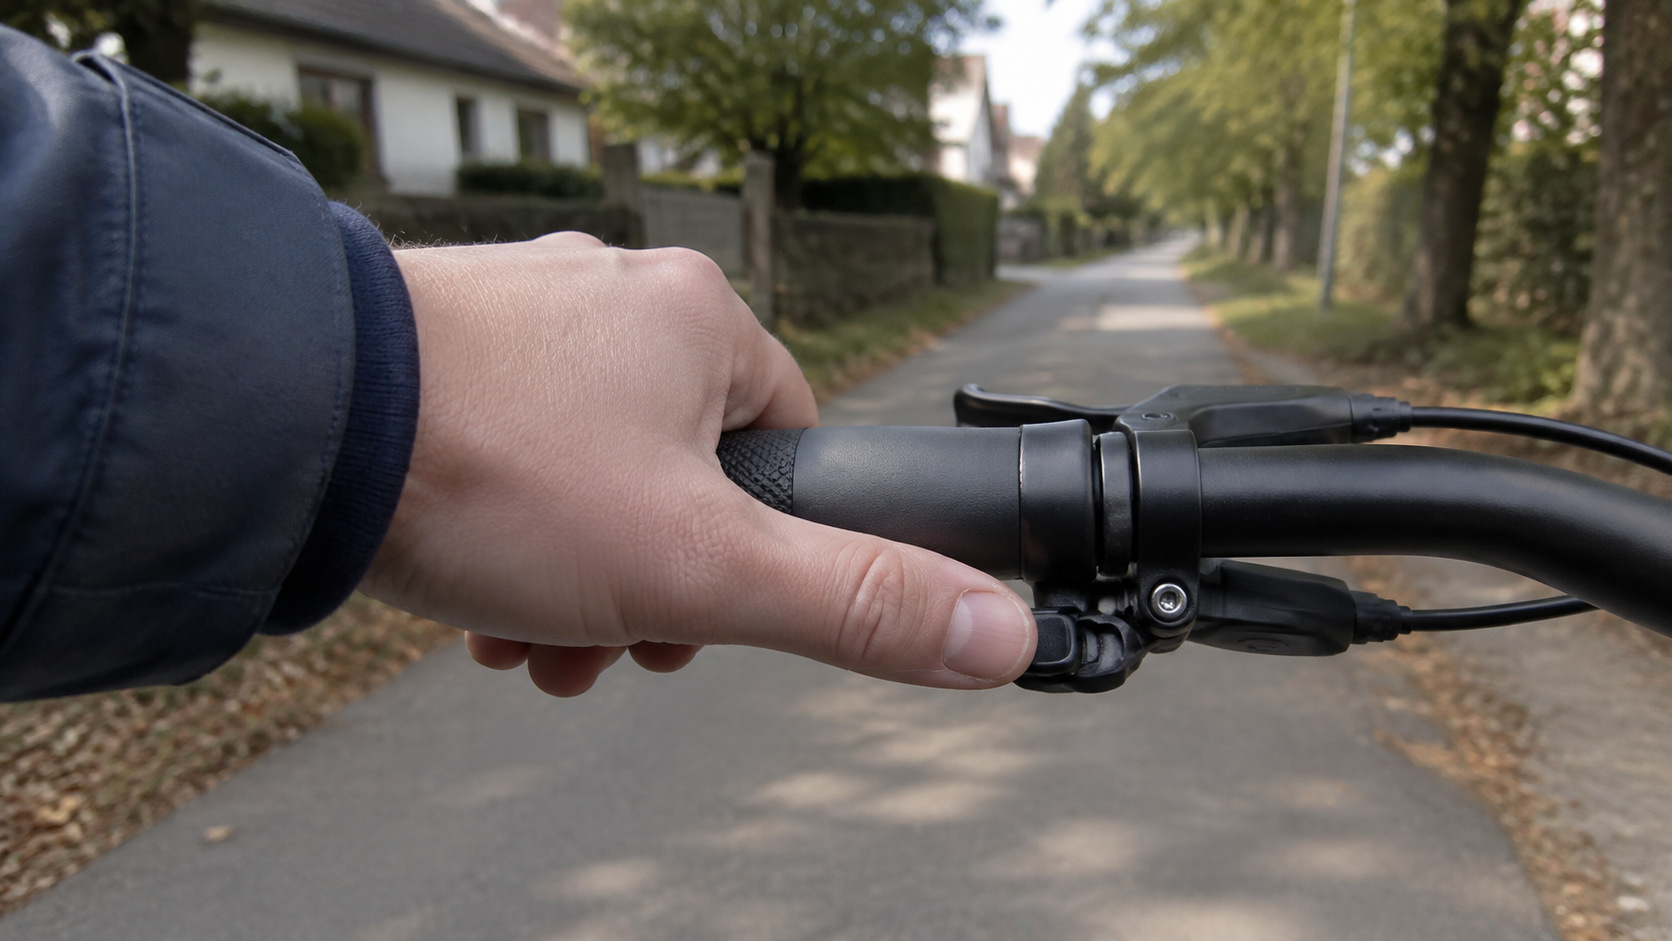
Shifting correctly on an e-bike primarily means selecting the right gear early and not forcing the gear change with a powerful pedal stroke. With a conventional derailleur system, continue pedaling lightly while shifting. Hub gears and electronic systems have their own operating instructions. The motor's assistance level and the selected gear are two different settings.
Identify the gear system first
If you see several sprockets next to one another and a rear derailleur, you have a derailleur system. With a hub gear system, the gears are located in the rear wheel hub. A visible chain alone therefore does not distinguish between the two systems. Check the component designation or the operating instructions before following instructions intended for a different type of gear system.
The button layout is not the same everywhere either. Check which lever selects an easier gear, and try it out on a flat, traffic-free surface. Look ahead while riding, not at the derailleur.
Derailleur system: a smooth process
- Look ahead: Select an easier gear before a climb or an anticipated stop, while you can still pedal calmly.
- Reduce pedal pressure: Pedal more gently for a moment without stopping the cranks completely. FLYER describes this process in its original operating instructions in the Gear Shifting chapter.
- Shift deliberately: When practicing, start with a single gear change. Let the chain move to the next sprocket before pedaling harder again.
- Check how it feels to pedal: You should be able to pedal evenly. If the resistance becomes too high, shift down again in good time instead of forcing your way through with excessive effort.
The fact that the cranks must be turned when operating a mechanical shift lever is also stated in the SHIMANO operating instructions for shift levers. Clicking the lever while stationary does not reliably move the chain onto the desired sprocket. After an unexpected emergency stop, you should therefore not try to catch up on the gear change with a powerful pedal stroke.

Decide earlier on hills
Do not wait until you are almost stationary. Shift to an easier gear at the start of the climb. If another gear change becomes necessary, briefly reduce pedal pressure and continue riding in a controlled manner. If it is no longer possible to change gear safely, stop at a suitable place. Dismounting is more sensible than forcing a difficult gear in traffic.
A higher assistance level does not replace a suitable gear. How the motor responds during shifting depends on the drive system. You must not assume automatic load relief without corresponding information from the manufacturer.
Hub gears: do not apply the same rule
For the systems described in the SHIMANO NEXUS instructions, you should reduce pedal pressure and shift one gear at a time. Whether your hub allows shifting while stationary or requires a brief pause in pedaling is stated in its own instructions. The general rule “always keep pedaling while shifting” therefore does not apply to every e-bike.
Electronic special functions also depend on the model. Do not apply instructions for automatic shifting to a conventional mechanical gear system.
Frequently asked questions
Which gear is right for starting off?
A gear that lets you set off in a controlled manner without pushing hard. A specific gear number cannot be applied to all gear ratios and loads.
Do I have to switch off the motor when shifting?
There is no general rule. What matters is the information provided by your drive and gear-system manufacturers. With a conventional derailleur system, start by practicing gentle pedal movements and a deliberate gear change.
What should I do if the chain skips despite pedaling gently?
Do not repeatedly force the gear change. Have the cause checked if the gear system is working unreliably. This process does not replace adjustment or repair.
You can find more practical tips for your everyday rides on the Cyseekin E-Bike Blog.

Share:
Lake Constance–Königssee Cycle Route in 7 Days: From Lindau to Schönau
Adjust your bike helmet correctly: How to check the fit