

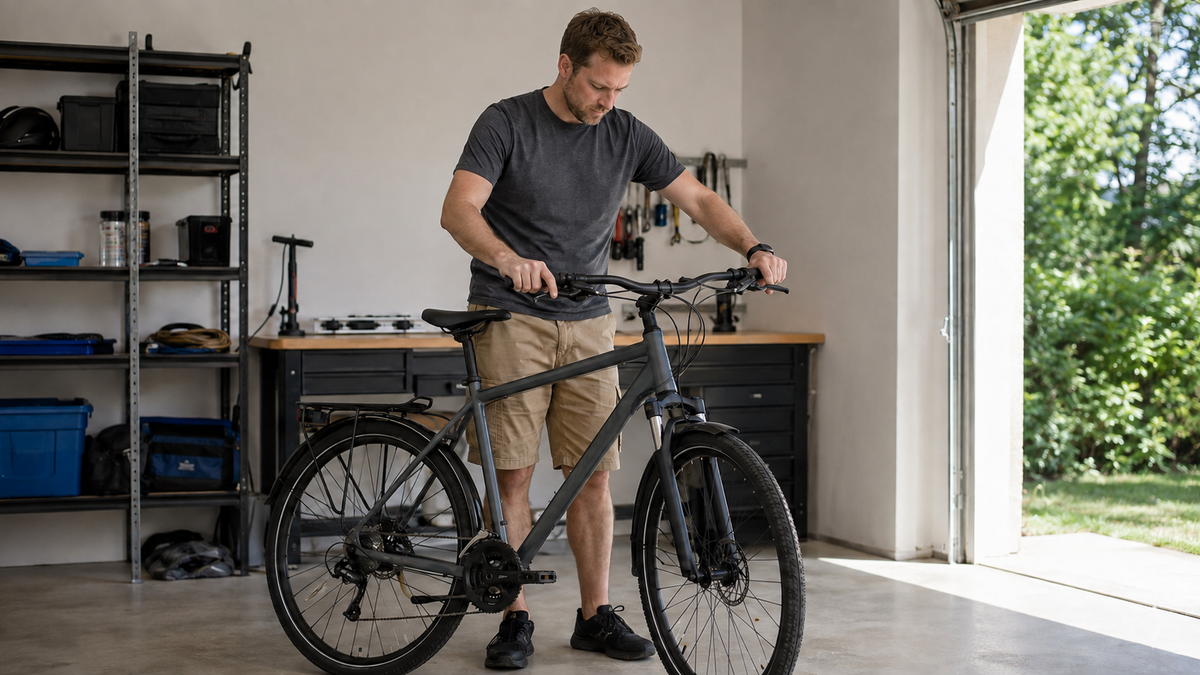
A bicycle brake check before riding takes only a few minutes and is more important than any comfort setting. Under Section 65 of the German Road Traffic Licensing Regulations (StVZO), a bicycle needs two independent brakes. Both must work. The following check detects obvious defects, but it does not replace the instructions for the installed system or professional maintenance.
Why both brakes must be checked separately
Section 65 of the StVZO requires an adequate brake that can be operated easily while riding and that decelerates effectively. For bicycles, the regulation expressly specifies two independent brakes. A properly functioning drive system or the motor cutoff on a pedelec is not a second brake.
Therefore, check the front and rear brakes separately. This is the only way to notice if one side transfers hardly any braking force. Which lever operates which brake is not the same on every bicycle. Determine the assignment while stationary before beginning the rolling test.
Step 1: Stabilize the bicycle and wheels
Place the bike on level ground, switch off a pedelec, and hold it securely. Both wheels must be fully and correctly installed. Check the axles or quick-release skewers according to the bicycle’s instructions. A loose wheel can cause brake noise, rubbing, or dangerous loss of control.
Only lift the bike if you can hold it without the risk of tipping. Turn each wheel slowly. It should rotate freely and without noticeable lateral movement. A slight, localized noise can have various causes; heavy rubbing, play, visible wobbling, or contact between the tire and frame must be resolved before riding.
Step 2: Check lever feel and brake actuation
Operate each brake lever separately several times. The lever should build up clear, repeatable resistance and should not pull all the way to the handlebar. A wandering or spongy bite point, unusually long lever travel, or a suddenly changed feel is a warning sign.
With a hydraulic brake, look for moisture or traces of oil on the lever, hose, connections, and caliper. With a mechanical brake, check the cable and housing for broken strands, severe kinks, rust, and loose ends. Do not open any hose or loosen any clamp for this purpose. This check is an inspection, not a repair.
Step 3: Inspect braking surfaces and pads
With a disc brake, inspect the cold rotor for cracks, severe deformation, and discoloration. Do not touch the braking surface with greasy fingers. The pads must be securely seated and still above the wear limit specified by the manufacturer. There is no universal millimeter value for all systems; find the model designation and use the appropriate manual.

With a rim brake, both pads should fully contact the braking surface, not the tire. Grooves or markings on the pad and wear indicators on the rim should be assessed according to the manufacturer’s instructions. A heavily worn, cracked, or noticeably deformed rim is a stop signal. Wet or dirty braking surfaces affect braking performance and must be treated using an approved method.
Step 4: Load each brake while stationary
Apply the front brake and carefully push the bicycle forward. The front wheel should remain locked while the bicycle as a whole stays stable. Repeat the test with the rear brake. Watch for slipping cables, moving calipers, clicking mounts, or a lever that continues moving toward the handlebar under constant hand force.
This test is not about applying maximum force. Jerking too hard can tip the bicycle over and says little about controlled braking. If a component visibly moves or resistance decreases, do not proceed to the riding test.
Step 5: Slow rolling test on an open surface
Only after passing the visual and stationary checks should you roll at walking speed on a level, dry, traffic-free surface. Test each brake separately using controlled hand force. The bicycle must decelerate noticeably and predictably without the lever travel suddenly increasing. Then test both brakes together.
Keep your upper body stable, both hands on the handlebar, and leave enough room to roll out. A parking lot with moving vehicles, a slope, gravel, leaves, or wet conditions is unsuitable. For this test, keep a pedelec’s motor assistance switched off to prevent unexpected propulsion.
What noises mean—and what they do not
A slight rubbing or squeaking noise alone proves neither sufficient nor insufficient braking power. Noise can be caused by moisture, dirt, alignment, wear, or resonance. Conversely, a quiet brake may not grip adequately. Therefore, assess the condition, lever feel, and controlled deceleration together.
If metal is rubbing against metal, braking performance decreases significantly, or the system suddenly sounds and feels different, stop riding. Do not spray oil or universal maintenance products on the brake, rotor, or rim braking surface. Braking surfaces and chain maintenance require separate cloths and work areas.
When a workshop should take over
- One of the two brakes does not decelerate reliably.
- The lever can be pulled to the handlebar or the bite point moves.
- Hydraulic fluid is leaking or a cable is frayed.
- The rotor, rim, lever, hose, brake caliper, or mounting is cracked, loose, or severely deformed.
- The pads are at or below their model-specific wear limit.
- The wheel has play or is not securely attached.
The MAGURA safety instructions expressly limit self-servicing to users with the appropriate knowledge and tools. Shimano also provides model-specific user and dealer manuals. Instructions for a different brake system must not be applied to your bicycle.
Everyday inspection schedule
The brief lever and rolling check should be performed before every ride. A more thorough visual inspection is also advisable after removing a wheel, transporting the bicycle, a crash, a long period of storage, heavy rain, or unusual noises. If carrying loads, towing a trailer, or riding down a longer descent, check sooner because greater mass and heat place more strain on the brakes.
Record any noticeable change: which lever, cold or warm, only when wet or all the time. This observation helps the workshop make a targeted diagnosis. Do not try to judge a disappearing bite point as “repaired” by repeatedly pumping the lever. A brake must work reliably and consistently.
Frequently asked questions
How can I test whether my bicycle brake works?
First check the wheel, components, and lever while stationary. Then test each brake separately and both together at walking speed on a clear, level surface.
How can I tell whether my brake pads are worn out?
Use the wear indicator or minimum thickness specified in the instructions for the specific pad and brake system. A value from a different model is not a safe universal limit.
Is slight brake rubbing acceptable?
A brief noise can have several causes. Heavy, continuous rubbing, visible deformation, heat buildup, or impaired function must be investigated before riding.
Can I ride to the workshop with only one functioning brake?
No. Bicycles must have two independent brakes. If road safety is significantly compromised, do not ride the bicycle; push it safely or transport it instead.
Last updated: September 6, 2026. The current StVZO and the operating and maintenance documents for the specific installed brake are authoritative.

Share:
Riding a bicycle without using your hands: What Section 23 of the German Road Traffic Regulations prohibits
Retrofitting bicycle turn signals: What the German Road Traffic Licensing Regulations permit