

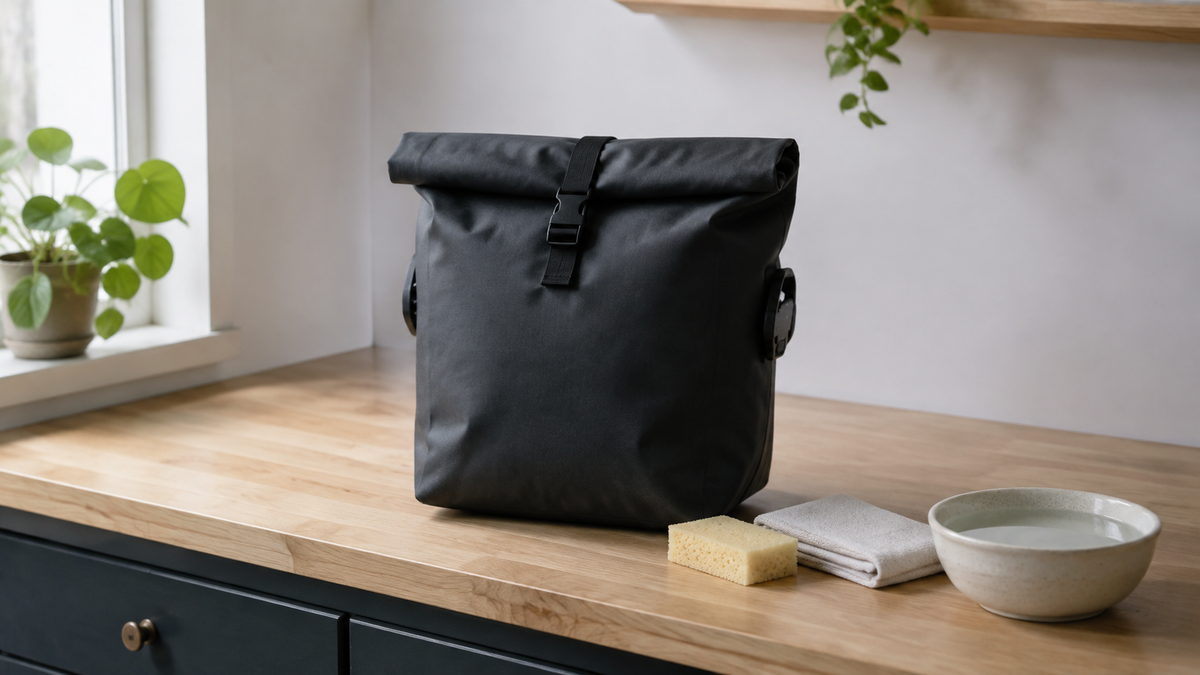
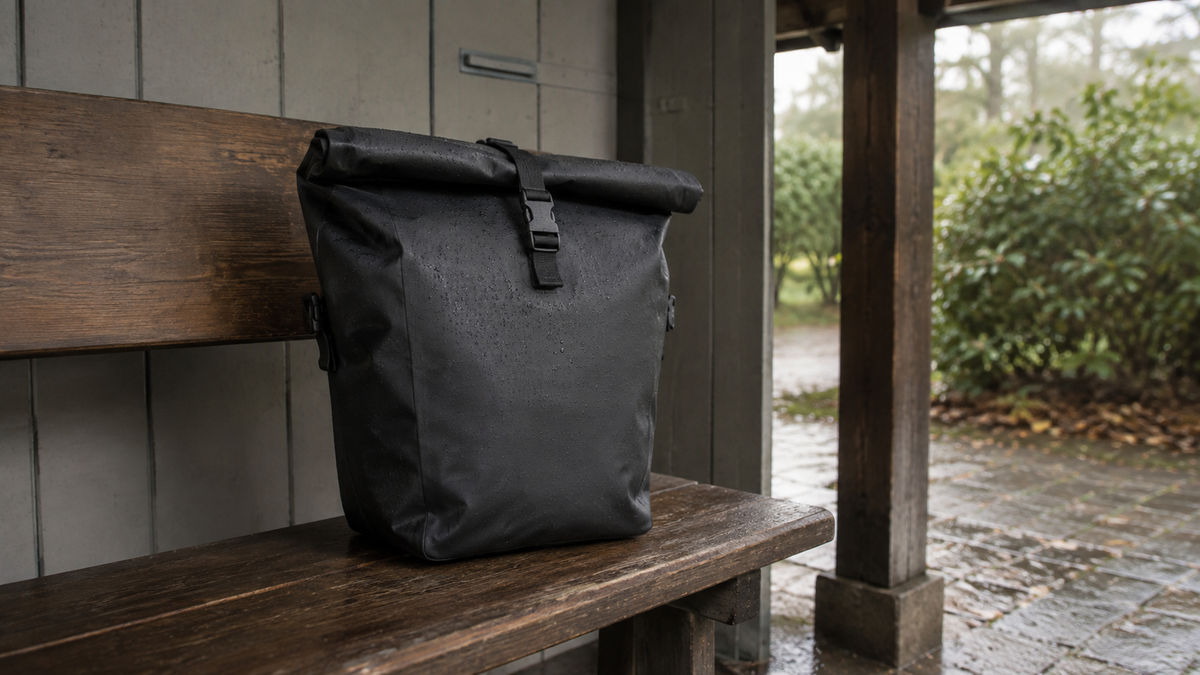
After a rainy ride, the bicycle bag is dirty on the outside. After shopping, something may also have spilled inside. Neither requires an extensive washing session, but rather a suitable process: empty the bag, check the material and care instructions, clean selectively and leave it open to dry. What matters is not whether the outside already looks clean. The bottom, inner compartments and closure must also be ready for the next use.
First determine which bag you have in front of you
A coated roll-top bag, a textile office bag and a removable organizer may have different care requirements. Look for the model on the label or in your purchase documents. On the manufacturer’s website, care instructions are often listed with the material information or under Downloads. The term “waterproof” does not authorize machine washing, soaking or the use of arbitrary cleaning products.
The manufacturer examples mentioned here apply to their products. They do not constitute care approval for Cyseekin accessories or every bag on a Cyseekin e-bike. If the material is unknown, check the instructions first. Treat a removable inner compartment only according to its own instructions as well; removable does not automatically mean machine-washable.
Emptying the bag and removing dirt selectively
Take the bag off the bike and empty all compartments. Remember keys, electronics, documents and the small side pocket with the cereal bar. Keep clean items separate from damp ones. Remove only inserts or straps that the instructions specify can be removed. You do not need to disassemble mounts on suspicion for normal cleaning.
In its care FAQ, ORTLIEB recommends warm water and mild soapy water. Solvents, pure alcohol and acidic cleaners are expressly excluded. For your work surface, a clean sponge or soft cloth with the product permitted for the bag is therefore sufficient to start with. Do not use the oily cloth you previously used to wipe the bicycle chain.
Work on the outside and inside separately: first loosen visible dirt, then clean the affected area and wipe away residue with a clean, damp cloth. Our practical suggestion is to moisten only as much of the surface as necessary for the dirt. A single leaked lunch box is no reason to submerge the entire bag, padding and all, in water.
Check the individual areas separately
This table is an editorial process guide, not universal material-care instructions. The specific approval of the bag manufacturer takes precedence. It is especially worth consulting the product documentation for bonded inserts and special closures.
| Area | Practical work step | Check before packing away |
|---|---|---|
| Outer shell | Clean dirty surfaces with an approved product and a soft cloth | No visible residue or new damage |
| Base and inside corners | Remove crumbs and spilled contents completely | Even deeply recessed areas are dry |
| Removable insert | Treat separately according to its own care instructions | Padding and underside are also dry |
| Roll-top closure | Open for cleaning and check the folded areas | No trapped dirt, material undamaged |
| Buckles and webbing | Remove dirt without forcing the mechanism | Closure clicks into place as intended |
| Zipper | Identify the type and follow its care instructions | Closes fully without force |
Treat the roll-top closure, buckles, and zipper with care
Open a roll-top closure fully before wiping its inner surfaces. This prevents you from overlooking dirt between the layers. Then operate the buckles by hand and check that both sides are intact. A cracked plug-in tongue will not become load-bearing again through washing. This also applies if the closure still clicks into place on the first attempt.
When it comes to zippers, oiling them as a blanket rule is not a good standard solution. ORTLIEB, for example, distinguishes special waterproof closures with their own lubrication and care requirements. Do not apply these to an ordinary zipper on another bag. If a cleaned closure continues to stick, look for the appropriate instructions or contact customer service instead of pulling on the slider.
Leave to dry openly – including on the inside
VAUDE recommends a well-ventilated place for drying in its bicycle bag care instructions and warns against storing them while damp. The brand excludes washing machines and dry cleaning for its bicycle bags. This is a specific manufacturer example, not a general washing instruction for all types of bags.
Plan a place where the opening can remain unobstructed. Place removable, cleaned parts next to it, provided their instructions allow this. Later, check the bottom and corners with a dry cloth. If a thicker insert inside still feels damp, it should not yet be put back among your other gear. A dry outer surface is not sufficient as a final check.
We recommend opening the bag on the evening you arrive rather than waiting until shortly before your next departure. A fixed drying time cannot be determined from the bag type alone. Avoid improvised shortcuts involving a hair dryer, hot radiator, or tumble dryer unless the manufacturer expressly permits them. If the bag is still damp in the morning, use a dry alternative.

Store dry instead of compressing tightly
For the ORTLIEB Office-Bag, the care instructions require it to be completely dry before storage. They also advise against storing the bag rolled up or folded and specify a storage location protected from UV radiation. This distinguishes the compact closure used while riding from suitable storage after the trip.
For your storage cabinet, this means in practice: Allow the bag enough space and do not stuff a rain jacket that is still damp inside it. Place the straps neatly alongside it so you do not have to search for anything the next time you use it. Whether your specific model should be stored open, hanging, or standing depends on its design and instructions—not on what happens to fit into the smallest gap.
When cleaning is no longer the solution
If, after cleaning, you notice a crack, a detached layer, or a damaged buckle, document the area with a photo. Note the model and affected area for your inquiry to the manufacturer. Look specifically for a suitable spare part or an approved repair. Do not continue using a bag with a defective attachment on your bike just because the outer shell is clean.
Recurring odors or stains are also no reason to use a harsher cleaner without approval for the material. First check all compartments and inserts. If the problem persists, ask about suitable treatment. Cleaning does not repair the coating and does not prove that a previously damaged bag is watertight again.
Frequently asked questions about bag care
Can a bicycle bag go in the washing machine?
Only with explicit approval for that exact product. VAUDE rules out machine washing in its bicycle-bag care instructions. Check separate inserts individually and do not apply their washing symbol to the entire bag.
Do I need to reproof a waterproof bag after cleaning?
Not automatically. Additional impregnation is not intended for the coated ORTLIEB Office-Bag. Other materials may have different requirements. Impregnation spray neither replaces an intact coating nor a properly closed closure.
How do I dry the inside of a roll-top bag?
Empty it completely, open the roll-top section, and keep the opening unobstructed in a suitable place to dry. Check the bottom, corners, and inserts in particular. Do not close it again merely because no more droplets are visible on the outside.
Can I use alcohol on stubborn stains?
Not without explicit approval for the material. ORTLIEB rules out pure alcohol for its products. If a stain remains after using the permitted method, ask the manufacturer before switching products.
Conclusion: Cleaning is not complete until the drying check has been carried out
A sensible care routine is simple: empty the bag after your ride, remove dirt according to the material, leave it open to dry, and check the closures and attachments before the next use. This keeps the effort manageable without turning routine care into an unapproved washing or repair procedure.
As of September 7, 2026. Manufacturer examples refer exclusively to the products mentioned. The step-by-step guidance and checks are editorial suggestions; the current instructions for your bag take precedence.
Share:
Choose winter cycling gloves: check warmth and usability
Choose a frame bag: Check the size using the template and a test pack.