

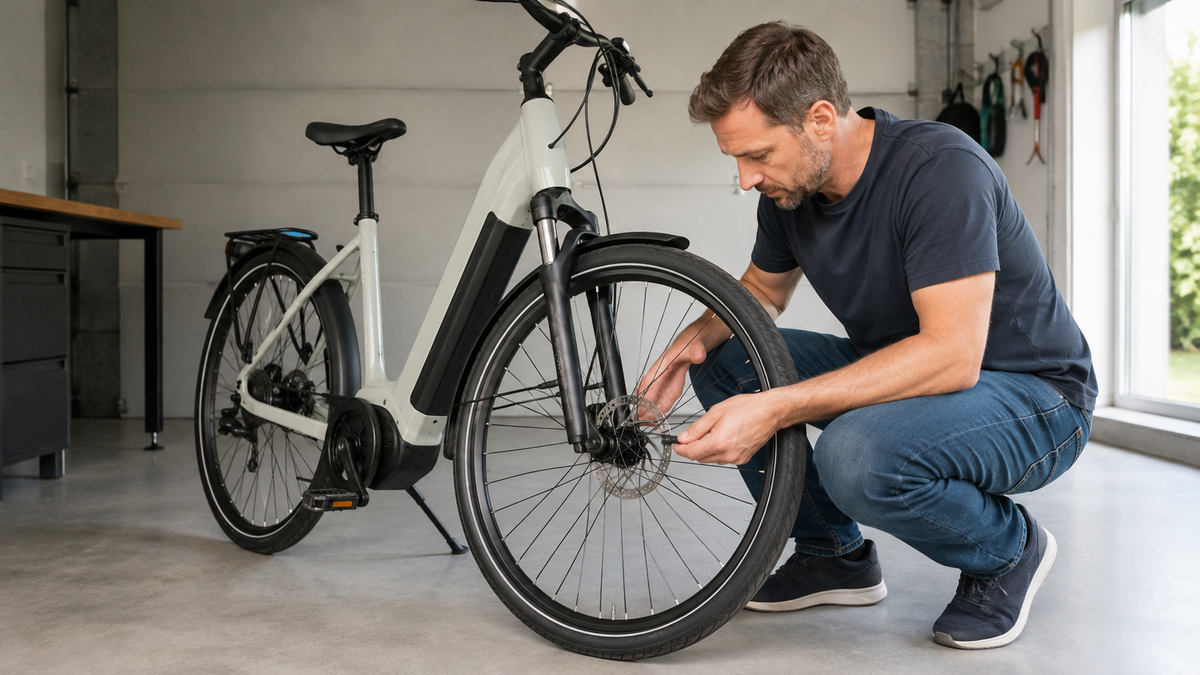
Brake pads gradually become thinner, but their end is not always announced by a clear noise. Anyone wanting to know whether their bicycle’s brake pads are worn should first identify the brake type and then check according to the instructions for the specific system. A figure from a different manual can lead to the wrong decision. This guide helps you classify wear indicators, recognize dangerous signs, and prepare a request to a workshop.
When the bicycle must remain stationary
Do not continue riding if a pad is missing, broken, or appears worn down to the carrier. The same applies if brake fluid is leaking, a cable is damaged, a brake disc is cracked or severely deformed, or a brake lever can be pulled to the handlebar without reliable braking power. Metallic grinding under braking load may mean that the carrier material is running on the disc. A cautious test stop is no longer a diagnosis in this situation.
Allow the brake disc, brake caliper, and rim sidewall to cool completely after a ride. Rotating discs have sharp edges, and heated brake components can cause burns. Oil or grease on friction surfaces reduces braking performance. Therefore, do not touch the friction surfaces with bare fingers or spray cleaner on them without a specific reason.
First distinguish between disc and rim brakes
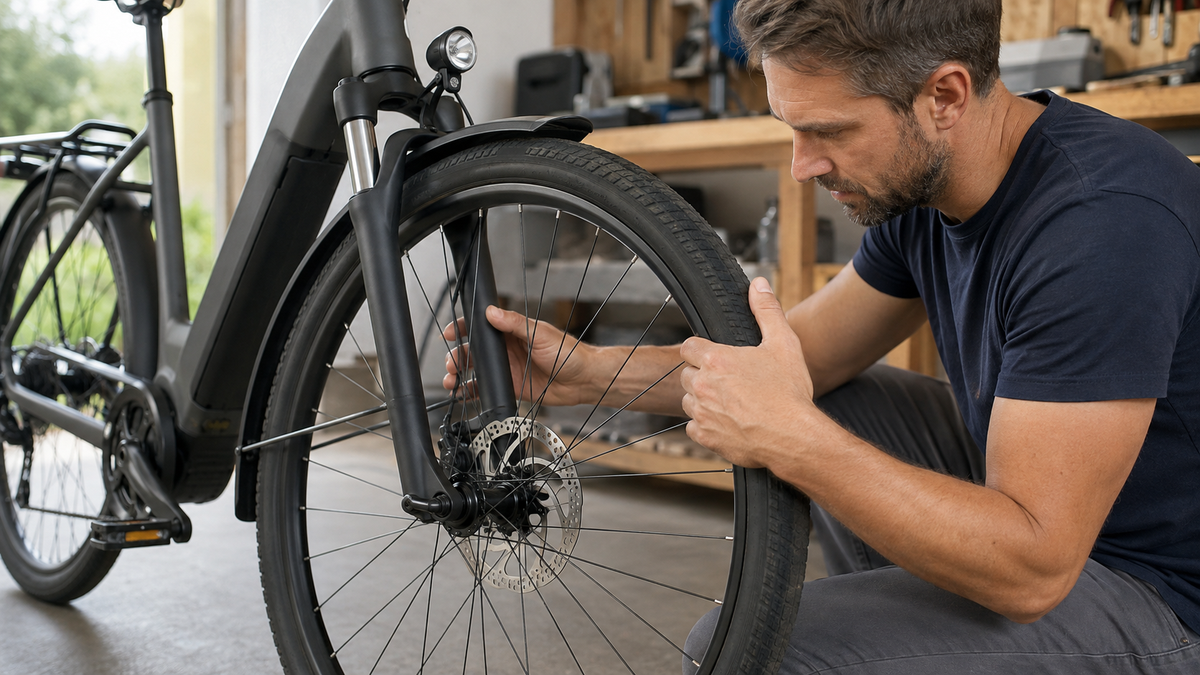
On a disc brake, two pads sit in the brake caliper and grip a brake disc at the hub. On a rim brake, brake shoes press laterally against the rim. Both systems contain friction material, but the wear indicator, measuring point, and replacement limit differ. Manufacturers and model ranges also vary within each design.
Note the manufacturer and exact designation of the brake caliper, brake lever, and pad. Photograph the installation before removing anything. If clear instructions are unavailable or the system cannot be identified with certainty, the user’s inspection is limited to a visual check and a function test while stationary. Removal, hydraulic work, and assessment of damaged friction partners should then be handled by a specialist workshop.
What symptoms reveal—and what they do not
| Observation | Possible explanation | Next safe step |
|---|---|---|
| Pad visibly very thin | The wear limit may have been reached | Check using the exact manufacturer’s measurement method |
| Braking distance becomes longer | Pad wear, moisture, glazing, contamination, or another fault | End the ride and have the entire system checked |
| Squeaking | Moisture, dirt, resonance, pad condition, or alignment | Do not infer the remaining thickness from this alone |
| Metallic noise when braking | Possible contact between the carrier and the disc or rim | Do not continue riding; have the friction partners checked as well |
| Lever travel changes | Wear, adjustment, air, leakage, or cable problem | Don’t turn any screw on suspicion; consult the manual or a workshop |
Visual inspection in a safe sequence
- Park the bicycle securely, switch off the drive system, and remove the battery only if the bicycle manual specifies this for maintenance work.
- Wait until all brake components have cooled down and ensure bright lighting.
- Check the lever, cable or hose, brake caliper, rotor or rim braking surface for visible damage and fluid.
- Inspect both pads. Uneven wear is a finding in its own right, not merely a question of remaining thickness.
- Compare the shape, measuring point, and minimum dimension exclusively with the current instructions for this brake system.
- After any permitted work, check that everything is securely mounted and test the braking function first while stationary, then only in a safe, flat environment.
A phone photo through the brake caliper can improve visibility. It does not replace a measurement if the manufacturer requires the pads to be removed. Keep tools, fingers, and clothing away from a rotating wheel. With a hydraulic disc brake, do not pull the lever when the wheel and the intended spacer are missing.
How to measure disc brake pads correctly
With disc brakes, it must be clear whether only the friction material or the combination of backing plate and friction material is being measured. In certain user manuals, Shimano specifies 0.5 millimeters as the minimum thickness of the brake pad. In one of its own manuals, SRAM instead uses a measurement for the backing plate plus friction material and requires replacement below the total thickness specified there. These values describe different components and must not be substituted for one another.
Therefore, never measure “somewhere on the pad.” Find the current instructions using the model number, check the illustration for the measuring point, and use a suitable measuring instrument. If the pads are wedge-shaped, cracked, glazed, or contaminated with oil, thickness alone is not sufficient to make the decision. Contaminated friction surfaces, a sticking piston, or a misaligned caliper require a system inspection.
The condition of the brake rotor is part of the assessment too. Manufacturers specify their own minimum thicknesses and replacement criteria. A new set of pads does not make a cracked, severely deformed, or excessively thin rotor safe again. The article Bicycle brake rotor rubbing addresses continuous contact without brake application separately.

Rim brake pads: check grooves and alignment
Many rim brake pads have grooves that serve as wear indicators. In SRAM’s instructions for mechanical road bike brakes, the pads should be replaced when these grooves are no longer visible. This is a manufacturer- and pad-specific rule, not a universal measurement in millimeters. Other pads have a line or a differently shaped marking. The marking and instructions for the installed product remain decisive.
Also check that the brake pad makes full contact with the intended braking surface. It must not touch the tyre or slip below the rim. Stones, metal chips, or deep grooves in the pad can damage the rim. The rim itself is also a wear part; its wear indicator and minimum values are specified in the rim instructions. Do not continue riding if there are cracks, bulges, or uncertainty about the wall thickness.
Why brake feel is not a measuring instrument
A lever that is getting closer to the handlebar may indicate worn pads, but it may also be due to necessary adjustment, a stretched or damaged cable, air in the hydraulic system, or a leak. Conversely, a self-adjusting hydraulic brake may feel similar to before until shortly before the wear limit. Subjective feel alone therefore confirms neither sufficient remaining thickness nor a defect.
Sounds can also have multiple causes. Squeaking may occur briefly after rain, be caused by resonance, or indicate contaminated or glazed surfaces. Conversely, quiet operation does not prove that sufficient friction material remains. Always combine a visual inspection, the correct measurement procedure, and a functional check.
Choosing replacement parts without guesswork
The pad shape, retaining spring, backing plate, and friction compound must match the brake caliper and the permitted use. A visually similar pad may differ in its retention, thickness, or heat behaviour. Use the manufacturer's parts list, or have the match confirmed by model number and photo at a specialist retailer. On an e-bike, the system weight and intended use may additionally affect the approved combination.
Brake pads are replaced as a complete, designated set. Fasteners, split pins, and retaining devices must be installed exactly according to the instructions; improvised replacement parts are unsuitable. Do not push back or open hydraulic lines, pistons, or brake calipers with pliers when specialist knowledge and special tools are required.
After replacement: installation, bedding-in, inspection
Before your first ride, the braking point must be stable, and the wheel must rotate freely and be correctly secured. Check that all retaining devices are present and that no pad or tool has been left behind. New disc brake pads often reach full performance only after a system-specific bedding-in procedure. Follow the manufacturer's instructions in a flat, traffic-free area; the article Bedding in disc brake pads explains the planning in greater detail.
Then carry out a brief test ride at low speed. The front and rear brakes must feel predictable, without the lever pulling all the way to the handlebar. After the first rides, check the permitted fasteners again according to the instructions. If braking is uneven, new noises occur, or fluid leaks out, stop the test.
A simple maintenance log
Record the date, mileage, pad type, measurement together with the measuring method, and the condition of the rotor or rim. A photo taken from the same perspective makes changes comparable. The inspection frequency depends on the system, weight, terrain, weather, and riding style; long descents, dirt, and frequent braking can accelerate wear. A fixed annual interval is therefore not suitable for every bike.
After a wet, long, or heavily loaded ride, an additional visual inspection is worthwhile. The log helps the workshop identify unusually rapid or uneven wear. It does not replace an inspection required by the bicycle or brake manufacturer.
Frequently asked questions about worn brake pads
How many millimeters should a bicycle brake pad have?
There is no universal measurement. The decisive factors are the brake type, manufacturer, model, and defined measuring point. Shimano and SRAM examples show that even different components may be measured. Use the current instructions for the installed system.
Can I keep riding if the brake only squeaks?
Squeaking alone does not prove wear, but it does not rule it out either. Check the remaining thickness, damage, contamination, and braking performance. If braking performance is weak, there is a metallic noise, or the condition is unclear, keep the bike stationary.
Do both disc brake pads need to be replaced at the same time?
Follow the manufacturer’s instructions. Usually, the specified pad set for a brake caliper is treated together so that the shape and compound match. Uneven wear should also be checked for its cause.
Can I put oil on a squeaking brake pad?
No. Oil or grease on friction surfaces can dangerously reduce braking performance. Use only approved procedures and products. Contaminated pads or friction partners must be replaced or professionally assessed according to the manufacturer’s instructions.
Conclusion: check according to the system instead of mixing limit values
Whether bicycle brake pads are worn is determined neither by a noise nor by some number from the internet. Identify the system, inspect both pads with the brake cold, measure at the specified point, and take the rotor or rim into account. In the event of damage, contamination, leakage, or uncertain braking performance, stop the user inspection. This turns a suspicion into a traceable and safe maintenance decision.
As of: September 6, 2026. Wear limits, replacement parts, installation, and bedding-in follow the current instructions from the specific brake and bicycle manufacturer.
Share:
Bicycle helmet after a crash: inspect, retire, replace
Worn bicycle tires: How to recognize wear and replace them