

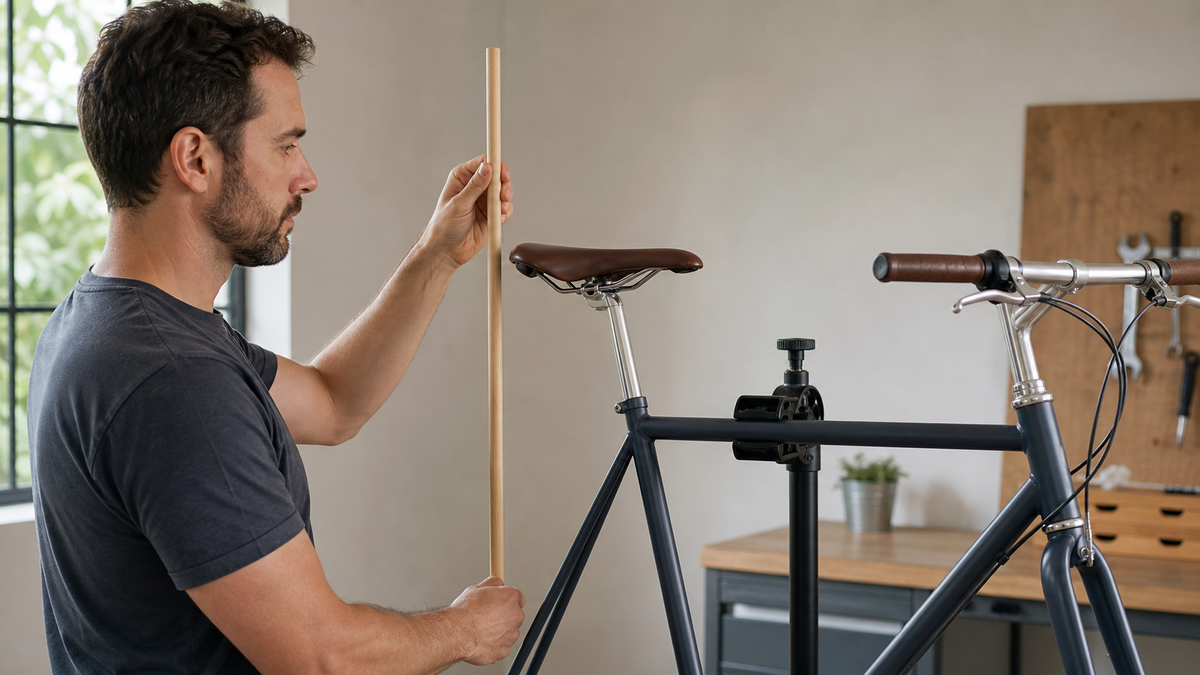
Anyone who wants to raise the bicycle handlebar is usually looking for a more upright posture and less pressure on the hands, neck, or back. Technically, however, there is no universal procedure. A classic quill stem is adjusted differently from an Ahead stem, and on some bicycles the available height has already been fully used. That is why the system must be identified before reaching for the tools. Incorrect clamping or a stem pulled out too far can make steering unsafe.
Identify the stem type first
Place the bicycle securely and examine the transition between the steerer tube and the stem. With a quill stem, a single quill extends from above into the steerer tube. There is often a screw in the center at the top; the quill may have a mark indicating the minimum insertion depth. With an Ahead system, the stem clamps around the outside of the steerer tube. There are usually clamping bolts on the side of the stem and a top cap on top. This top bolt is part of the headset adjustment and is not a simple height adjustment.
| Feature | Quill stem | Ahead stem |
|---|---|---|
| Connection to the fork | Steerer is inserted into the steerer tube | Stem clamps around the outside of the steerer tube |
| Typical height reserve | Only up to the marked minimum insertion depth | Only within approved spacer and steerer configurations |
| Common misconception | Make the mark disappear into the tube | Tighten the top cap to “gain height” |
| Safe reference | Instructions for the specific stem | Instructions for the frame, fork, headset, and stem |
With integrated cockpits, internally routed cables, carbon steerer tubes, or unknown clamping components, home adjustments should stop early. Small changes in these areas may require new parts, cable replacement, or specific installation instructions.
Documenting the starting position
First measure from the ground to the center of the grip area and photograph the stem, spacer order, and cable routing. Mark the current handlebar position only with removable tape, not with a notch. Then check what you actually want to improve: a higher upper-body position, a shorter reach to the handlebar, or simply a more comfortable rotation of the grips. These goals do not always require the same adjustment.
Ergon points out that handlebar height and position affect riding posture and control. A higher handlebar often results in a more upright position, but it also changes weight distribution. Therefore, adjustments should be made in small increments, followed by a calm test ride after each change. Pain is not proof that the handlebar alone is the cause; saddle height, reach, grip position, and riding style all interact.
Quill stem: The marking sets the limit
For an adjustable quill stem, the appropriate manufacturer’s instructions are required first. In a model-specific instruction manual, for example, Ergotec specifies a fixed minimum insertion depth. This numerical value cannot be transferred to other stems. The marking or specification on the actual installed component is always decisive. If no marking is visible or the origin is unclear, a specialist retailer should inspect it.
Only the procedure described in the instructions may be used for adjustment. The bolt must not be removed completely, and a stuck stem must not be loosened with hammer blows, levers, or heat. After positioning, the minimum marking must remain completely inside the steerer tube. Tighten the clamp to the torque specified for this exact stem. An arbitrary value from a video is not suitable.

Afterwards, check that the stem and front wheel are precisely aligned. Do not clamp the front wheel between your knees and twist it forcefully; this can put stress on the wheel, brake, or mudguard. If the stem is stuck, corroded, or moves unevenly, leave it to a workshop.
Ahead system: height, spacers, and headset work together
An Ahead stem cannot be pulled upward like a quill stem. Its position depends on the steerer tube length, stem clamping height, and spacer arrangement. Some configurations allow existing spacers to be moved from above to below the stem. Others have no reserve or rule out changes because of the fork material, steerer tube length, integrated cables, or the manufacturer’s specifications.
The top cap adjusts headset play before the side bolts are finally tightened. It is not a load-bearing clamping bolt and must not be used to compensate for a steerer tube that is too short. In its Ahead instructions, Ergotec requires checking the clamping dimensions, compatibility, and steerer tube length, and adjusting the headset according to the respective manufacturer’s instructions. These points show why simply rearranging spacers is safety-relevant.
After the change, the headset must have neither play nor stiffness. Apply the front brake, carefully rock the bicycle back and forth, and feel for knocking at the transition between the frame and fork. Then slightly lift the front wheel and check that the steering turns freely without a detent. If in doubt, do not ride.
Adjustable-angle stem and stem replacement
An adjustable-angle stem can change the handlebar height, but also the horizontal distance to the rider. Its joint clamp must be adjusted precisely according to its own instructions. Not every joint may be rotated arbitrarily when installed, and not every stem is compatible with the handlebar diameter, steerer tube, bicycle type, and permitted load.
A stem with a greater rise or an approved adapter may also be a solution. Diameter and length are not the only factors. Ergotec classifies cockpit components by intended use and system weight. A part for a relaxed city bike is therefore not automatically suitable for a mountain bike, high-speed riding, or a heavily loaded e-bike. Product approvals from the bicycle, fork, and component manufacturers must be compatible.
Brake hoses and cables must not act as limiters
While stationary, slowly turn the handlebars to both stops. Brake hoses, gear cables, and electrical wires must remain loose enough in every position, but must not come into contact with the tire, lamp, or moving joints. If a line becomes taut, a brake caliper moves, the speed changes on an e-bike, or a connector is pulled out, the new position is not ready for riding.
Cables and hoses cannot be “lengthened” by pulling hard on them. Necessary replacement or rerouting may require bleeding, new connection parts, and a professional leak test for hydraulic brakes. Internally routed cables or e-bike wiring typically require workshop work.
Safety check after every change
- Check that all parts are compatible and undamaged.
- For a quill stem, check that the minimum insertion mark is fully concealed.
- For an Ahead system, check the steerer cap, spacer arrangement, and headset play according to the instructions.
- Tighten every clamp to the specified torque using a suitable torque wrench.
- Align the handlebars, stem, and front wheel.
- Turn the handlebars fully in both directions and observe the hoses and cables.
- Apply moderate pressure to the handlebars in several directions while stationary; nothing should creak or move.
- First, take a slow test ride in an open area and check the brakes and steering again.
When a specialist should take over
- Carbon steerer tube, carbon handlebar, or visible cracks and pressure marks.
- No legible installation instructions, an unclear component, or missing torque specification.
- Steerer tube too short, no spacer adjustment range, or the minimum marking has been exceeded.
- Play, a notch, creaking, or stiff steering after the modification.
- Brake hose too short, internally routed cables, or strained e-bike cables.
- The stem is stuck, corroded, or has been subjected to a fall.
Frequently asked questions about higher bicycle handlebars
Can I simply pull any handlebar higher?
No. Only certain quill stems have directly usable height adjustment. With an Ahead system, the change depends on the steerer tube, spacers, and approved configurations.
Is a higher handlebar always more comfortable?
Not automatically. It can make the riding position more upright, but it can also change reach, weight distribution, and control. Adjust in small increments and assess the same short test route.
May the minimum marking remain slightly visible?
No. The minimum insertion depth specified by the manufacturer must be fully observed. A visible limit marking is a stop signal.
Why is the fork wobbling after the modification?
With an Ahead system, the headset preload may be incorrect or the component sequence may be wrong. Do not continue riding until the cause has been properly corrected according to the manufacturer’s instructions.
Conclusion: The system comes first, then the height
Raising the bicycle handlebars is only a small job when the stem type, available adjustment range, and manufacturer’s procedure are clear. Document the initial setup, observe minimum markings, clamping dimensions, and torque values, and check the headset and cables. If the existing configuration is insufficient, an approved component replacement is better than an improvised extension.
As of September 6, 2026. Dimensions, torque values, spacer arrangement, and compatibility are based on the current instructions for the specific bicycle, fork, and installed cockpit components.
Share:
E-bike software update: Prepare safely and avoid errors
E-bike display fogging: Dry it gently and identify faults