

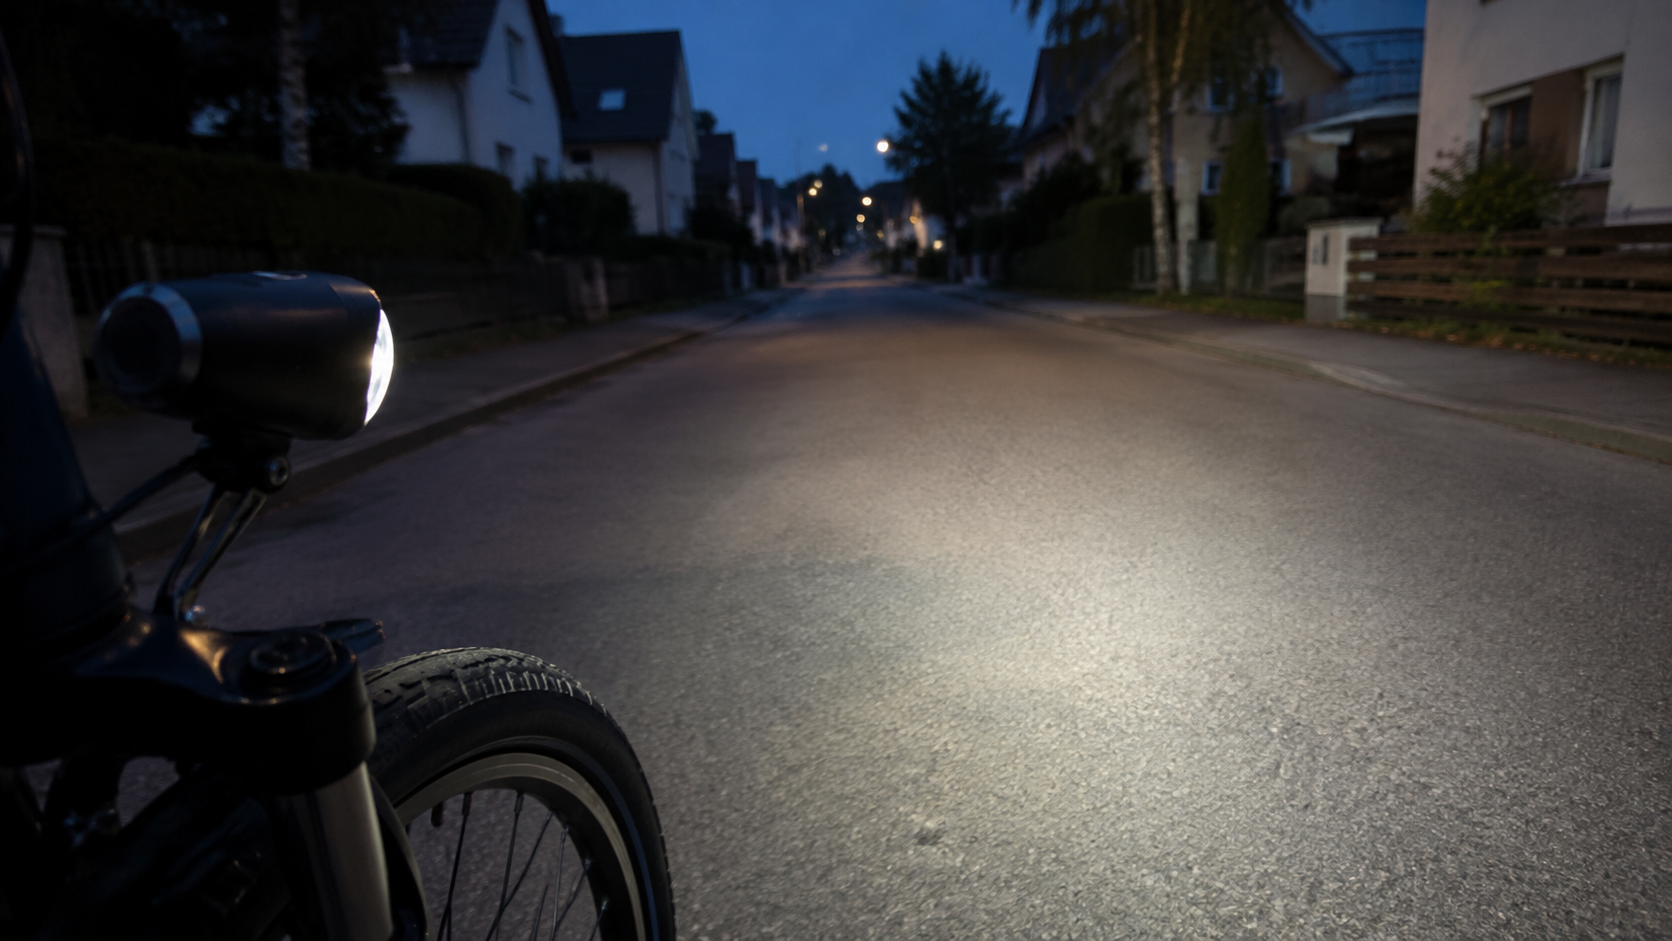
When adjusting your bicycle light, don’t just check whether it turns on. The headlight should illuminate the road without dazzling others. Its alignment, a secure mount, and an unobstructed light path are crucial. This check will help you before your first ride at dusk.
What matters for alignment
Under Section 67 of the German Road Traffic Licensing Regulations (StVZO), the front headlight must not dazzle other road users. It must be securely mounted and protected against unintentional adjustment. Bags or other attachments must not obstruct the light. Flashing front lights are not permitted in public road traffic.
This article covers adjusting a suitable headlight, not the complete inspection of the required bicycle equipment. The instructions for your light specify which mount, installation position, and operation are suitable.
Adjusting the front bicycle light: Step by step
- Prepare while stationary. Find a level area free of traffic at dusk. Position the bike securely. Carefully clean the lens and check whether the mount is damaged or loose.
- Take your usual load into account. Attach your everyday bag as you will carry it later. Check whether it obstructs the headlight or a reflector.
- Switch on the low beam. If a high-beam mode is available, it is not the correct basis for this adjustment. Check the beam pattern on the ground rather than looking directly into the switched-on light.
- Align it according to the manufacturer’s instructions. Loosen only the adjustment provided for this purpose. Direct the beam onto the road. For a light with a distinct cutoff line, this line must be positioned on the road as specified in the instructions, not at the eye level of oncoming traffic.
- Secure it firmly again. Observe the fastening requirements and, where applicable, the specified torque. Then check the beam pattern again. If the headlight does not reliably remain in position, do not continue riding with it.
A specific example is provided by the Busch + Müller instructions, section “Aligning the Headlight”: On this model, the horizontal light cutoff should remain visible on a level road. This does not authorize applying its mounting instructions to every other light.

How high should the bicycle light point?
Mounting height and tilt angle are two different things. The height on the bicycle alone does not determine a generally suitable angle. Light distribution, the mount, and the installation position vary. Therefore, do not use an arbitrary centimetre rule from another set of instructions as a substitute for your model’s specifications.
Our practical suggestion: Check the adjustment before the dark season and after transporting the bicycle. It is especially worth taking another look at the mount if you place the bike between pieces of luggage or remove the light. For transport, you can also consult our checklist for transporting an e-bike in a car.
If visibility is still insufficient
More brightness will not correct incorrect alignment. First check for dirt, the power supply, and the selected light mode. Adapt your ride to the route you can actually see. If there is too little light, stop in a safe place; do not adjust the headlight while riding.
If the beam pattern is unclear, the mount is defective, or the installation instructions are unavailable, have the adjustment checked at a bicycle workshop. Changes to the cables or power supply of an e-bike are not part of this brief everyday check.
Share:
Lake Constance–Königssee Cycle Route in 7 Days: From Lindau to Schönau
Adjust your bike helmet correctly: How to check the fit