

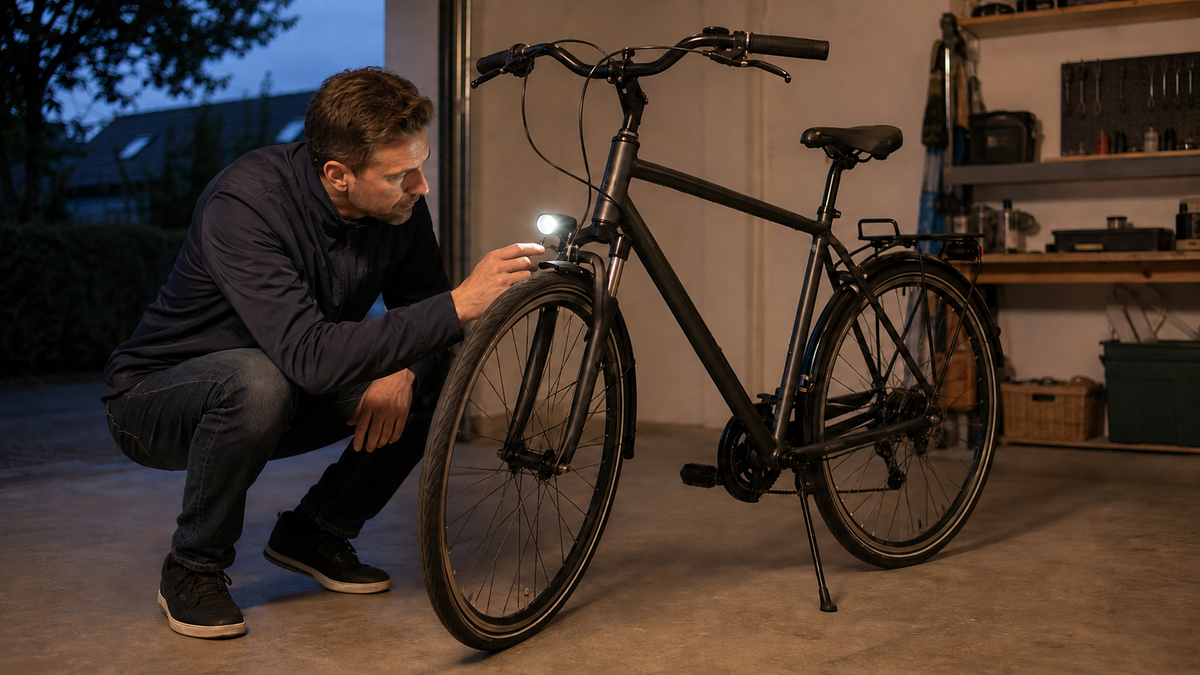
A flickering bicycle light is more than a minor comfort issue. It may mean that the power supply is briefly interrupted—and therefore fails precisely when you need to be seen. So do not simply continue riding in the dark. Stop in a safe place, switch off the system, and first check whether the light flickers only while moving, continuously, or exclusively when stationary.
Troubleshooting is easier if you distinguish between three areas: power source, wiring route, and light. With a hub dynamo, the chain begins at the front wheel. On an e-bike, the lighting may be powered by the main battery. Battery-powered lights, on the other hand, have their own battery. The design determines what you can safely check yourself.
Why is the bicycle light flickering?
The cause is often not in the LED module itself. A loose connector, a pinched cable, or corrosion on a contact can interrupt the power supply with every jolt. A light whose mount vibrates can also sometimes appear to the rider to have an electrical fault. That is why the inspection should always begin with a calm visual check.
With dynamo systems, speed is also important. Some systems do not provide steady light when the bike is pushed very slowly. A standlight may behave differently after stopping than the main headlight does while riding. This alone does not prove a fault. However, if the light also flickers when the wheel is turning at a normal speed, cuts out with small handlebar movements, or remains dark for stretches, an interruption is more likely.
On e-bikes, the light may be part of the overall electrical system. In that case, the display settings, enabled light output, cables, and connectors depend on the system. Do not open the motor or battery or bridge any contacts. The specific manual or a specialist workshop is authoritative as soon as an external inspection does not reveal a clear cause.
First, narrow down the flickering precisely
Note when the fault occurs. If the light only flickers on cobblestones, this points more to a loose connection or mount. If it responds when you turn the handlebars, pay particular attention to the cable loop at the head tube. If it occurs after rain or cleaning, damp or dirty contacts may be involved. A reproducible pattern is more useful to the workshop than saying, “It sometimes flickers.”
| Observation | Possible area | Safe next step |
|---|---|---|
| Intermittent operation over bumps | Plug, cable, or mount | Check for play and visible damage while stationary |
| Intermittent operation when steering | Cable bend at the head tube | Check for tension, kinks, and chafing |
| Only at a very slow dynamo speed | Speed-dependent power supply | Compare with the manufacturer's instructions; do not disassemble prematurely |
| After getting wet or cleaning | Moisture at an accessible contact | Switch off, let it dry, do not use hot air |
| Several electrical functions affected | E-bike system or shared power supply | Document the error message and contact service |
Checking the bicycle light step by step
1. Secure the bicycle and identify the power source
Park the bicycle securely. When inspecting the front wheel, keep loose clothing away from the spokes. First determine whether the light is powered by a hub dynamo, sidewall dynamo, ride battery, or its own light battery. A removable battery light may only be charged with the charger intended for it. On an e-bike, switch off the system before inspecting accessible plug connections.
2. Check the light and mount
Carefully hold the light and check whether it wobbles in its mount. A loose light can cause the beam to jump even if the brightness remains constant. If the housing, lens, or mount is broken, simply tightening it will not help. Also adjust a headlight so that it does not dazzle oncoming traffic. You can find instructions in the article on adjusting a bicycle light without dazzling others.

3. Check the cable routing for tension
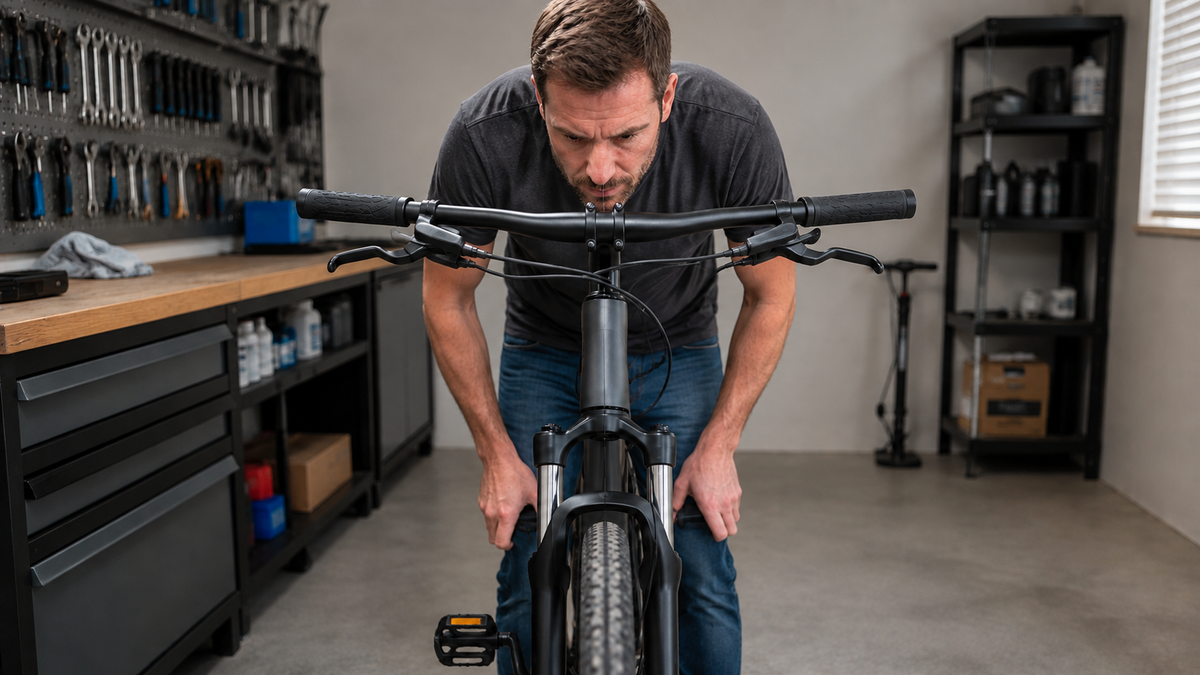
Follow the visible cable with your eyes. Look for pinching under cable ties, chafing against the fork or frame, and a bend that is too tight at the handlebars. Slowly turn the handlebars from one stop to the other while the bike is stationary. The cable must not be under tension. Do not pull on the wire to disconnect a plug; hold only the plug housing provided for this purpose.
4. Inspect accessible contacts
A plug must be fully seated and free of dirt. For a hub dynamo, the Shimano Dealer’s Manual for Hub Dynamos lists correct cable routing and connection checks, among other things, as relevant points. This does not mean that every plug is designed the same way: the release direction, polarity, and fastening depend on the specific system.
If you see verdigris, burnt areas, or a loose wire, stop the self-check. Do not spray arbitrary oil into electrical contacts. After exposure to moisture, allow switched-off components to dry at room temperature; hot air, open flames, and opening potted housings are not safe shortcuts.
5. Test the function in a controlled manner
After a purely external correction, first test the system while stationary. With a dynamo, the driven wheel may rotate only freely and safely. Make sure your hands, clothing, and cables stay clear of the spokes. Observe the front and rear lights separately: if both fail at the same time, the cause is more likely to be in a shared power supply path; if only one light is affected, its branch is more suspect.
When you should not continue riding
In darkness, twilight, or poor visibility, unreliable lighting is not a viable solution. StVZO § 67 governs the lighting equipment on bicycles. Electrical flickering should not be confused with a permitted operating mode. If you cannot restore reliable lighting, walk the bike, arrange safe transport, or use a suitable, approved replacement light.
Also stop if bare wires are exposed, components smell burnt, an e-bike displays a recurring error message, or the lighting fails together with other system functions. Work on an integrated lighting output requires the manufacturer’s documentation and, where necessary, diagnostic equipment. This protects not only the lighting but also the rest of the electronics.
How to prevent flickering in the future
Before riding during the darker season, check the light, mount, and visible cables. Route cables so they neither chafe nor become taut when the handlebars are turned fully. After transporting the bike on a vehicle rack or repairing the front wheel, an additional light test is worthwhile. Our article on bicycle lighting under the German Road Traffic Licensing Regulations (StVZO) provides a complete overview of the required lights and reflectors.
Frequently asked questions
Can I continue riding with a flickering bicycle light?
Only if the lighting is not needed under the current visibility conditions and no other electrical fault is apparent should you consider riding to a safe place for inspection. In darkness or poor visibility, you should not rely on a flickering light.
Why does my LED bicycle light flicker when I push the bike?
With a dynamo system, the low rotational speed can cause an uneven power supply. The key question is whether the light operates steadily when the wheel is rotating normally. The manufacturer’s instructions for the headlight and dynamo take precedence.
Can contact cleaner solve the problem?
Not every product is suitable for every contact, plastic, or seal. Use only a product approved by the respective manufacturer, and do not use oily all-purpose products without checking first. In the case of corrosion or damaged conductors, professional repair is the better option.
Is the light flickering because the e-bike battery is empty?
This depends on the system and cannot be determined from flickering alone. Check the displayed charge level and the manual. If error codes or failures of other functions also occur, document them and have the system inspected.
Conclusion
If the bicycle light flickers, a calm test can help narrow down the power source, cable routing, contacts, and mount. Visible loose connections can often be identified, but damaged cables and integrated e-bike electronics should be handled by a qualified professional. Until the light works reliably, getting home safely is more important than the next ride in the dark.
As of September 6, 2026. This article does not replace the manufacturer’s instructions or a professional inspection of the specific bicycle.
Share:
Bicycle lock jammed: lubricate the cylinder and avoid using force
Loose bicycle grips: Stop them from twisting and check for a secure grip