

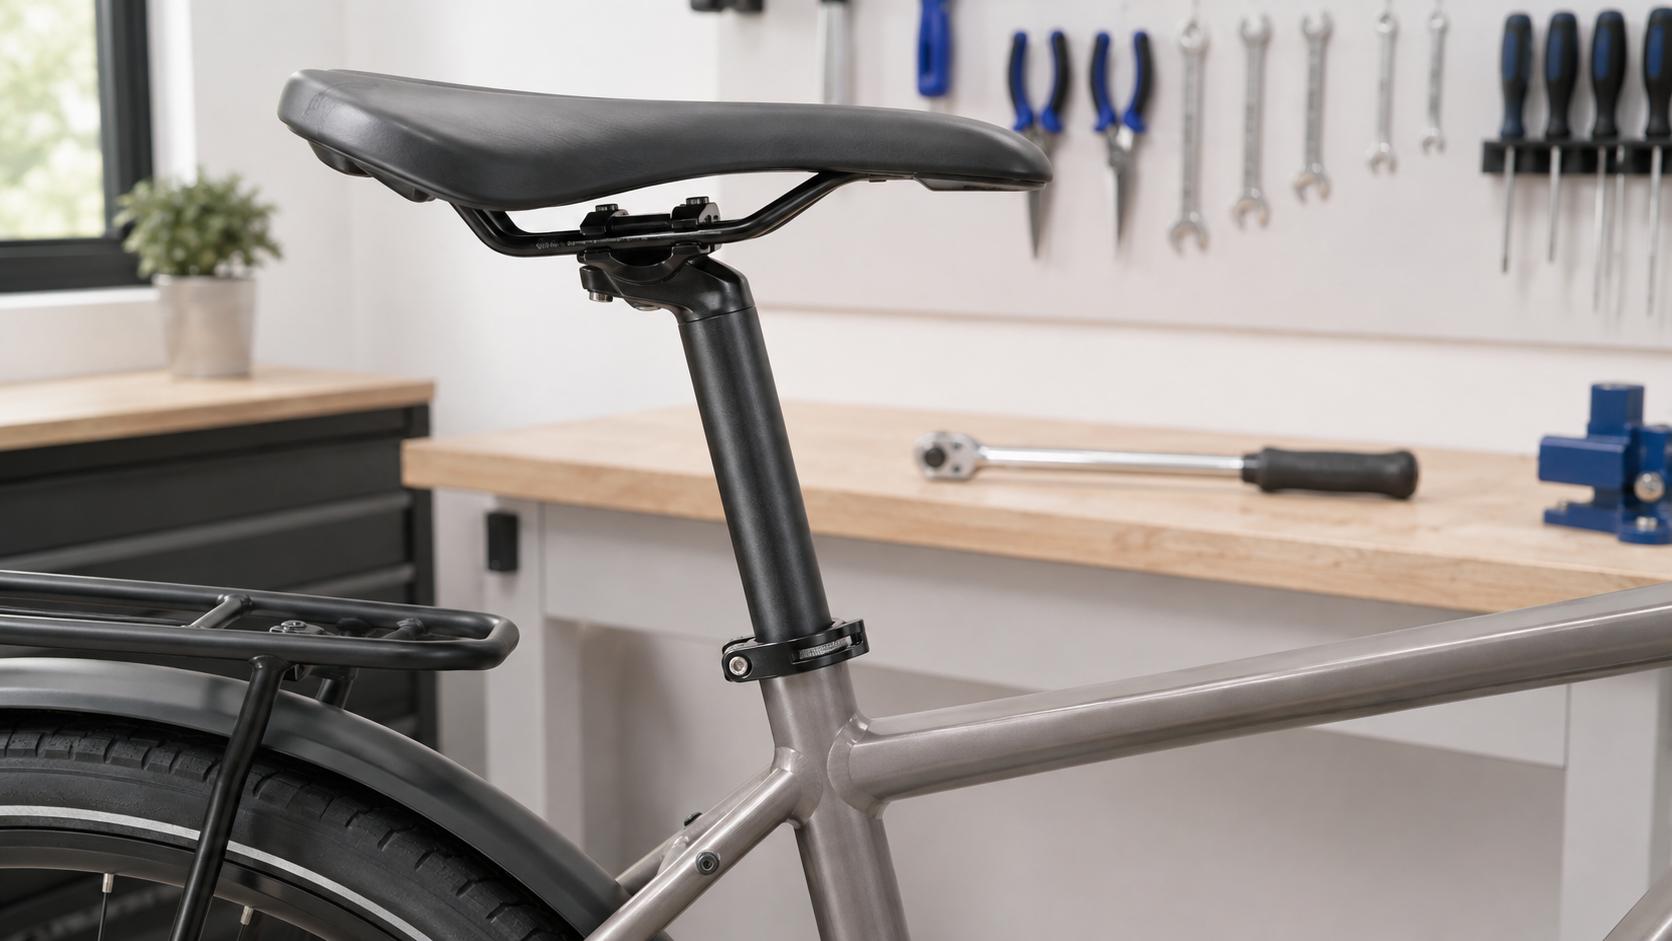
The correct bicycle saddle height cannot be determined with a single number for everyone. The heel method provides a cautious starting point: Sit upright on the saddle and place your heel on the pedal at its lowest point; your leg should be approximately straight without your pelvis tilting to the side. Then make small adjustments and take short test rides. Pain or numbness is not a normal part of getting used to it.
Tools and preparation
| What you need | Task | What to look out for |
|---|---|---|
| Operating manuals for the bicycle and seat post | Check the clamp, minimum insertion depth, and torque | Model-specific instructions take precedence over general rules |
| Suitable Allen key or operating lever | Open the saddle clamp | Use only suitable, undamaged tools |
| Torque wrench | Close a bolted clamp correctly | The measuring range and application must be suitable |
| Removable tape or fine marker | Document the starting height | Do not permanently damage any surface |
| Tape measure | Record the adjustment so it can be reproduced | Always use the same measuring points |
| Stable wall or helper | Heel test without risk of tipping | Do not test in traffic or on loose ground |
Switch off the e-bike and place it on a level, non-slip surface. Wear the shoes you normally ride in. Record the current height before loosening anything—for example, from the center of the bottom bracket axle along the seat tube to a clearly defined point on the top of the saddle. This is not a universal measurement for comparison, but it helps you return to the starting position.

What the heel method can do
The ADFC describes the saddle height as approximately suitable if, with your leg extended, you can reach the pedal at its lowest point with your heel. During normal pedaling, the ball of your foot then rests on the pedal, which generally leaves the knee slightly bent. This method is a starting adjustment, not a medical diagnosis or an exact bike-fitting value.
The overall seating position also depends on frame length, crank length, saddle setback, handlebar position, shoes, and mobility. Therefore, do not change the height, tilt, and fore/aft position at the same time. Otherwise, after the test ride, you will not know which change helped or caused a problem.
Adjusting bicycle saddle height step by step
- Identify the clamp: Check whether a quick-release lever, a clamping bolt, or a manufacturer-specific design is fitted. Look up the torque and operating procedure in the applicable manual.
- Mark the initial position: Mark the current insertion depth with removable tape and record the measurement. At the same time, check whether the seatpost is aligned straight.
- Loosen the clamp only as much as necessary: Hold the saddle firmly so that the seatpost does not suddenly drop. Do not use a longer lever if the bolt is stuck. In the event of corrosion, a seized seatpost, or a damaged bolt head, leave the work to a workshop.
- Observe the minimum marking: Never pull the seatpost out so far that the required minimum insertion marking remains visible. The ADFC expressly points out the end marking when making adjustments. The frame and seatpost may also have their own limits; the stricter requirement applies.
- Choose a rough starting point: Initially, change the height only in small increments. Align the saddle nose straight with the center of the frame without changing the tilt or offset at the same time.
- Perform a heel test: Have someone hold the bike securely, or brace yourself in a controlled manner against a wall. Sit in the center of the saddle, place your heel on the pedal, and bring it to the lowest point. Your leg should be almost straight; your pelvis should remain level and not shift from side to side.
- Close the clamp: Tighten a bolted clamp to the specified torque. The ROSE operating instructions also require the minimum marking to be covered and the model-specific fastening method to be followed. Do not apply an unrelated numerical value to your bike.
- Check stability: Carefully try to twist the saddle sideways or press it downward with both hands. It must not move out of position. At the same time, check that the clamp, seatpost, and frame show no visible damage.
- Test briefly and calmly: Start by riding on a safe, level surface. Pedal with your usual shoe contact and observe your knees, hips, and how easily you can reach the handlebars and brakes. Do not adjust the saddle while riding.
- Make only one small change at a time: Document every adjustment. If your hips rock while pedaling or you have to point your toes down sharply, the starting point may be too high. If your knee feels strongly bent at the bottom of the stroke, it may be too low. These signs are indications, not a remote diagnosis.
Reaching the ground is not the only criterion
With the correct saddle height, depending on the frame geometry, you may only be able to reach the ground with your toes or by getting off the saddle when stopping. This alone proves neither a correct nor an incorrect adjustment. What matters is controlled starting and stopping, as well as a safe pedaling motion. If you cannot safely control the bike given its height or weight, have both your riding technique and setup checked at a specialist retailer.
Common adjustment errors
- Pulling the seatpost beyond the minimum insertion mark.
- Overtightening a clamp bolt or leaving it too loose by feel.
- Changing the height, tilt, setback and handlebars at the same time.
- Treating a formula from the internet as the final value.
- Checking only while stationary whether both feet can reach the ground flat-footed.
- Continuing to ride with your pelvis tilting sideways or your toes pointed downward.
- Ignoring pain and numbness as necessary signs of adjustment.
When do you need bike fitting, a workshop or medical advice?
A workshop is responsible when the seatpost or clamp is stuck, creaks, slips or is damaged, when the minimum insertion depth does not allow sufficient height, or when the torque and material combination remain unclear. Professional bike fitting is advisable if you cannot find a stable, pain-free position despite making small, documented changes, or if several measurements need to be adjusted together.
Stop riding if you experience pain, numbness, tingling or pressure-related discomfort. The ADFC cites incorrect posture and unsuitable adjustments as possible causes, but saddle height does not explain every symptom. If discomfort persists, returns or is severe, have it medically assessed. Do not continue riding to force an assumed adjustment period.
Frequently asked questions
Does my leg have to be completely straight at the lowest point?
With the heel test, the leg is almost fully extended without the hips rocking. During normal pedaling with the ball of the foot, the knee remains slightly bent. Do not force a rigid position.
Can I calculate saddle height based solely on my inseam?
A formula can provide a starting point, but it does not take all influencing factors into account. Check the position in practice and have it professionally adjusted if you are unsure.
What is the ideal knee angle at the correct saddle height?
There is no universal angle that applies to every person and every measurement method. Shoes, foot position, crank length, body shape and the way the angle is measured all affect the value. A static figure is therefore only a starting point at best; if you experience discomfort or want a precise setup, professional bike fitting is advisable.
What applies to a suspension or dropper seatpost?
Follow their own adjustment, insertion and torque specifications. Suspension movement or travel changes the situation; do not apply the static method without the manufacturer's instructions.


Share:
Headphones and smartphones while cycling: What is permitted
Oil your bicycle chain: apply precisely and protect the brakes