

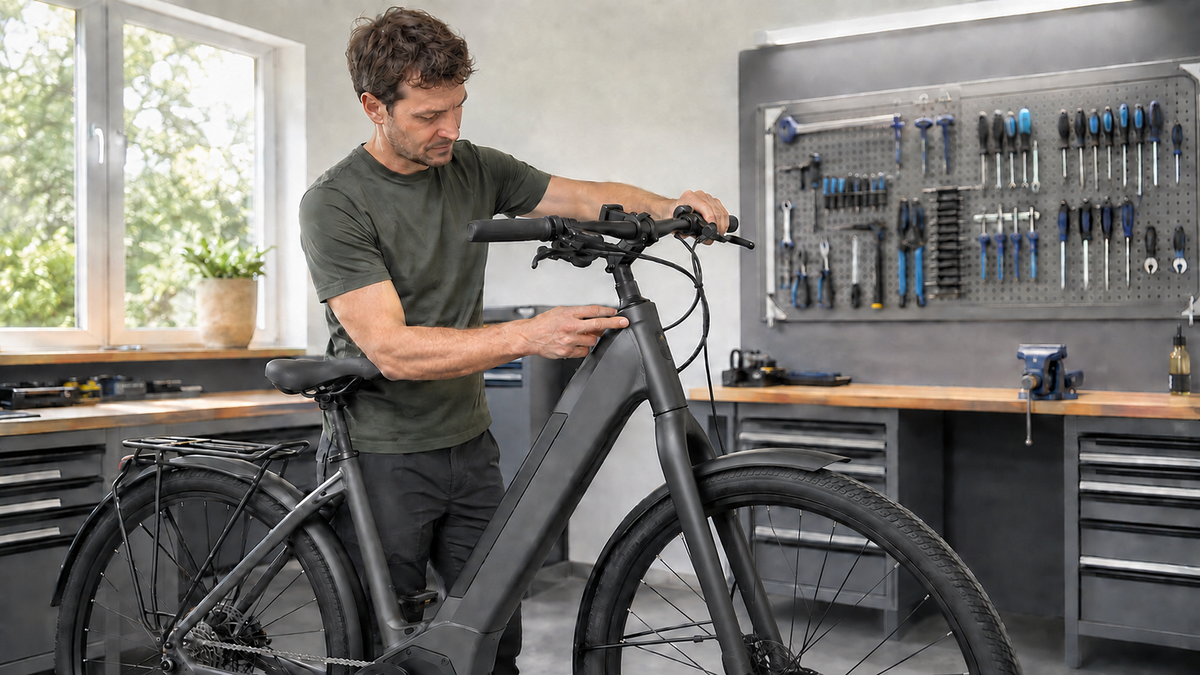
When braking, you hear a clicking sound at the handlebars, the front end feels unstable on cobblestones, or you can feel slight movement between the fork and frame. This could be a loose headset—but it may not be. The braking system, front wheel, suspension fork, or stem can cause similar symptoms. Two controlled checks while stationary can help narrow down the source without randomly tightening bolts at the roadside.
What the headset does on a bicycle
The headset supports the steerer tube inside the frame’s head tube. This allows the fork, front wheel, stem, and handlebars to turn together. The bearing should move easily and smoothly, but must not have any perceptible play. Excessive play allows components to knock against each other with every impact; excessive preload can make steering stiff and put premature stress on the bearings.
“Loose headset” therefore describes two different questions: Is there actually movement in the steering bearing, and does the clicking you perceive really come from there? Diagnose first, then carry out repairs according to the instructions for the specific bicycle or headset. The ROSE support guide explicitly combines the play check with a check that the steering moves freely and quietly.
Before checking: secure the bicycle
Place the bicycle on firm, level ground and switch off the drive system on an e-bike. Remove heavy bags so the bicycle remains stable. Visually check that the front wheel and thru-axle or axle nuts are seated correctly. If the axle is loose, the frame is cracked, the steerer tube is damaged, or the handlebars are twisted, do not continue testing: leave the bicycle stationary and take it to a specialist workshop.
Do not reach into a spinning wheel or place your fingers between the fork, frame, and moving cables. A repair stand is helpful but not essential. If you lift the front wheel, hold the bicycle securely by the frame; keep people, children, and animals outside the area of movement.
Check 1: Feel for play at the bearing
- Stand beside the bicycle and straighten the front wheel.
- Pull the front brake and place the thumb and index finger of your free hand over the transition between the upper bearing cup or cover and the head tube.
- Move the bicycle a short distance back and forth using little force.
- Look for movement that you can feel between the components—not just a noise somewhere at the front.
- Repeat the check with the handlebars turned slightly, without twisting the bicycle.
This method is also described in the current Canyon inspection checklist and in manufacturer manuals. However, a single click does not prove that the headset has play. With some disc brakes, the pads or caliper may move slightly; a suspension fork can also have play caused by its design or wear.
Distinguishing different sources of the problem
Place your fingers successively on different transitions: the upper headset cover, lower bearing cup, brake caliper, fork crown, and axle. This helps you feel where the movement originates. Do not rock the bicycle forcefully. The aim is not a load test, but to precisely identify a small movement.
- Brake: The noise occurs only when the brake is applied, while no displacement can be felt at the bearing.
- Front wheel or axle: The wheel moves sideways relative to the fork or is not seated correctly.
- Suspension fork: Movement can be felt at the upper and lower tubes rather than at the head tube.
- Stem or handlebars: The handlebars twist independently of the fork and front wheel.
- Headset: The upper or lower bearing area shifts perceptibly relative to the frame when the bicycle is moved back and forth.
If the source remains unclear, that is already a good reason to have the bicycle inspected by a workshop. Misidentifying the source can leave a safety-critical defect undiscovered or cause a correctly seated bolt to be overtightened.

Check 2: Smoothness of the steering
Lift the front wheel only a few centimetres if you can hold the bicycle securely. Slowly move the handlebars from left to right. The movement should be smooth and free of any clear notching, scraping, or binding. Cables, bags, and accessories must not pull on the handlebars; do not loosen anything, but simply move obstructing accessories out of the way.
Handlebars that catch in one position or can only be moved with force may indicate excessive preload, damaged bearings, poorly routed cables, or other problems. The Canyon MTB manual lists both play and smooth operation as inspection points. This applies as a diagnostic principle; for repairs, the manual for your own bicycle remains authoritative.
When you should not continue riding
Stop using the bicycle if clear play can be felt at the headset, the steering catches, the stem can be twisted on the steerer tube, or cracks and deformation are visible. The same applies after a crash involving an impact to the handlebars or front wheel if the cause of the clicking cannot be clearly identified as harmless. Walk the bicycle or arrange transport.
An e-bike does not require a different diagnosis, but its higher system weight and cables routed through the head tube can make its construction more complex. Do not remove motor, display, or light cables, and do not turn the handlebars beyond their natural limit. With internally routed cables, apparent stiffness may also be caused by the cable routing.
Why tightening blindly is risky
On a modern threadless Ahead system, the top cap typically adjusts the bearing preload; the stem is then secured by its side clamps. Threaded headsets use a different design and tightening sequence. Special solutions with integrated cable routing, carbon steerer tubes, or manufacturer-specific compression components may have additional requirements.
That is why there is neither a universal torque value nor an instruction to “simply tighten the top bolt.” Overtightening can cause the steering to bind or damage components. Insufficient clamping can leave the stem able to move. The current 2025 Park Tool guide also emphasizes that you must first identify the system type and check both play and free movement after every adjustment.
What you should tell the workshop
Note when the symptom occurs: only when braking, when riding over edges, when steering, or also while stationary. Photograph visible gaps, cracks, or a twisted handlebar position without putting additional stress on the bicycle. Mention any previous crash, transport on a bike rack, recent stem work, or new cable routing.
The workshop can then inspect the headset type, bearings, steerer tube, compression system, spacers, stem clamps, and cables together. If the correct balance between no play and smooth operation cannot be achieved, worn bearings, incorrect component heights, or damaged contact surfaces may be the cause. This is not a problem to solve by applying more force to the wrench.
After adjustment or repair
Before the first ride, check again that the front wheel is seated correctly, the brake works, the handlebars are aligned, the headset has no play, and the steering moves freely. Start with a short, slow test ride in an area with little traffic. Brake gently, steer in both directions, and listen for clicking, notching, or handlebars that move out of position. If a symptom returns, stop riding.
Also check the headset after a crash, after work on the stem or fork, and whenever the front end develops new noises. Frequent readjustment is not a normal permanent condition; recurring play should be professionally investigated.
Frequently asked questions
Does every click when braking mean the headset is loose?
No. The brake, axle, suspension fork, and other connections can sound similar. The key question is whether you can feel movement directly between the headset and frame.
Can I still ride home with slight headset play?
A safe remaining distance cannot be approved in general terms. Perceptible play affects the steering and can cause consequential damage. Walk the bicycle or arrange transport.
What torque does the top bolt require?
There is no general value. The system, stem, steerer tube, and manufacturer’s instructions determine this. The top cap of an Ahead system is also not the same as the stem’s side clamp.
Why is the steering stiff after adjustment?
The preload may be too high, a bearing may be damaged, or a cable may be restricting movement. Do not tighten it further; the cause must be inspected.
Conclusion
A clicking sound at the front is an indication, not a diagnosis. Feel for play directly at the bearing and then check that the steering moves freely and smoothly. If movement or notching remains, or the cause is unclear, leave the bicycle stationary. This avoids blind tightening and gives the workshop a precise description of the problem instead of a vague noise.
As of: September 6, 2026. The instructions for the specific bicycle, fork, stem, and headset manufacturers, as well as an inspection by a qualified specialist workshop, are authoritative.
Share:
Cycling in hot weather: regulate exertion and recognize warning signs
Crossing tram tracks by bicycle: angle, wet conditions, and a safe line