

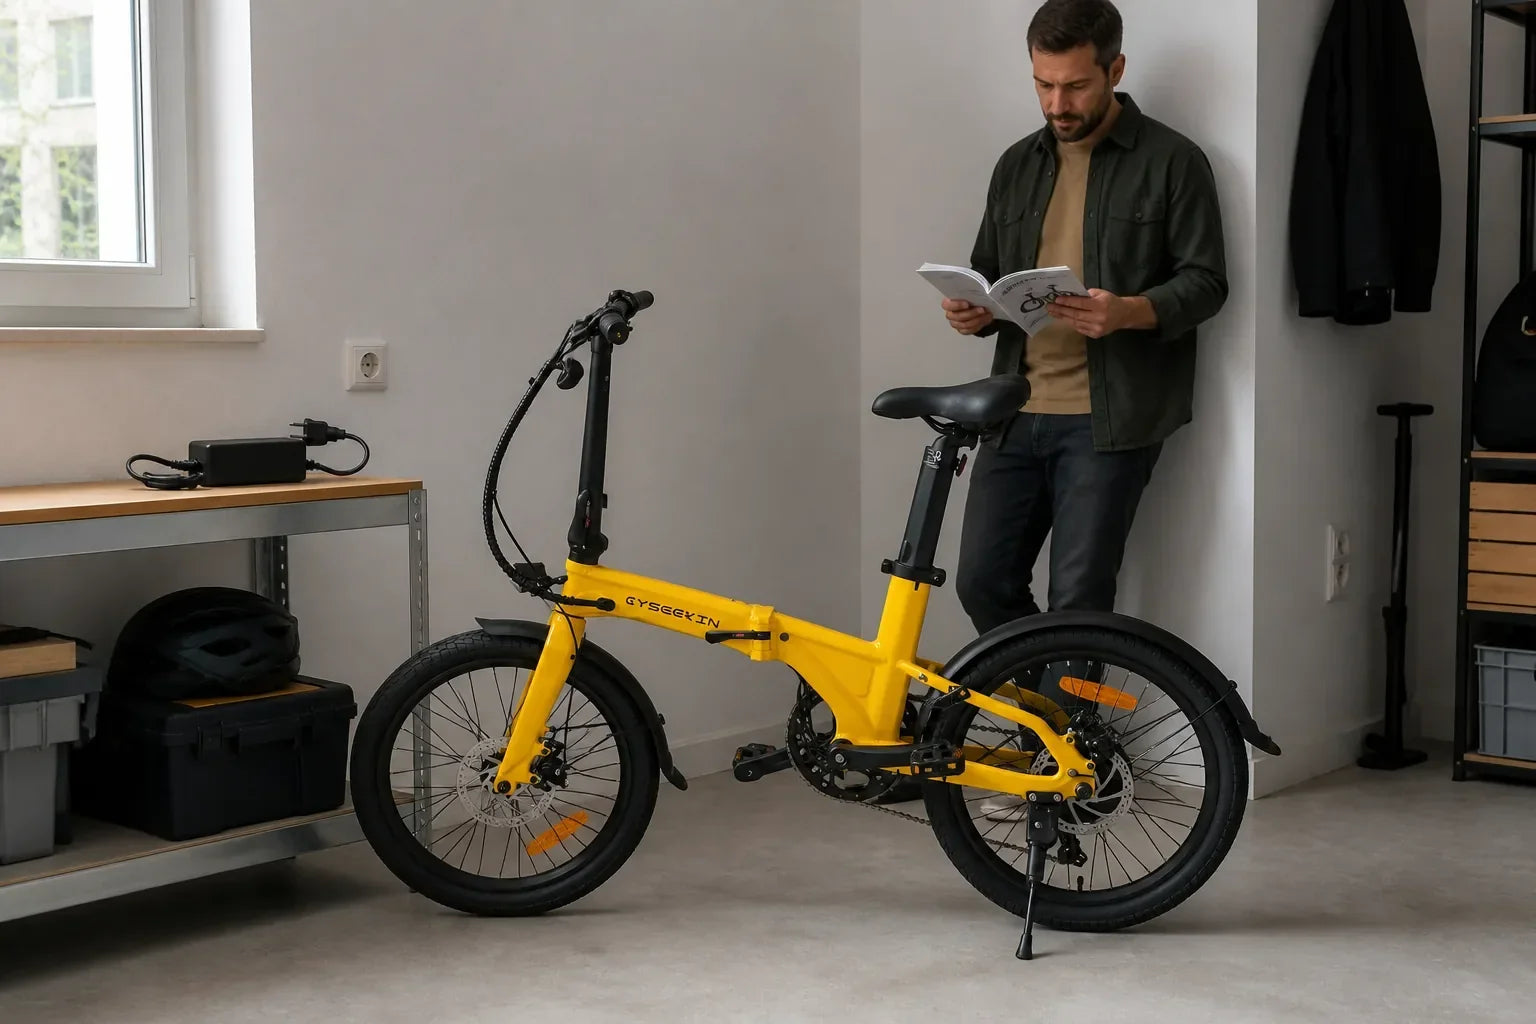
This is how it is described in the current C10 user manual. Beforehand, the bike, charging port, plug, and cable should be dry and undamaged. For the S10, C20, or another charging system, always follow the manual for the respective model—there is no single sequence that applies to all e-bikes.
The sequence in three steps
How to charge the C10 battery step by step
- Switch off the e-bike and park it securely.
The C10 is stable, and the charging area is dry, well ventilated, and free of easily flammable materials. - Inspect the battery, cable, and plug.
Do not charge if the battery is damaged, deformed, or swollen, or if the cable is crushed, the plug is loose, or there is moisture present. - Have the correct charger ready.
The C10 manual specifies using the original charger. A similar-looking plug is not proof of electrical compatibility. - Connect the DC side to the e-bike.
Insert the correct plug straight into the charging port without using force. Do not pull on the cable or contact surfaces. - Connect the AC side to the household outlet.
Only now should the mains side be connected. The charging indicator should light up red according to the manual. - Monitor the charge level.
If the indicator changes to yellow-green, the battery is fully charged according to the C10 manual. The charger must not be covered.

When should you charge—and when is it better to stop?
| Observation | Classification | Next step |
|---|---|---|
| The bike, plug, and cable are dry and undamaged | Basic requirement met | Connect according to the C10 instructions and monitor the indicator. |
| Battery has come from extreme cold or intense heat | Temperature may be outside the charging range | Allow the battery to adjust to a permissible ambient temperature first; the C10 specifies 0 to 45 °C for charging. |
| Plug only fits with pressure or at an angle | Possibly incorrect plug, dirty connector, or damage | Do not force it. Check the model and charger and contact Support if necessary. |
| Battery is deformed, swollen, severely damaged, or unusually hot | Safety-related irregularity | Do not charge or continue using it. Keep your distance and seek professional assistance. |
| Unusual odor, smoke, or intense heat while charging | Acute fault | Put your own safety first, leave the area, and call the fire department if there is smoke or a fire. |
The charging area is just as important as the plug
The C10 manual requires a dry, well-ventilated charging area. The battery must not be covered while charging and must be kept away from fire, direct sunlight, and excessive heat. The manual specifies a charging range of 0 to 45 °C.
The consumer advice center also recommends using a charger approved by the manufacturer, a safe environment, and keeping a distance from flammable materials. If possible, do not leave the charging process unattended overnight in a living area. These instructions are particularly important when a charger is new or a battery has previously been dropped.
- Do not place the charger and battery on a carpet, bed, sofa, or stack of paper.
- Do not pinch the cable under doors, furniture, or the tire.
- Do not cover the charger, and keep the ventilation openings clear.
- Do not use an extension cord or power strip if its condition is unclear.
- Keep children and pets away from the charging area.
What the charging indicator means on the C10
According to the current user manual, the charging indicator lights red while charging. Changing to yellow-green means that the battery is fully charged. The manual specifies approximately four to five hours as the regular charging time; the actual duration and initial charge level may vary.
If the display remains off, the plug does not fit clearly, the charger becomes unusually hot, or the display behaves differently than described, do not continue trying by repeatedly plugging and unplugging it. Photos of the charger, rating plate, connector, and display can then help the Cyseekin Support assess the situation.
FAQ: Charging sequence and safety for the C10
What comes first with the C10: connecting the charger to the socket or to the e-bike?
According to the user manual, the Cyseekin C10 should first be connected on the DC side to the charging port on the e-bike. The AC side is then connected to a household power socket.
Does this sequence also apply to the S10 and C20?
Not automatically. The sequence described here comes from the C10 manual. For the S10 and C20, the respective model manual must be checked; another approved charger may also have its own requirements.
Can I use a charger if the plug fits?
No. A matching plug proves neither the correct voltage nor proper charging control. The C10 manual requires the original charger; if a replacement is used, Cyseekin must expressly approve it in advance.
Can the C10 battery be charged directly after a cold ride?
Only if the battery and surroundings are within the permitted charging range and there is no moisture. The C10 manual specifies 0 to 45 °C. After exposure to very cold temperatures, the battery should be allowed to acclimatize in a dry environment before charging.
Is charging overnight advisable?
The Consumer Advice Centre advises against charging small vehicle batteries unattended overnight in living areas whenever possible. Plan the charging time so that the display and surroundings can be monitored, and follow the time specifications in the C10 manual.
What should I do if the display does not respond as described?
Do not continue by using force or repeatedly unplugging and reconnecting. Check the model, charger, cable and ensure the connection is dry and properly seated. If the display differs or there is unusual heating, stop charging and contact Cyseekin with photos of the rating plate, connection and display.
Sources and testing basis
The model-specific information was checked on 22 August 2026 against the official C10 user manual. The product revision, charger and labeling on the delivered bike take precedence.


Share:
Taking an E-Bike on the Train: Planning Your Ticket, Battery, and Folding Bike Properly
E-bike disc brake squeaking: Identify the causes and take safe action