

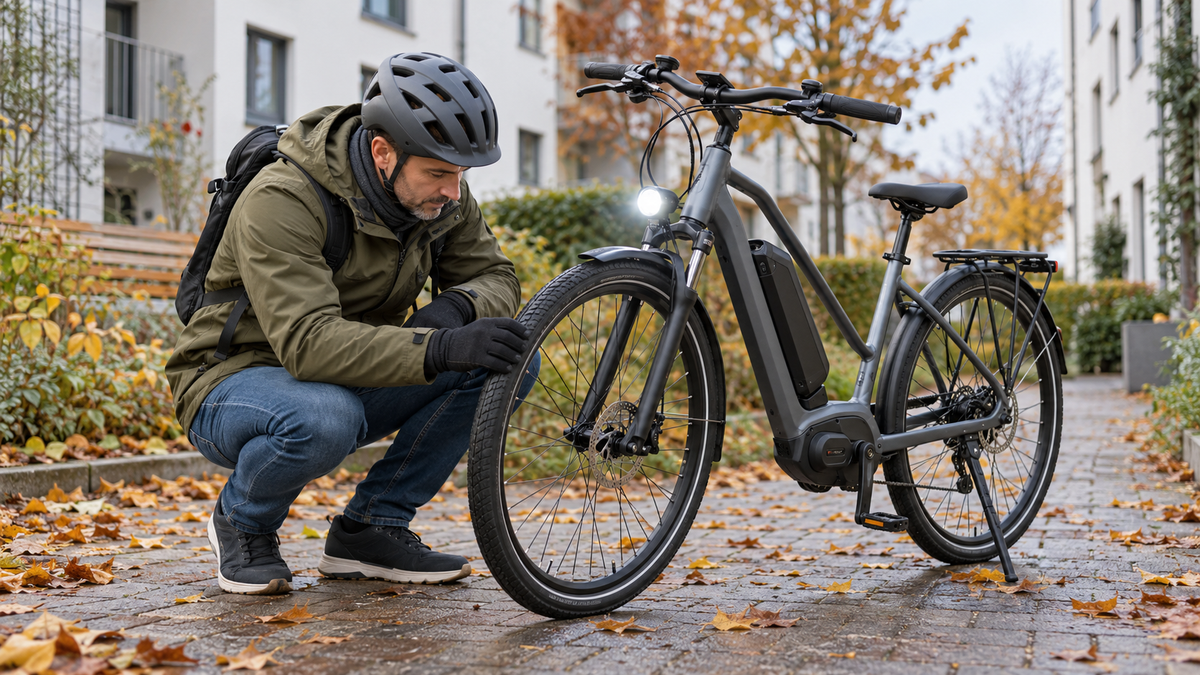
An autumn e-bike check does not have to take an hour at a workshop: In 15 minutes, you can check the lights, brakes, tires, fixed components and battery for noticeable problems. Park the bike somewhere dry and well-lit, have a pump and cloth ready, and work through the checks in order.
The key is not to repair every defect yourself. The quick check is meant to reveal problems before you set off. If a brake is rubbing heavily, a tire is damaged, a light is out or the battery is not secure, do not ride until the problem has been fixed.
The 15-minute plan for an autumn e-bike check
In autumn, shorter days coincide with wet conditions, dirt and falling temperatures. That is why the ADFC recommends checking the brakes, lights, tires and wheels in particular, as well as the frame, handlebars, saddle and pedals. The German Road Safety Council also considers a functioning safety check essential for a roadworthy bicycle. A clear schedule makes a quick everyday check easier:
| Time | Check | Result |
|---|---|---|
| 0–2 minutes | Check the bike all the way around | No loose, broken or heavily soiled parts |
| 2–5 minutes | Check the brakes | Both brakes engage smoothly; levers cannot be pulled all the way to the handlebars |
| 5–8 minutes | Check tires and wheels | Pressure within the approved range; no cuts, bulges or unusual foreign objects |
| 8–11 minutes | Check lights and reflectors | Front and rear lights work, are clean and unobstructed |
| 11–13 minutes | Check the handlebars, saddle, pedals and drivetrain | Nothing is loose; chain runs without unusual noises |
| 13–15 minutes | Battery, display and a short roll test | Battery locked in place; no warning indicator; bike rolls, steers and brakes normally |
The times are a guide, not a performance target. If you find a problem, stop the clock and address it. A quick check is no substitute for maintenance according to the manufacturer's instructions or a professional inspection.
Minutes 0 to 5: Visual check and brakes
Walk around the bike
Start without tools. Check the frame, fork, handlebars, cables, mudguards, rack and kickstand. Cables must not be pinched, and accessories must not protrude into the tires or spokes. Remove only enough loose dirt to make components and reflectors visible. If you find a crack, noticeable deformation or a loose structural connection, do not use the bike for a test ride.
Test the brakes while stationary first
Squeeze the front and rear brake levers one at a time. The DVR notes that the handbrake levers should not reach the handlebars during the test. Then slowly push the bike and check each brake separately. The bike should slow down in a controlled manner. Grinding noises, a strongly shifting bite point, visible damage, or noticeably weaker braking should be checked by a qualified professional.
In wet conditions, braking feel and stopping distance can change. So this brief stationary and push test does not prove that the brakes will work adequately in all conditions. It only shows whether there is an obvious defect before setting off.
Minutes 5 to 8: Tires and wheels
Check the permitted pressure range on the tire or in the manufacturer’s documentation, and measure the pressure rather than just pressing the tire with your thumb. Slowly spin both wheels. Check for cuts, bulges, exposed fabric, embedded foreign objects, and uneven seating. The wheel should spin freely without noticeably wobbling from side to side.
If the tread is visibly worn or the sidewall is damaged, inflating the tire is not enough. The guide “Worn bicycle tires” explains the most important signs of wear. Whether a different type of tire is suitable for your route depends on the surface, approval, and intended use. For legal and practical guidance, see the article on winter tire requirements for bicycles and pedelecs. The fall check itself is not a tire test or a recommendation for a particular model.
Minutes 8 to 11: Lights and reflectors
Turn on the front and rear lights and look at both from a short distance. Clean the headlight, rear light, and reflectors with a suitable cloth. Check that the headlight is secure and illuminates the road without dazzling oncoming people. Reflectors on the front, rear, pedals, and wheels must not be obscured by bags, dirt, or loose clothing.
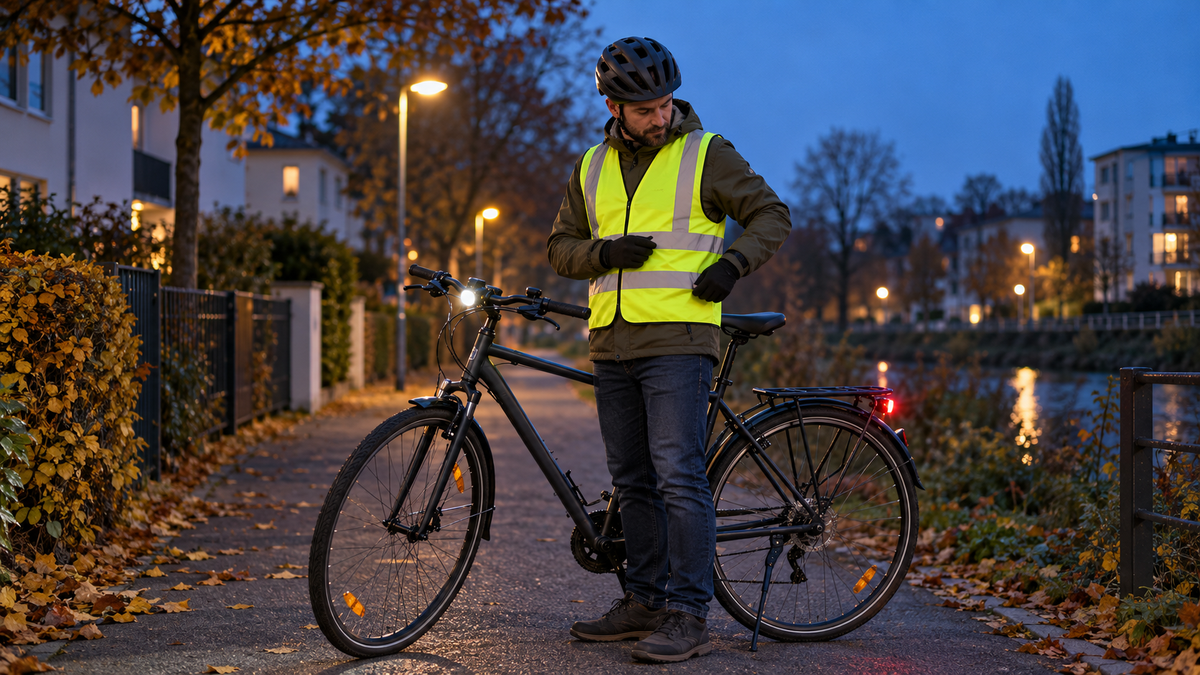
The ADFC emphasizes that good lighting helps you see and be seen when it gets dark early, in rain, and in fog. A high-visibility jacket or reflective clothing can provide extra help, but does not replace required lighting. The existing article “Bicycle lighting: Which lights and reflectors are required” explains which lights and reflectors are required on a bicycle. If your light flickers, find targeted troubleshooting in “Bicycle light flickering”.
Minutes 11 to 13: Contact points and drivetrain
Hold the front wheel between your legs and gently check whether the handlebar can be twisted. Also check the saddle and pedals for any noticeable play. The aim is simply to spot anything unusual. Check torque values and fasteners against the documentation for the specific e-bike; tightening things indiscriminately can damage components.
Only lift the driven wheel if it is safe to do so, and slowly turn the crank without motor assistance. The chain should run smoothly. Heavy rust, stiff links, gears that skip, or unusual clicking are reasons not to set off in a hurry. Clean and lubricate only according to the care instructions for the specific drivetrain, and avoid getting oil on brake discs, rim-brake surfaces, and tires.
Minutes 13 to 15: Battery, display, and roll test
The battery must be securely seated and locked in its mount, with no visible damage. The contacts and casing should be dry and clean. Do not open the battery or electrical components. If the display shows an unfamiliar error message, consult the owner's manual or contact service rather than trying to guess the cause by repeatedly switching it off and on.
Bosch eBike Systems notes that cold weather can reduce the available battery capacity in its systems and therefore the range. This is a planning consideration, not proof of a defect. Always follow the instructions from the battery manufacturer for storage and charging. For a detailed explanation, see the guide “Storing an e-bike battery”; this 15-minute check deliberately does not repeat those guidelines.
Finish the check with a few meters of riding in a dry area without traffic. Start with low assistance, steer gently, and brake in a controlled manner. If you hear noises, feel play, see a warning message, or notice an unusual riding sensation, don't simply head back into traffic.
What the quick check doesn’t cover
The fall check is a pre-ride inspection. It doesn’t measure brake pad thickness or chain wear, check software versions, or replace an inspection. After a crash, hard impact, water ingress, battery damage, or a long period out of use, a more thorough check may be necessary. The same applies if you can’t confidently identify the cause of an issue.
The route is also part of the decision. In wet leaves, mud, or icy conditions, you need to adjust your speed and route. Assess these riding conditions separately from the technical check, and choose another route or another means of transport if traction is insufficient.
Frequently asked questions about the fall e-bike check
Is 15 minutes really enough?
Often, yes, for a visual and functional check before riding. But 15 minutes isn’t enough for maintenance, repairs, or a reliable diagnosis. If you notice a problem, stop the quick check and investigate the cause.
How often should I do the fall check?
A brief pre-ride check is a good idea before every ride. You can repeat the more comprehensive check described here after the bike has been unused for a long time, after heavy rain, after a particularly dirty ride, or when weather conditions change. Manufacturer maintenance intervals still apply.
Can I still ride home with a flickering light?
Don’t rely on an unreliable light. The required lights must work at dusk, in the dark, or when visibility is limited. Find a safe place, have the cause fixed properly, or use another means of transport.
Does the battery need to be fully charged for the check?
No. It needs enough charge for the planned distance, and the lights must work. Range depends on factors including temperature, assistance level, route, and system condition. A full battery indicator is no substitute for a visual inspection or safe route planning.
Conclusion: 15 minutes for a clear decision about whether to ride
The sensible order is: inspect, test the brakes, check the tires, switch on the lights, check the fixed components, and finally test the battery and ride. This way, the fall e-bike check doesn’t create a false sense of security, but gives you a simple decision: the bike shows no issues for the planned ride – or a specific problem needs to be fixed before setting off.
Share:
EU Battery Passport 2027 for E-Bikes: What Buyers Really Need to Know
Riding an e-bike in fog: lights, visibility, and when to turn back