

Tire check · Updated August 6, 2026
I first check the tire sidewall and owner’s manual for the correct e-bike tire pressure. Within this approved range, I take tire width, rider weight, luggage, surface, and the load distribution between the front and rear wheels into account. There is no universal bar value for every e-bike.
Why isn’t there one tire pressure for all e-bikes?
The tire pressure must account for the tire, rim, and actual load together. A narrow tire usually requires more pressure than a wide tire under a comparable load. Luggage, a child seat, or a front basket also change the load on the two wheels. That is why I never start with a number from an arbitrary online calculator, but with the permitted range of the mounted tire.

My 6 steps to the right e-bike tire pressure
Identify the tire and rim
I check the size, construction, and pressure specification on both tires. The front and rear tires may differ; after a tire change, the specifications for the newly installed system apply.
Note the approved range
The minimum and maximum are limits, not an automatic target. I do not exceed them and reconcile conflicting information with the owner’s manual or a specialist workshop.
Assess the load realistically
The rider, lock, bags, and groceries all add up. With a higher load, I start toward the upper end of the permitted range without exceeding the maximum specification.
Check the front and rear separately
The rear wheel often carries more load, especially with a rear rack. I therefore measure both tires separately and do not blindly use the same pressure for both.
Measure with a pressure gauge
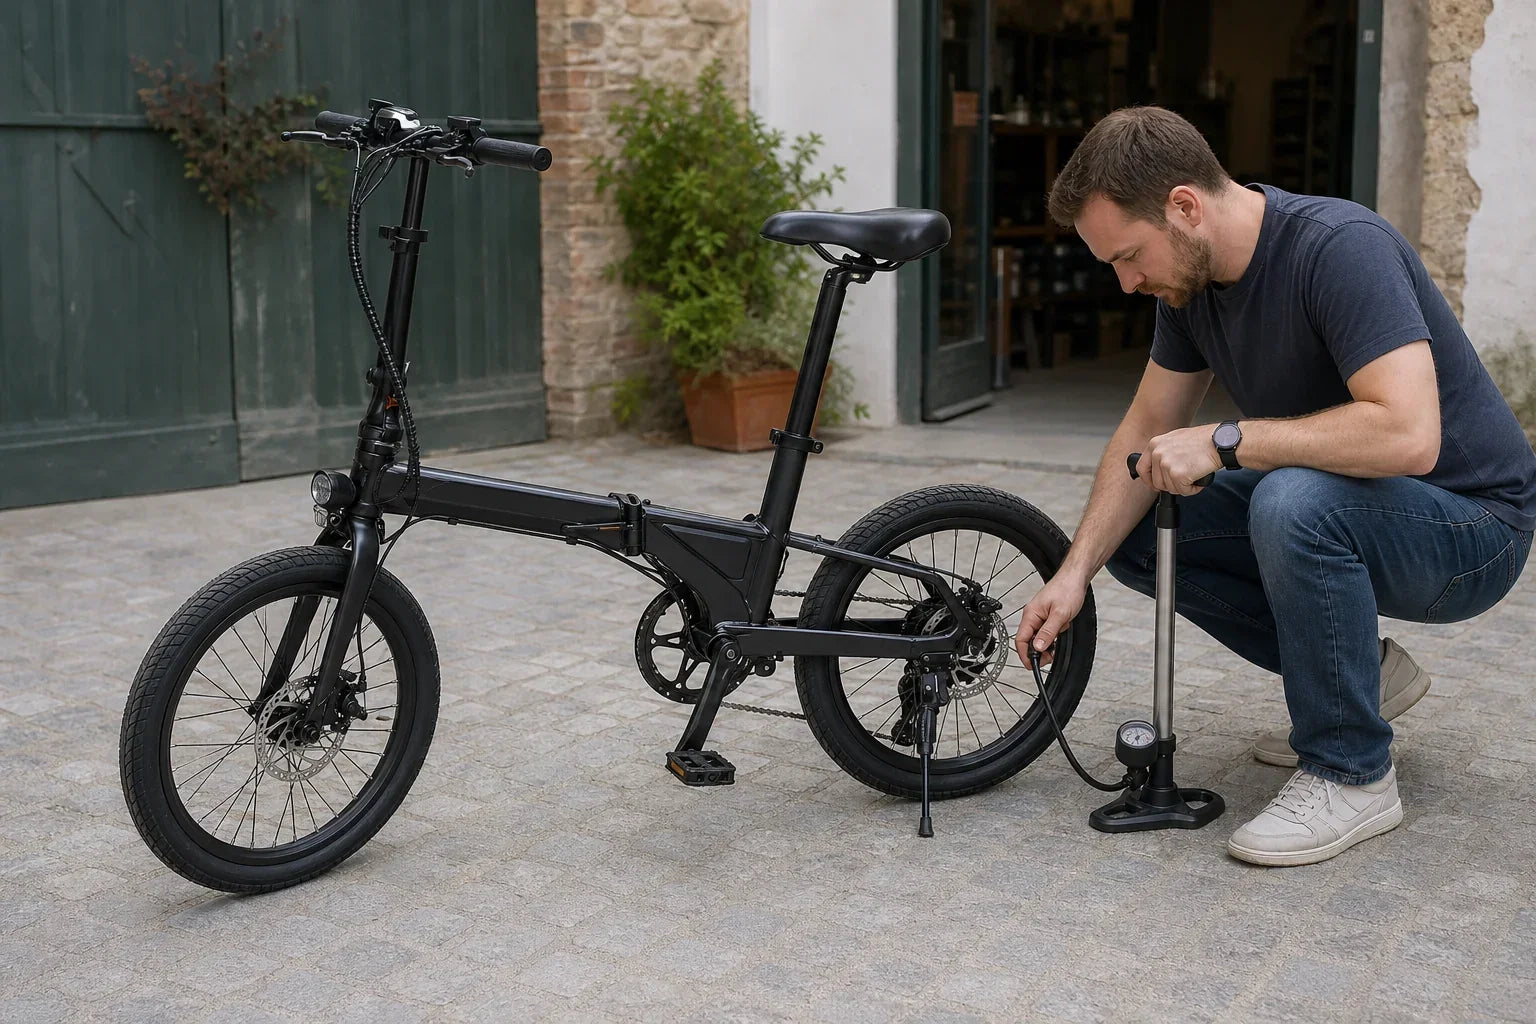
The thumb test is deceptive. A floor pump or a separate pressure gauge provides a verifiable reading; I make sure to use the correct valve and a pump head that fits securely.
Test small increments
Within the approved range, I change the pressure only in small increments. I assess steering, bottoming out, comfort, and grip on a familiar short route.
How can I tell if there is too little or too much air?
| Observation | Possible cause | What I check first |
|---|---|---|
| Spongy steering, significant tire deformation | Pressure may be too low or the load too high | Pressure gauge reading, tire sidewall, visible damage |
| Harsh impacts on uneven surfaces, little comfort | Pressure may be unnecessarily high | Whether the value is safely within the approved range |
| Frequent pressure loss | The valve, inner tube, sealant, or tire may be leaking | Do not simply keep inflating the tires; look for the cause |
| Different riding feel at the front and rear | Uneven load distribution or differing pressure values | Measure both tires separately and check the luggage position |
Schwalbe recommends checking the tire pressure at least monthly and using a pressure gauge instead of the thumb test. I also check before longer rides, after the bike has been parked for an extended period, or if its handling feels unusual. Cracks, cuts, bulges, or a damaged rim should be handled by a qualified professional.
What applies to the C10, C20, and S10?
The current Cyseekin product pages show why a universal figure is not useful: the models use different tire widths and wheel sizes.
| Model | Currently published tire data | How I proceed |
|---|---|---|
| C10 | 20 × 2.1 inches; the product page specifies 35–45 PSI, approximately 2.4–3.1 bar | Choose a value within this range and compare it with the tire sidewall and manual |
| C20 | 20 × 3.0-inch all-round tires | Do not apply a blanket C10 figure; read the specification on the installed tire |
| S10 | 26 inches, ETRTO 50-559 | Check the tire sidewall and manual; take the front basket and luggage into account when considering the load |
For the C10, 35–45 PSI is the manufacturer’s current specification on the product page. This is not a blanket recommendation for every tire installed later: after a replacement, the limits of the new tire and rim also apply. For the C20 and S10, I do not invent a model-specific value if the current product page does not specify a concrete pressure range.
Quick pre-ride checklist
- Pressure range read on both tires
- Rider, luggage, and accessories taken into account
- Front and rear tires checked with a pressure gauge
- Tire sidewall, valve, and rim visually inspected
- Changes made only within the approved limits
E-bike tire pressure FAQ
Should the front and rear tires have the same pressure?
Not necessarily. The load is often distributed unevenly, especially with a luggage rack or front basket. Both values must remain within their respective permitted ranges; specific instructions in the manual and on the tire sidewall take precedence.
How do I convert PSI to bar?
One bar is equivalent to approximately 14.5 PSI. The C10 specification of 35–45 PSI corresponds to approximately 2.4–3.1 bar when rounded. To set the pressure, I use the pressure gauge scale and stay within the published range.
Can I check the tire pressure with my thumb?
Only very roughly. According to Schwalbe, many tires already feel firm at around 2 bar. For a reliable check, I use a pressure gauge.
Does maximum tire pressure automatically provide more range?
On smooth surfaces, higher pressure can reduce rolling resistance. However, maximum pressure is not automatically optimal: grip, comfort, tire width, load, and surface also matter, and the permitted limits must never be exceeded.
Why does a bicycle tire lose air at all?
Air also slowly escapes through intact inner tubes. However, unusually rapid pressure loss may indicate valve, inner tube, or tire damage and should be checked.
Check your own model's tire data
First, read the information on the tire fitted to your bike and compare it with the current product page and manual. Different tire widths require different starting points.
C10 tire data C20 tire data S10 tire dataSources and date
- Schwalbe: Tire Pressure / Inflation Pressure, manufacturer's information on pressure range, load, tire width, pressure gauge, and inspection intervals, accessed on 06/08/2026.
- Cyseekin: C10 product page, current specifications for 20 × 2.1 inches and 35–45 PSI, accessed on 06/08/2026.
- Cyseekin: C20 product page, current specification for 20 × 3.0-inch all-round tires, accessed on 06/08/2026.
- Cyseekin: S10 product page, current specifications for 26 inches and ETRTO 50-559, accessed on 06/08/2026.
Editorial note: No separate tire or range test was conducted. The correct setting depends on the tire actually fitted, the rim, the load, and the manufacturer's approval. If there is damage or conflicting information, a specialist workshop should inspect it.
Share:
E-bike with chain or belt: What are the actual drivetrain costs?
Transporting an E-Bike in a Car: Remove the Battery? 7 Safety Checks