


A bicycle bag is properly attached when its mounting system fits the luggage rack, is fully locked in place, and does not interfere with pedaling or the wheel. Check these three points first with the bag empty and then with your usual load. A suitable product name alone does not replace checking it on your own bicycle.
Does the mounting system fit your luggage rack?
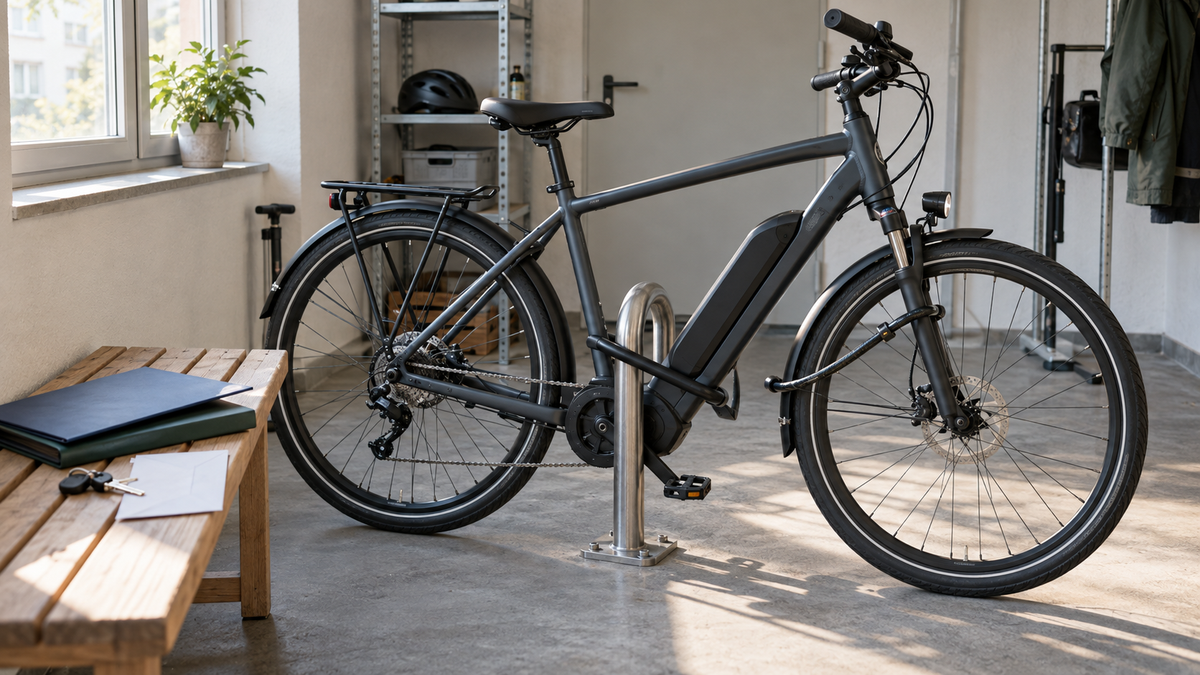
Note the bag model and mounting system. Then check the shape and diameter of the intended luggage-rack tubes. Also look for tube connections or mounts positioned exactly where a bag hook is supposed to grip. Different systems require different adapters or matching components.
In its official mounting FAQs, ORTLIEB explains that QL2 hooks are designed for round tubes and do not fit square tubes optimally. This is an example of a specific system limitation, not a statement about all bicycle bags. If your combination is not explicitly approved, ask the manufacturer instead of forcing a hook under tension over the tube.
How to attach it for the first time
- Park the bicycle securely: Make sure it cannot roll away or tip over during installation. Leave the bag empty at first.
- Adjust the upper mounts: Set the hooks or adapters precisely according to the instructions. Use the supplied inserts; improvised padding is not a substitute for a suitable adapter.
- Align the lower support: If a lower hook is provided, it must grip the appropriate tube. It must not merely hang loosely in front of the luggage rack.
- Insert and lock it: Check every retaining element. Carefully push or pull the bag without lifting the release handle.
- Check the clearance: Check the distance to the tires, spokes, brake, and heel. If you are unsure, ask someone to help so the bicycle can be held securely during the pedaling test.
With the ORTLIEB Quick-Lock2.1 system, the upper hooks open when the hook handle is lifted and close when it is released. The lower hook can be adjusted. Other systems work differently, so an audible click alone is not universal proof that the bag is securely locked.

Load the bag and check heel clearance again
A filled bag may hang differently from an empty one. Pack it as you actually intend to carry it and repeat the inspection. During normal pedaling, your heel must not shift the bag with every revolution. One possible solution is a position adjustment permitted by the manufacturer; simply pushing the bag far backward without checking the mounts again is not sufficient.
Observe the permitted load limits for the bag, mounting system, luggage rack, and bicycle. The largest stated value does not automatically apply. Depending on the manufacturer's specifications, the bag's own weight and additional loads may be included in the calculation. Do not apply the load capacity of a different system to your luggage rack.
The quick check before every ride
- All locks are closed; the bag is not loose, rocking, or slipping.
- Shoulder straps and loose ends are secured or stowed away. ORTLIEB also requires this for its Ultimate bag.
- The bag does not cover any lights or legally required reflectors; these must remain unobstructed under § 67 StVZO.
- The tires, spokes, and brakes remain unobstructed; there is no contact while pedaling.
If you are carrying an unfamiliar load, first take a short ride away from traffic. If the bag remains unstable despite being adjusted correctly, stop using it until the cause has been identified.
Frequently asked questions
Can I attach any bicycle bag to any e-bike?
No. The decisive factors are the luggage rack and mounting system, not the motor. Even with similar tube dimensions, the shape of the tubes can cause interference.
Is an additional bungee cord enough to prevent wobbling?
It does not replace a suitable, locked primary attachment. Additional safety measures are useful only as specified by the manufacturer; their ends must not reach moving parts.
Is a waterproof bag automatically securely attached?
No. Weather protection and the mounting system are two separate properties. Check the attachment even when the material and closure are watertight.
Find more tips on equipment and everyday use in the Cyseekin E-Bike Blog.
Share:
Lake Constance–Königssee Cycle Route in 7 Days: From Lindau to Schönau
Adjust your bike helmet correctly: How to check the fit