

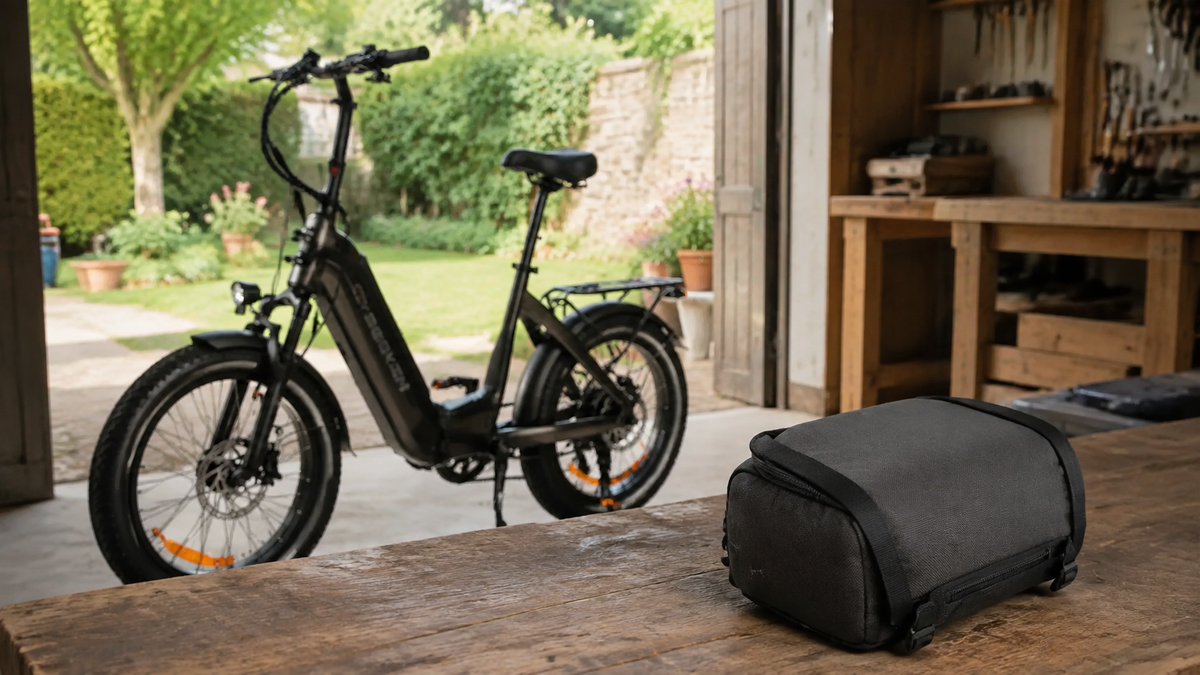
An e-bike handlebars, the display, control unit, bell, and lights are often already installed. An additional handlebar bag therefore needs to fit not only the handlebar but the entire cockpit. Even a slim bag can cause problems if its adapter is positioned incorrectly or the lid folds against the display.
Before buying, start by checking the space on your own bike. Photos of a similar bicycle are not sufficient. Different display mounts, handlebar shapes, and light positions change the situation. This guide helps with selection; it does not replace the installation instructions or approval for a specific e-bike or specific Cyseekin configuration.
Measure four areas instead of just the bag width
First, look at the parked bike from above, from the side, and from your normal riding position. Document where a mount could be installed and which parts are already mounted there. The relevant factor is the space that can actually be used, not the entire distance between the grips.
| Area to check | What to record | When the solution does not fit |
|---|---|---|
| Handlebar mounting point | Tube diameter and free clamping areas according to the adapter instructions | The clamp sits on a taper or in an area not approved for mounting |
| Display and controls | Display mount, line of sight, buttons, and, if applicable, removal path | The bag or mount blocks your view, controls, or removal |
| Space in front of the handlebar | Bag depth, light position, and routing of the cables | The bag presses on cables or obscures the light |
| Range of movement | Steering, opening the lid, and unclipping the bag | One function works only by pressing against or bending other parts |
Measure the handlebar where the clamp is actually intended to be installed. The diameter at the grip is not automatically the correct measurement. Also note the exact names of the display mount, bag mount, and bag. “For e-bikes” is a product category, not confirmation that every combination is compatible.
Do not confuse inner spacing with overall width
The importance of separate measurements is shown by the KLICKfix Handlebar Adapter E, item 0211EB: The manufacturer specifies 78 mm of inner spacing and an overall width of 110 mm. The wider bridge is intended to allow mounting alongside a compatible e-bike display. These values describe this adapter, not the space available on your bicycle. Therefore, also compare the display mount and the required clamping areas.
Our suggestion for the initial selection: Transfer the bag’s external dimensions onto cardboard or create a simple template from an empty box. Have a second person hold it in the intended position while the securely supported bike remains stationary. The template is only a rough space check. It shows neither the load capacity nor the actual mounting position of an unknown adapter. Do not ride with this temporary form.

Use adapters only in explicitly approved combinations
An additional attachment can create more space, but it must be compatible with the rest of the system. For example, ORTLIEB offers a Handlebar Mounting-Set Support for certain Ultimate mounts. At the same time, the product description expressly excludes use with the E207 and E226 e-bike mounting sets. Even accessories from the same brand cannot therefore be combined arbitrarily.
Check the complete connection: handlebar, adapter, any extension, and bag. If clear information is missing for any of these parts, contact the manufacturer or specialist retailer with the item numbers and photos. Do not combine several spacers just because the screws still engage. New clamping points or a changed display position must also be permitted for the respective components.
Load limits are also part of the selection. KLICKfix points out that, for accessories and adapters, the lower permitted value is decisive. A high rating on the adapter therefore does not override the bag’s limit. Also observe the specifications for the bicycle and handlebar; this space check does not calculate a generally permitted payload.
Check the cables and light with the bag installed
The Handlebar Adapter E installation instructions require sufficient clearance for brake and gear cables. For your selection, this means you should not look only at the stationary, straight-ahead position. With the bike held securely, slowly move the handlebar in both directions without forcing it against resistance. Watch for pinched, taut, or chafing cables.
A bag must not cause the cables to act as spacers. Do not simply pull an obstructing cable tightly to one side. If the intended bag position works only with a changed brake-cable routing, have the issue clarified by a specialist workshop. A smaller bag or a different luggage position may be the simpler suitable solution.
Then check the light with the bag closed and in its future position. It is not enough for the light housing itself to be unobstructed if the bag hangs in front of the light-emitting area. Also consider a rain cover or protruding luggage. Do not reposition a permanently wired light without checking its mount, cable, and permitted installation.
Opening, removing, and reinstalling the bag
Try the everyday movements while stationary: Can you open the lid? Can you reach the release? Can the bag be removed along the intended path? Does the display remain usable and, if designed to do so, removable? A bag model can have sufficient clearance while riding and still hit a component when opened.
Repeat this test with the usual contents as soon as a professionally installed combination is available. A soft bag may sit differently when filled than when empty. Check that it is secure before every ride according to the manufacturer’s instructions. With KLICKfix, checking the locking mechanism is expressly part of the process. Only after a successful installation and function check should you take a cautious test ride away from traffic.
Frequently asked questions about handlebar bags on e-bikes
Does a standard handlebar bag fit an e-bike with a display?
Possibly, but not solely because of the bag’s description. Adapter approval, handlebar dimensions, and the space for the display, light, and cables are decisive. Check all components together on the specific bike.
Can I simply raise the display?
Only with a solution designed for the display and mount. Afterward, also check the cable routing and controls. A self-assembled extension is not confirmed compatibility.
Is a wider adapter enough if space is limited?
Not always. It may solve a conflict with the display mount while the bag depth, light, or opening path still do not fit. Check these areas separately.
What should I do if the bag presses against a brake cable?
Do not use the combination in that configuration. Clarify an approved alternative position or choose a suitable smaller bag or a different luggage location. Changes to brake cables are not part of an improvised bag installation.
The right handlebar bag leaves the existing cockpit fully usable. Therefore, measure first, check the exact adapter combination, and then test the everyday movements. Additional storage is worthwhile only if it does not restrict any control function.
Information as of: September 7, 2026. The manufacturer components mentioned are examples of verifiable measurements and limitations, not general purchase or compatibility recommendations.
Share:
E-bike for shopping: S10 or another city e-bike with a luggage rack?
Choose a frame bag: Check the size using the template and a test pack.